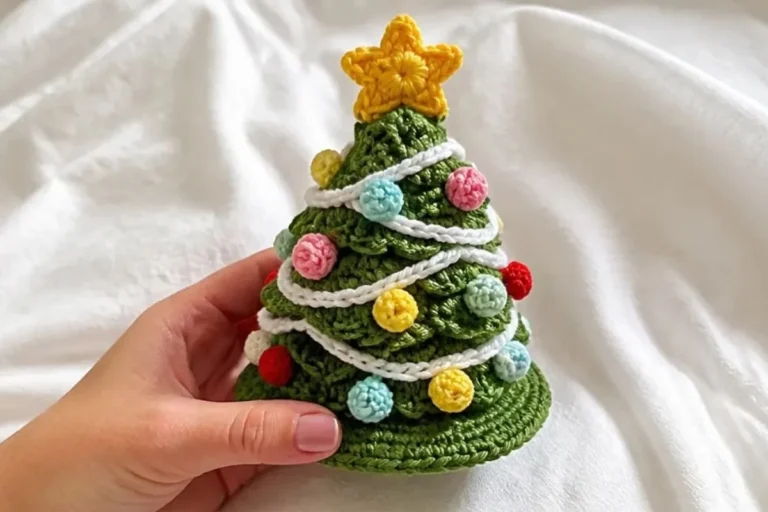
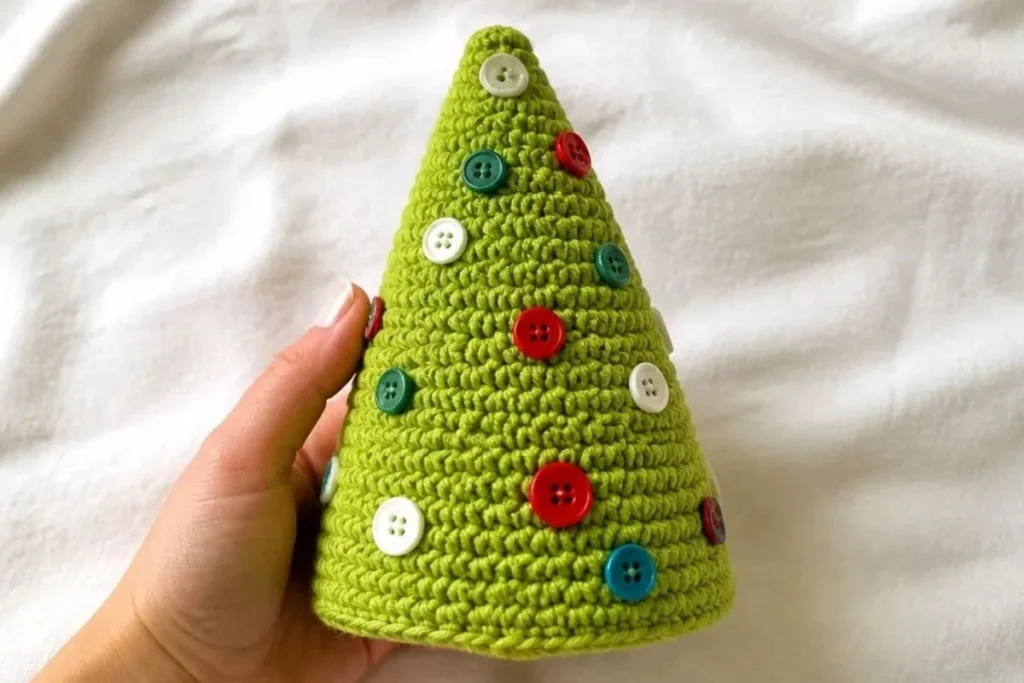
A handmade Christmas tree is a cheerful way to add texture and warmth to your holiday decorating. This Christmas Tree Pattern for Holiday Decor and DIY Crafts creates two simple crocheted trees in a rich Hot Green shade, with stuffing and a sturdy felt-and-cardboard base to help them stand. The finished trees look lovely on a mantel, shelf, entry table, or holiday centerpiece, and they also make thoughtful handmade gifts. For another festive crochet accent, pair your display with a crocheted flower decoration for wine glasses.
Why You’ll Love This Crochet Project
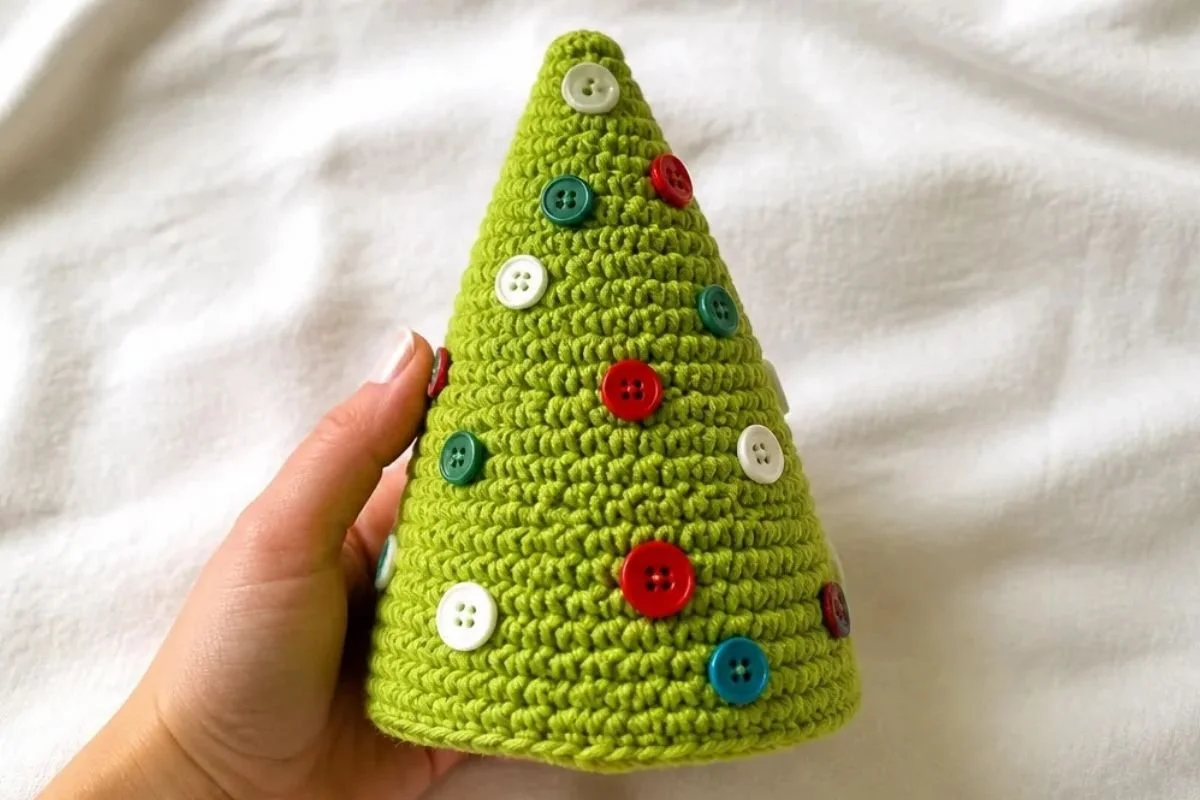
- It creates two useful sizes. The pattern includes a large version and a small version, making it easy to build a coordinated holiday display.
- The shaping is straightforward. You work joined single-crochet rounds with increases spaced throughout the piece, creating a tapered tree silhouette.
- It uses accessible techniques. The project practices chaining, single crochet, increases, back-loop crochet, joining with slip stitches, stuffing, and basic sewing.
- It makes a flexible seasonal decoration. Place the completed trees on a mantel, shelf, tabletop, or gift-wrapping station.
- It offers easy decorating options. Buttons become colorful ornaments, while changing the button colors can give the tree a classic, playful, or minimalist look.
My Crochet Flower Tip: Arrange the large and small trees together at different heights so the display has more visual dimension.
Before You Start Crocheting
This project consists of two crocheted tree bodies: one large and one small. Each tree is worked from the top downward in joined rounds. The pattern begins with 6 single crochet stitches, then increases by 6 stitches at designated rounds while plain rounds maintain the shape between increases.
The large version continues until the tree reaches 66 single crochet stitches. The small version follows the supplied instructions through the indicated stopping point and is then fastened off. After crocheting, each tree is stuffed, closed with a felt and cardboard base, and decorated with buttons.
The supplied yarn information states that one ball makes both the large and small trees. The large tree uses 24 m / 27 yds, and the small tree uses 17 m / 19 yds. Use the recommended hook or adjust your hook size as needed to obtain gauge.
Abbreviations
- ch: chain
- sc: single crochet
- sl st: slip stitch
- inc: increase
- rnd: round
- rep: repeat
Materials You’ll Need
- Lily® Sugar’n Cream® (2.5 oz/70.9 g; 120 yds/109 m), Hot Green (01712): 1 ball makes Large and Small Trees
- Large Tree: 24 m / 27 yds
- Small Tree: 17 m / 19 yds
- Size U.S. G/6 (4 mm) crochet hook or size needed to obtain gauge
- Stuffing
- Buttons for decorations
- 12″ [30.5 cm] felt for Base
- Light cardboard for Base
The stuffing gives the crocheted tree its three-dimensional form. The felt covers the bottom, while the cardboard provides a firm foundation so the finished decoration can stand. Choose buttons that are securely sewn on, especially if the tree will be displayed where young children or pets can reach it.
Step-by-Step Crochet Instructions
The following instructions preserve the complete supplied pattern. Work in joined rounds, counting each round carefully before joining.
Large Version
Ch 2.
1st rnd: 6 sc in 2nd ch from hook. Join with sl st to first sc.
Stitch count after join: 6 sc2nd rnd: Ch 1. Working in back loops, 2 sc in each sc around. Join with sl st to first sc.
12 sc3rd and 4th rnds: Ch 1. 1 sc in each sc around. Join with sl st to first sc.
5th rnd: Ch 1. *1 sc in next sc. 2 sc in next sc. Rep from * around. Join with sl st to first sc.
18 sc6th and 7th rnds: As 3rd and 4th rnds.
8th rnd: Ch 1. *1 sc in each of next 2 sc. 2 sc in next sc. Rep from * around. Join with sl st to first sc.
24 sc9th and 10th rnds: As 3rd and 4th rnds.
11th rnd: Ch 1. *1 sc in each of next 3 sc. 2 sc in next sc. Rep from * around. Join with sl st to first sc.
30 sc12th and 13th rnds: As 3rd and 4th rnds.
14th rnd: Ch 1. *1 sc in each of next 4 sc. 2 sc in next sc. Rep from * around. Join with sl st to first sc.
36 sc15th and 16th rnds: As 3rd and 4th rnds.
Cont as established: inc 6 sts on next and every following 3rd rnd, until there are 66 sc.
Next 2 rnds: Ch 1. 1 sc in each sc around. Join with sl st to first sc. Fasten off at end of last rnd.
Small Version
Work from the beginning through the indicated stopping point as given for the Large Version. Fasten off.
Finishing and Assembly
- Cut 1 piece of felt and 1 piece of cardboard to fit circumference of bottom of Tree.
- Stuff Tree.
- Pin felt to bottom of Tree, placing cardboard between felt and stuffing.
- Sew felt in position.
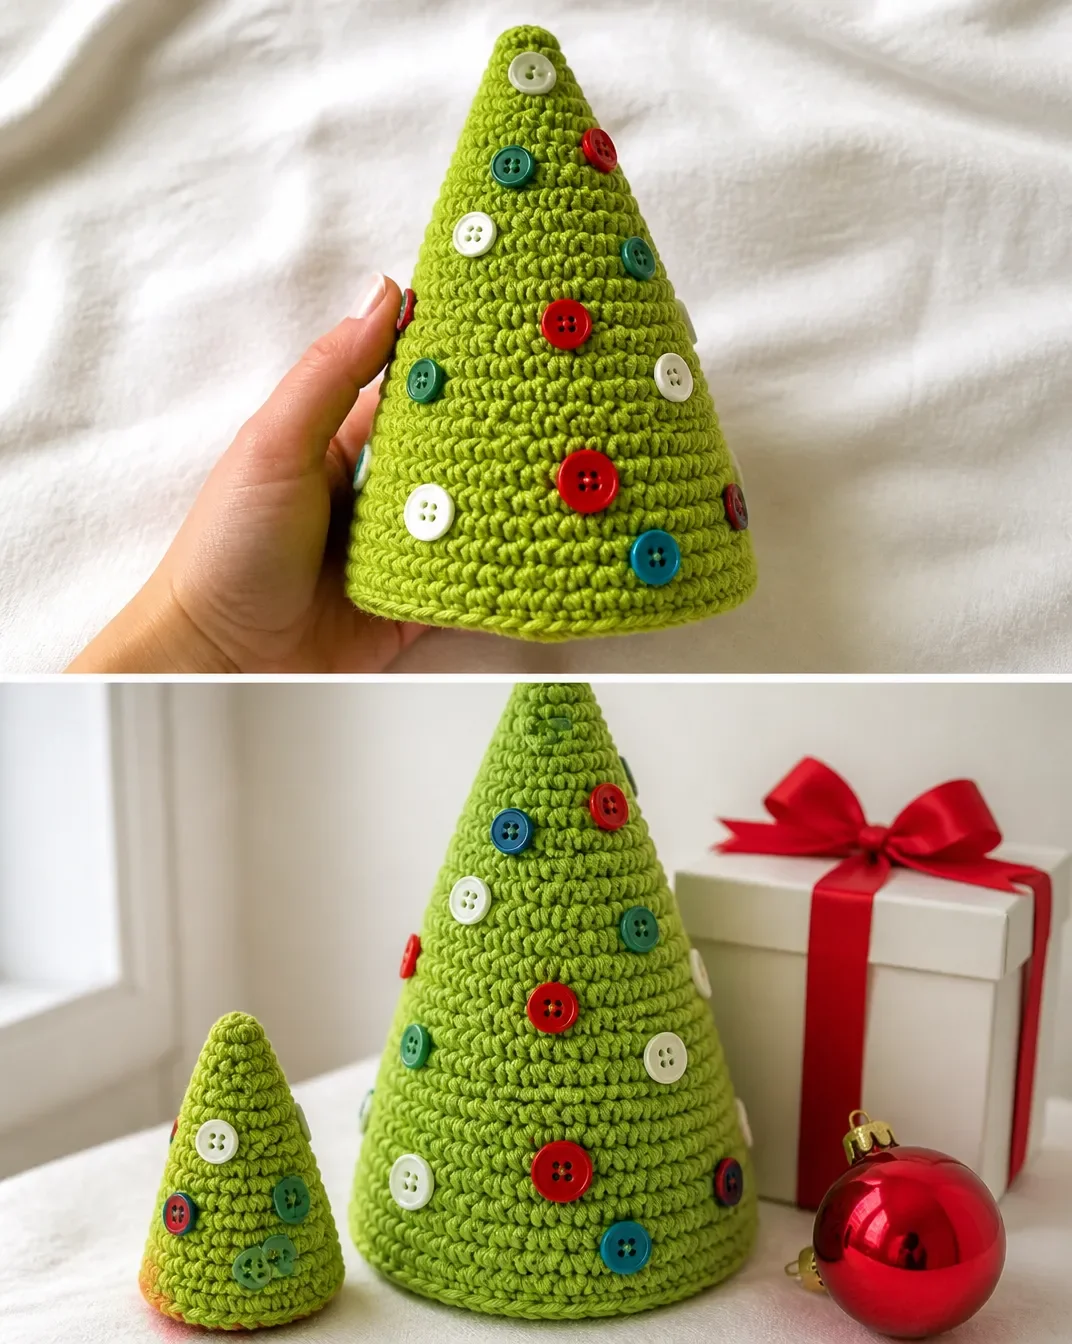
- Sew buttons on Tree as shown in picture.
The cardboard should sit between the felt and the stuffing, creating a stable base without changing the crocheted shape. Add stuffing gradually so the tree is filled evenly and remains upright.
Ways to Display Your Finished Crochet
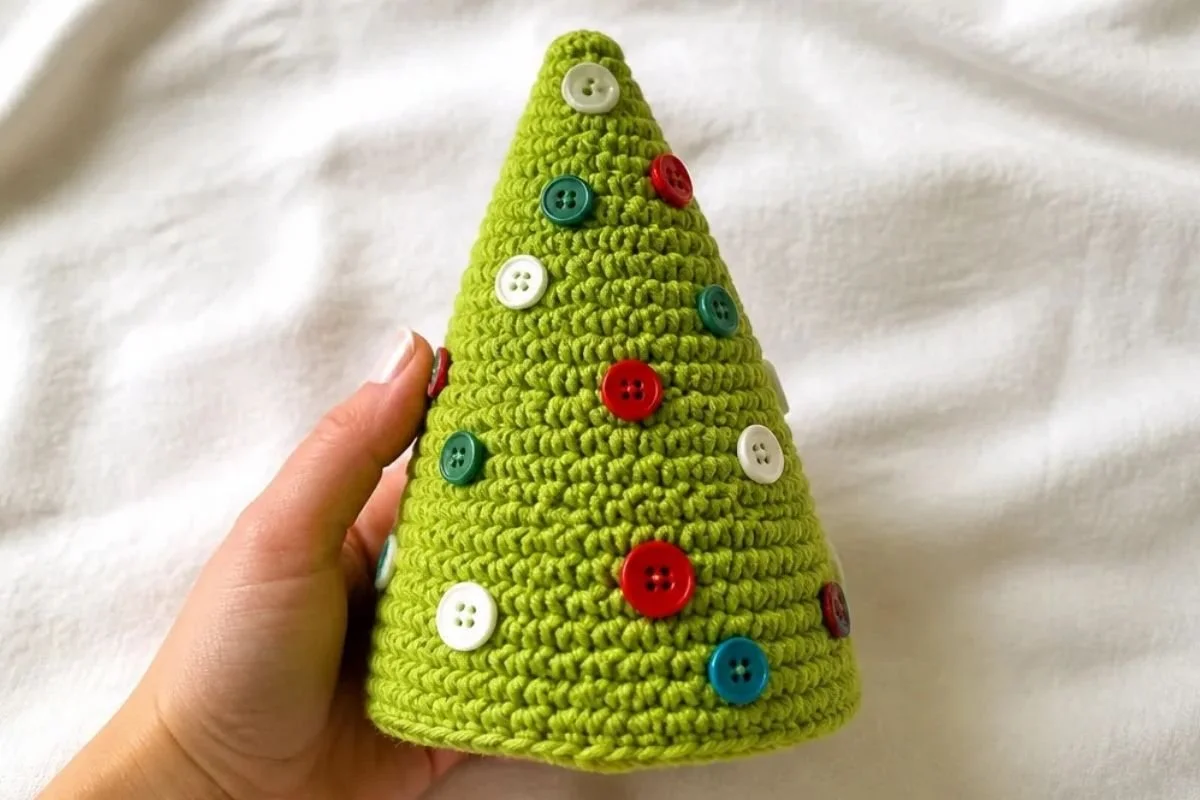
- Create a tiered mantel display: Place the large tree behind the small tree, with a few unbreakable ornaments or greenery around them.
- Make a tabletop centerpiece: Arrange both trees on a tray with pinecones, ribbon, or coordinating holiday accents.
- Decorate a bookshelf: Use the trees as small seasonal bookends or place them between holiday books and framed art.
- Give a handmade set: Package the large and small trees together as a thoughtful housewarming or holiday gift.
- Coordinate button colors: Use red and gold buttons for a traditional look, silver and white for a frosty palette, or mixed colors for a cheerful family display.
- Build a crochet holiday collection: A handmade flower such as a crocheted zinnia decoration can add a colorful botanical contrast beside the green trees.
Caring for Your Crochet Project
Keep the finished trees dry and dust them gently with a soft brush or clean, dry cloth. Because the tree contains stuffing, sewn buttons, felt, and cardboard, avoid soaking or machine washing it.
For a small mark, use careful spot cleaning with a lightly damp cloth, taking care not to saturate the fabric. Allow the tree to dry completely at room temperature before returning it to display.
Store the trees in a dry container when the holiday season ends. Avoid placing heavy decorations on top of them, and keep them away from excessive heat or prolonged direct sunlight, which can affect the yarn, felt, buttons, or shape.
Helpful Crochet Tips
- Count after every increase round. The stitch counts progress through 6, 12, 18, 24, 30, and 36 stitches before the continued increases. Checking counts helps catch missed increases early.
- Pay close attention to the second round. The pattern specifically says to work in the back loops for the second round. Do not substitute another loop placement.
- Mark the first stitch if needed. A removable stitch marker can help you identify the beginning of each joined round and make the slip-stitch join easier to locate.
- Keep plain rounds even. The 3rd and 4th rounds, and later rounds marked “as 3rd and 4th rnds,” use 1 sc in each sc around. Avoid adding accidental increases in these rounds.
- Use consistent tension. Uneven tension can make the tree lean or create a lumpy surface. Work comfortably without pulling the yarn too tightly.
- Stuff in small amounts. Add stuffing gradually and smooth it as you go. Overfilling can distort the base, while underfilling may leave the tree unable to hold its shape.
- Fit the base carefully. Cut the felt and cardboard to match the circumference of the bottom of the tree so the base lies flat when pinned and sewn.
- Secure decorations well. Sew buttons firmly to the tree and keep all thread ends securely woven in.
Creative Ways to Customize Your Project
These ideas are optional and do not change the approved pattern instructions:
- Change the button arrangement: Sew buttons evenly around the tree, concentrate them on the front, or use a single button color for a cleaner style.
- Try a different holiday palette: A substitute yarn color can create a snowy white, deep red, soft cream, or icy blue tree. Changing yarn may affect the appearance, gauge, dimensions, texture, and amount required.
- Coordinate the base: A contrasting felt base can make the tree look more finished, while matching green felt keeps the design understated.
- Make a larger or smaller decoration: Changing the yarn weight or hook size may alter the finished dimensions and yarn requirements. Make those changes only as an optional adaptation, since the approved pattern specifies Lily® Sugar’n Cream® and a U.S. G/6 (4 mm) hook or size needed to obtain gauge.
- Create a mixed seasonal arrangement: Pair the trees with handmade crochet flowers, ribbons, or natural-looking greenery in a tray or shallow basket.
Frequently Asked Questions
Is this Christmas tree pattern suitable for beginners?
The project uses foundational techniques such as chain stitches, single crochet, increases, slip-stitch joins, stuffing, and sewing. Beginners should work carefully with stitch counts and the back-loop instruction in the second round.
What yarn is recommended?
The supplied pattern calls for Lily® Sugar’n Cream® (2.5 oz/70.9 g; 120 yds/109 m) in Hot Green (01712). One ball makes the large and small trees.
What crochet hook should I use?
Use a Size U.S. G/6 (4 mm) crochet hook or the size needed to obtain gauge.
How much yarn does each tree use?
The large tree uses 24 m / 27 yds, and the small tree uses 17 m / 19 yds.
How many crocheted components does the project include?
The project includes a large tree and a small tree. Each tree is crocheted separately and finished with its own stuffing, felt, cardboard base, and buttons.
Can I change the yarn color?
Yes. Changing the color is an optional styling choice. Keep in mind that changing the yarn type or weight may affect gauge, dimensions, texture, and yarn requirements.
How is the bottom of the tree finished?
Cut one piece of felt and one piece of cardboard to fit the circumference of the bottom. Stuff the tree, pin the felt to the bottom with the cardboard between the felt and stuffing, sew the felt in position, and then sew buttons onto the tree.
How do I keep the finished tree upright?
Use enough stuffing to support the crocheted shape without overfilling it, and make sure the cardboard sits flat beneath the felt base.
How should I clean and store the tree?
Dust it gently and use careful spot cleaning when needed. Avoid soaking or machine washing because the project includes stuffing, felt, cardboard, and sewn buttons. Store it in a dry place when not on display.
Conclusion
This crochet Christmas tree pattern is a practical way to make coordinated holiday decorations with simple shaping and attractive handmade details. The large and small versions can be displayed together, gifted as a set, or customized with different button colors and seasonal accents. For more inspiration, explore this tiered Christmas tree decorating idea and enjoy creating a festive display that reflects your style.