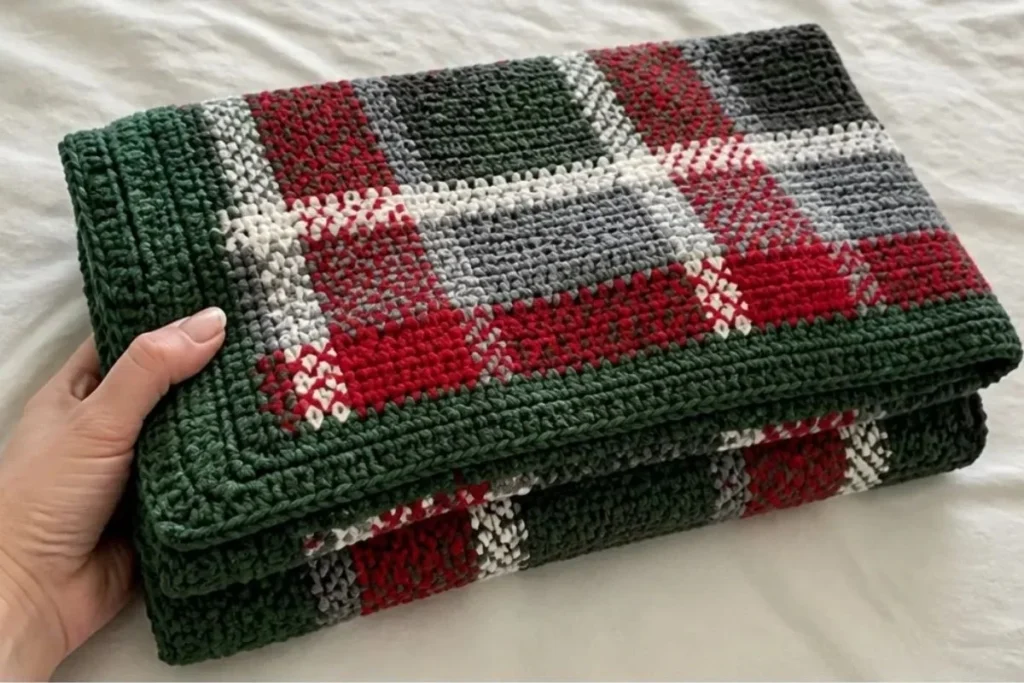
The Easy Christmas Plaid Crochet Throw Pattern creates a cozy 40 x 60-inch blanket with a classic plaid design in winter whites, grays, cardinal red, and ivy green. Its repeating color blocks make it festive enough for holiday decorating while remaining useful as an everyday throw. Crocheters who enjoy planned color changes and practical home projects will appreciate this design. For another seasonal handmade accent, you may also enjoy these crochet flower decoration ideas.
Why You’ll Love This Crochet Project
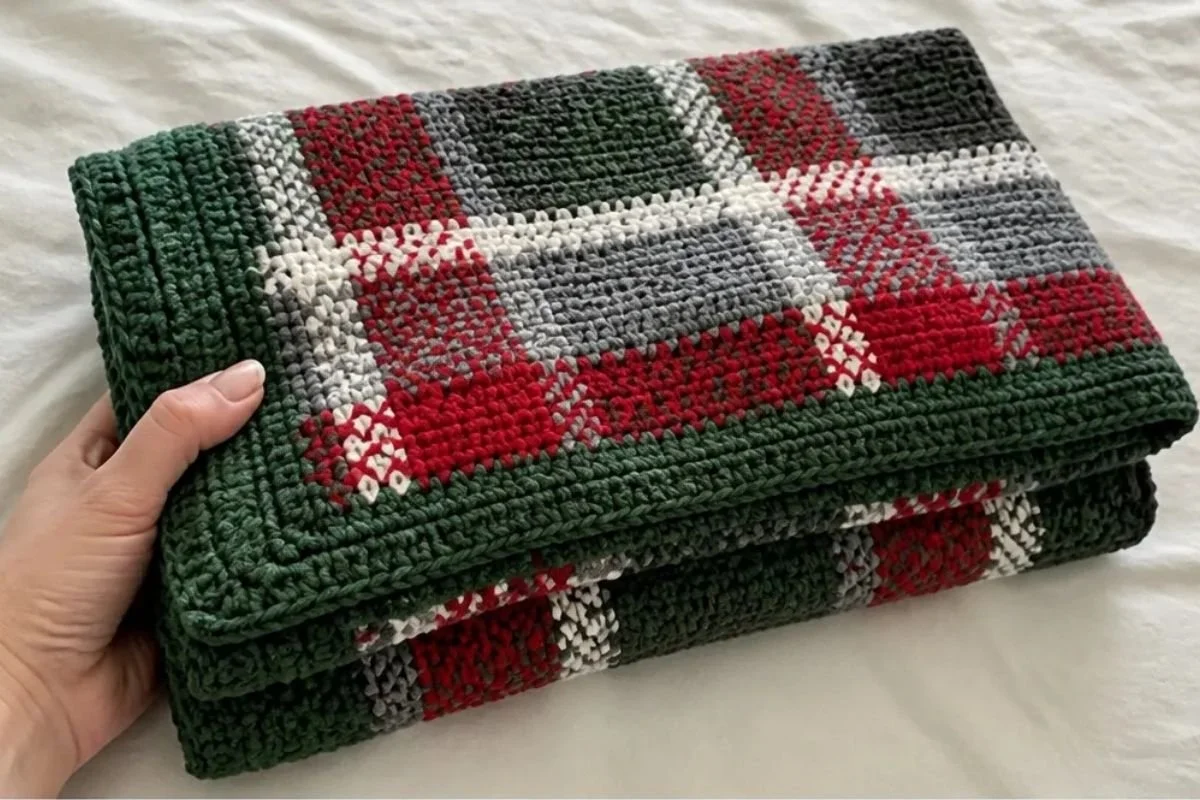
This Christmas plaid crochet throw has several qualities that make it a rewarding project:
- A timeless seasonal look: Ivy, cardinal, white, and gray create a traditional holiday palette without making the blanket feel overly bright.
- A useful finished size: The 40 x 60-inch dimensions work well as a couch throw, lap blanket, guest-room accent, or seasonal gift.
- Colorwork practice: The repeated blocks provide structured practice with changing colors and carrying out a consistent stitch sequence.
- A textured ribbed border: Six rounds of edging finish the blanket with a substantial, stretchy-looking frame.
- Flexible length: The pattern allows you to repeat the graph until the desired length is reached, making customization possible.
My Crochet Flower Tip: Keep each color attached only as long as the pattern requires, and leave the instructed tails long enough to weave in securely after the color changes.
Before You Start Crocheting
The project begins with one foundation chain and a rectangular main body worked in repeated color sections. The blanket starts with four rows in Pale Gray Mix and White, followed by nine rows in Cardinal and Med Gray Mix. The next section repeats the first four rows, and the following nine-row section substitutes Ivy for Cardinal.
After the main body reaches the desired length, the blanket must end with the rows 1–4 instructions. The yarn ends are then secured before adding the six-round Ivy border.
The pattern is written for a 40 x 60-inch throw and begins with chain 145. The instructions use half double crochet for the main fabric, although the supplied color sequence refers to the stitch groups rather than repeating a separate stitch abbreviation in every line.
Abbreviations
- CH: Chain
- HDC: Half double crochet
- DC: Double crochet
- SC: Single crochet
- SL ST: Slip stitch
- FPDC: Front post double crochet
- BPDC: Back post double crochet
Materials You’ll Need
- Patons Canadiana, 100% acrylic, 100 g/3.5 oz, 187 meters/205 yards:
- 5 skeins Ivy
- 3 skeins White
- 3 skeins Cardinal
- 3 skeins Pale Gray Mix
- 3 skeins Med Gray Mix
- Size H, 5mm crochet hook
- Tapestry needle
- Scissors
Patons Canadiana supplies the color contrast needed for the plaid blocks, while the H-5mm hook is used throughout the pattern. Keep your tapestry needle nearby during the project because several color changes require cutting yarn and weaving in tails.
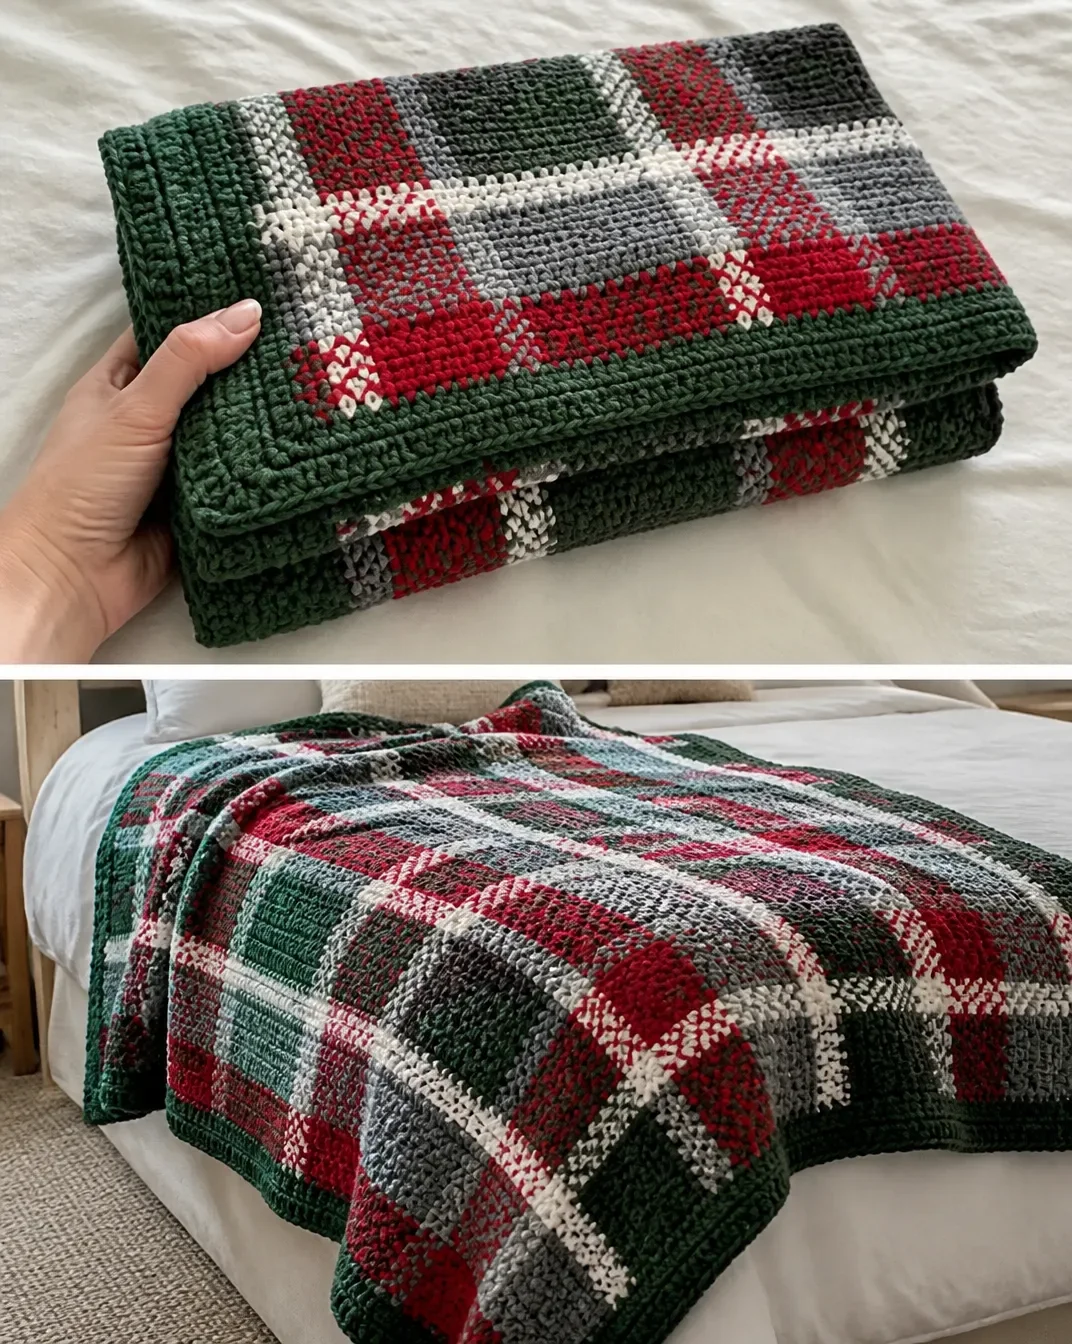
Complete Crochet Instructions
Foundation and Starting Chain
For the 40 x 60-inch throw, chain 145 in Pale Gray Mix.
Begin in the second chain from the hook on row 1. Refer to the graph in the lower right-hand to begin.
Rows 1–4: Pale Gray Mix and White
Work the following stitch sequence for rows 1–4:
- 4 Pale Gray Mix
- 4 White
- Repeat the following from the asterisk across to the last 16 stitches:
8 Pale Gray Mix, 4 White, 4 Pale Gray Mix, 4 White - Work 8 Pale Gray Mix, 4 White, 4 Pale Gray Mix
- CH 1 and turn.
At the end of row 4, change colors as follows:
Pull through with Cardinal on the last step of the last HDC of row 4, cut White and Pale Gray Mix, leave tails to weave in later.
The color change is made on the last step of the last HDC, so the new color is ready for the next row.
Rows 5–13: Cardinal and Med Gray Mix
Work the following stitch sequence for rows 5–13:
4 Cardinal, 4 Med Gray Mix, *8 Cardinal, 4 Med Gray Mix, 4 Cardinal, 4 Med Gray Mix, repeat from * across to last 16 sts, then 8 Cardinal, 4 Med Gray Mix, 4 Cardinal.
Then CH 1 and turn.
At the end of row 13, change colors as follows:
Pull through with Pale Gray Mix on the last step of the last HDC of row 13, cut Cardinal and Med Gray Mix, leave tails to weave in later.
Rows 14–17: Repeat Rows 1–4
Repeat rows 1–4 using the Pale Gray Mix and White stitch sequence.
At the end of row 17, follow the row 4 color-change instruction:
Pull through with Cardinal on the last step of the last HDC of row 4, cut White and Pale Gray Mix, leave tails to weave in later.
Rows 18–26: Ivy and Med Gray Mix
Repeat rows 5–13, substituting Ivy for Cardinal.
The stitch sequence is:
4 Ivy, 4 Med Gray Mix, *8 Ivy, 4 Med Gray Mix, 4 Ivy, 4 Med Gray Mix, repeat from * across to last 16 sts, then 8 Ivy, 4 Med Gray Mix, 4 Ivy.
Then CH 1 and turn.
At the end of this nine-row section, use Pale Gray Mix for the color change:
Pull through with Pale Gray Mix on the last step of the last HDC of row 13, cut Ivy and Med Gray Mix, leave tails to weave in later.
Continue the Plaid Graph
Repeat the graph until you have the length desired. End the blanket on rows 1–4 instructions.
Tie off and weave in all the ends after completing the main blanket.
Ribbed Border
Work the border with Ivy.
Round 1
With Ivy, pull up a loop in the upper left-hand corner.
- CH 1.
- Work an HDC into the same stitch as the join.
- Work 3 HDC every other row on the sides of the blanket.
- Work 3 HDC in each corner.
- Work HDC into each stitch across the top and bottom.
- Work the remaining 2 HDC into the same space as the join to finish the starting corner.
- Join with a SL ST to the first HDC.
- CH 1 and turn.
The three-HDC corner groups provide room for the border to turn without pulling the blanket fabric inward.
Round 2
- Work DC into each HDC.
- In the second HDC of each corner, work [DC, CH 2, DC].
- Join with a SL ST to the first DC of the round.
- CH 1 and turn.
Round 3
- Alternate FPDC and BPDC around each DC.
- Work [DC, CH 2, DC] around each CH 2 space of each corner.
- Join with a SL ST to the first FPDC of the round.
- CH 1 and turn.
Rounds 4–5
Repeat round 3.
Round 6
- Work SC into each DC.
- Work SC around the CH 2 space of each corner.
- Join with a SL ST to the first SC of the round.
- Tie off and weave in all the ends.
Assembly and Finishing
After completing the main blanket, tie off and weave in all the ends. After finishing round 6 of the border, tie off and weave in all remaining ends. Weave each tail back and forth through the wrong side of the fabric, then trim the excess carefully.
Ways to Display Your Finished Crochet
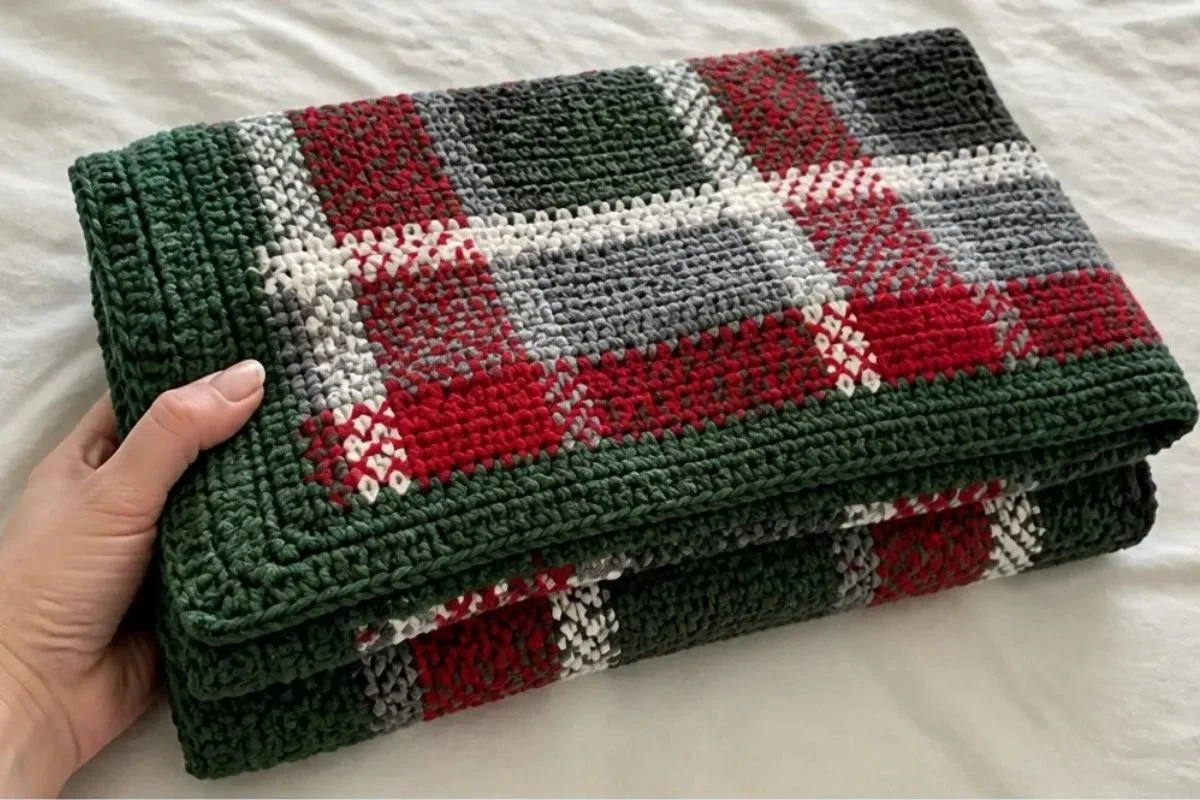
- Drape it over a sofa arm: The plaid pattern adds a festive layer to a neutral living room.
- Fold it at the foot of a bed: Use the throw as a seasonal accent in a guest room or primary bedroom.
- Style it in a reading corner: Place it over a chair or basket so the colors remain visible when it is not in use.
- Give it as a holiday gift: The practical size makes it suitable for family members, friends, or hosts.
- Use it for seasonal photos: The ivy and cardinal sections create a strong backdrop for winter displays and gift arrangements.
- Pair it with handmade decorations: Coordinate the blanket with other crochet accents, including crochet bouquet pattern ideas for a broader handmade holiday display.
Caring for Your Crochet Project
Because the blanket is made with acrylic yarn, follow the yarn manufacturer’s care instructions when laundering it. Avoid excessive heat, which can affect acrylic fibers and alter the fabric’s surface.
For routine care, gently shake out the throw or remove dust with a soft brush or low-suction vacuum attachment. If spot cleaning is necessary, use a small amount of suitable cleaner and avoid aggressive rubbing over the color-change areas.
When storing the blanket, make sure it is completely dry. Fold it loosely rather than compressing it tightly, and keep it in a dry storage container away from moisture and prolonged direct sunlight. If the blanket becomes misshapen, gently smooth it back into a rectangle rather than pulling firmly on the border.
Tips for Better Results
- Count the starting chain carefully. Chain 145 in Pale Gray Mix before beginning the first row. A skipped or added chain can shift the plaid sequence across the entire blanket.
- Mark the beginning of each color section. Use removable stitch markers or a written row chart to track the four-row and nine-row groups.
- Change colors at the instructed moment. Pull through with the new color on the last step of the last HDC in rows 4 and 13 so the next section begins cleanly.
- Track the final 16 stitches. The pattern gives a specific ending sequence after the repeated section. Do not continue the asterisked repeat into the last 16 stitches.
- Keep your tension steady. Large changes in tension can make the plaid blocks appear uneven and may affect the overall dimensions.
- Place border stitches consistently along the sides. Round 1 calls for 3 HDC every other row on the blanket sides; spacing them evenly helps the edge lie flat.
- Protect the corner spaces. The corner increases in the border are deliberately placed to help the blanket turn smoothly.
- Weave in tails as you go when possible. The repeated color changes create several ends, so securing some of them during natural pauses can make finishing more manageable.
Color and Styling Variations
The approved pattern uses Pale Gray Mix, White, Cardinal, Med Gray Mix, and Ivy to create its Christmas plaid appearance. Optional color changes can personalize the finished throw, but they should be treated as variations rather than changes to the written pattern.
- Replace Cardinal with a darker red, burgundy, or cranberry shade for a richer holiday palette.
- Use cream instead of White for a softer, warmer contrast.
- Substitute a deep forest green for Ivy if you prefer a traditional evergreen appearance.
- Create a neutral winter throw by combining gray, cream, and a small amount of muted green.
- Use the plaid throw as part of a coordinated display with matching pillows, table accents, or handmade floral decorations.
When changing yarn, choose a comparable yarn carefully. Differences in yarn thickness, fiber, and tension can affect the blanket’s dimensions, texture, drape, and yarn requirements. Changing the hook size can also alter the fabric and finished size, so any adjustment should be considered optional and may require additional yarn.
Frequently Asked Questions
Is this pattern suitable for a beginner?
The repeating stitch groups and rectangular construction are approachable, but beginners should be comfortable with HDC, DC, SC, color changes, and basic joins. The border also introduces FPDC and BPDC, so those stitches may require a little practice.
What size blanket does the pattern make?
The pattern is written for a 40 x 60-inch throw and begins with chain 145. The instructions also allow you to repeat the graph until you have the length desired.
What hook size should I use?
Use a size H, 5mm crochet hook as specified in the materials.
How many yarn skeins are required?
The pattern calls for 5 skeins of Ivy and 3 skeins each of White, Cardinal, Pale Gray Mix, and Med Gray Mix.
Can I change the color palette?
Yes. You can choose other colors as an optional variation, but color or yarn changes may affect the plaid contrast, fabric appearance, dimensions, and yarn requirements.
How should the blanket end before the border?
Repeat the graph until the desired length is reached, and end the blanket on rows 1–4 instructions. Then tie off and weave in all the ends before beginning the Ivy border.
How are the corners formed in the border?
Round 1 uses 3 HDC in each corner. Round 2 uses [DC, CH 2, DC] in the second HDC of each corner, and rounds 3–5 use [DC, CH 2, DC] around each CH 2 corner space. Round 6 works SC around each CH 2 space.
How do I keep the border from puckering?
Maintain even tension and space the side stitches consistently. Follow the instruction to work 3 HDC every other row on the blanket sides, and avoid adding extra stitches beyond the specified corner increases.
How should I store the finished throw?
Store it clean and completely dry in a dry place away from prolonged sunlight and excessive heat. Fold it loosely to help preserve the fabric and ribbed border.
Conclusion
This Easy Christmas Plaid Crochet Throw Pattern combines a structured plaid design with a substantial ribbed border for a warm, useful handmade blanket. The color sections are easy to track once organized into their four-row and nine-row groups, while the adjustable graph lets you choose the final length. For another festive crochet project to explore, see this Christmas plaid throw pattern.