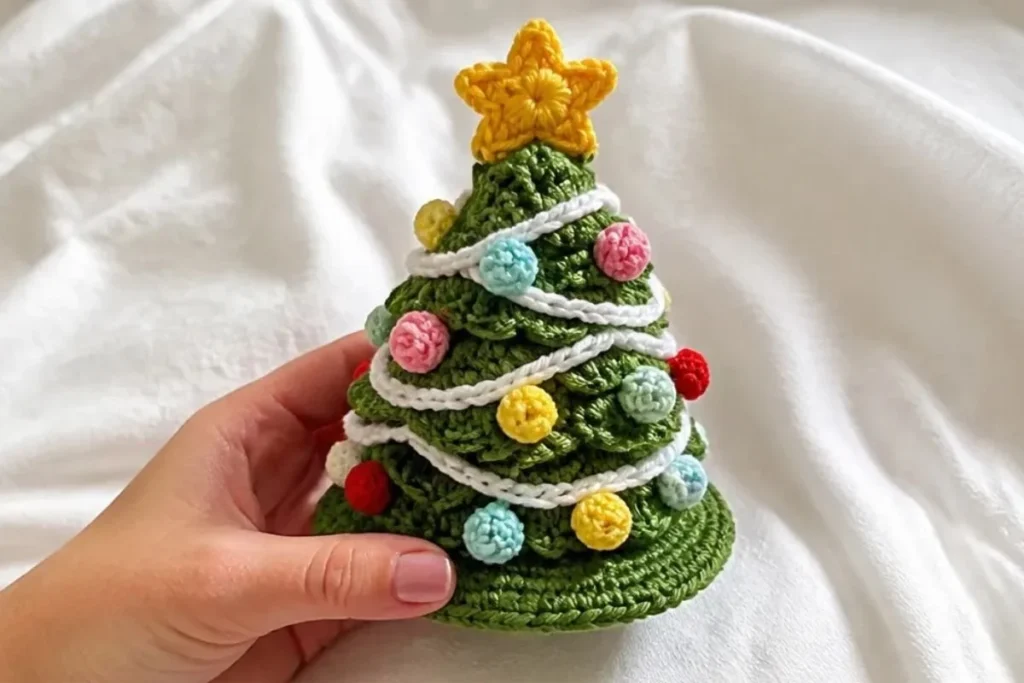
A crocheted Christmas tree jar topper turns an ordinary jar into a cheerful seasonal decoration. This layered green tree features a picot-edged outer layer, a bright star, a white garland, and colorful ornaments. The finished lid cover works well for holiday displays, small gifts, or festive kitchen storage. This crochet Christmas tree jar topper pattern tutorial is suitable for crocheters who want to practice shaping, front-loop construction, color changes, and simple decorative assembly. For another seasonal jar-cover idea, explore this beginner-friendly crochet topper project.
Why You’ll Love This Crochet Project
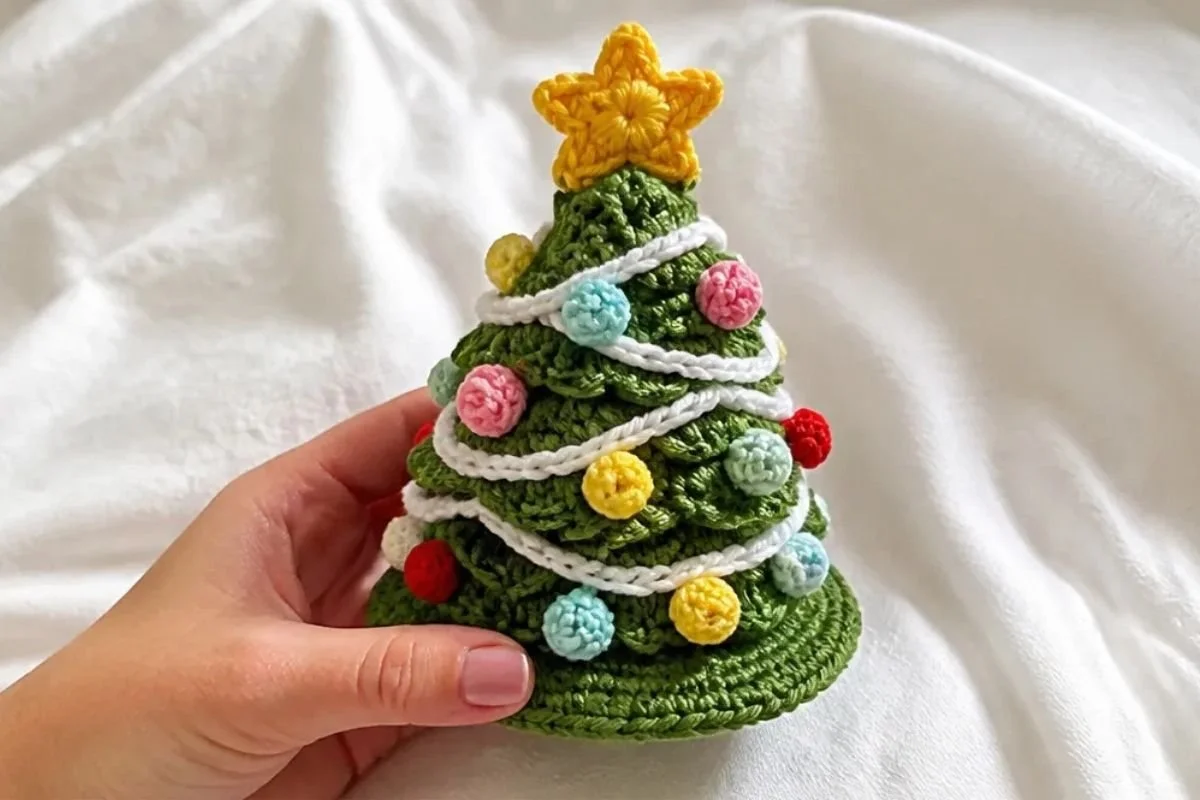
- It creates a complete holiday decoration. The tree, star, garland, and ornaments combine into a detailed seasonal topper.
- It practices useful shaping techniques. The tree base grows through structured increases, while the outer layer uses the front loops left behind from the base.
- It includes approachable decorative stitches. The picot stitch adds a pointed, snowy-looking edge without requiring complicated techniques.
- It makes a thoughtful handmade gift. Place the completed cover on a jar for a festive presentation or use it as part of a holiday gift basket.
- It is easy to customize. The ornaments use Lemon, Cherry Red, Perfect Pink, and Minty F, so you can adjust the palette while keeping the tree design intact.
My Crochet Flower Tip: Keep the star and ornament tails long as instructed. Those tails make assembly easier and reduce the need to attach new yarn later.
Pattern Overview
This project includes one Christmas tree topper, two star pieces, one long white garland, and twelve small ornaments. The ornaments are made as three each in four colors: Lemon, Cherry Red, Perfect Pink, and Minty F.
The tree begins with an adjustable ring in Paddy Green. Its base is worked in rounds, beginning with single crochet and then increasing double crochet stitches while working in back loops only. After Round 16, do not fasten off. The front loops left behind become the foundation for the decorative outer layer.
The outer layer is built with chain spaces and slip stitches, followed by groups of double crochet and a picot stitch. The star is made in two matching pieces, while the garland is a long chain worked with slip stitches. Assembly is completed with a yarn needle and the long tails specified in the pattern.
Useful abbreviations include:
- ch: chain
- sc: single crochet
- hdc: half double crochet
- dc: double crochet
- st/sts: stitch/stitches
- sl st: slip stitch
Materials You’ll Need
- RED HEART® Super Saver®, 1 skein each:
- 368 Paddy Green, Color A
- 316 Soft White, Color B
- 235 Lemon, Color C
- 319 Cherry Red, Color D
- 706 Perfect Pink, Color E
- 520 Minty F, Color F
- Susan Bates® Crochet Hook 5.5 mm [US I-9]
- Yarn needle
- Jar for topper use
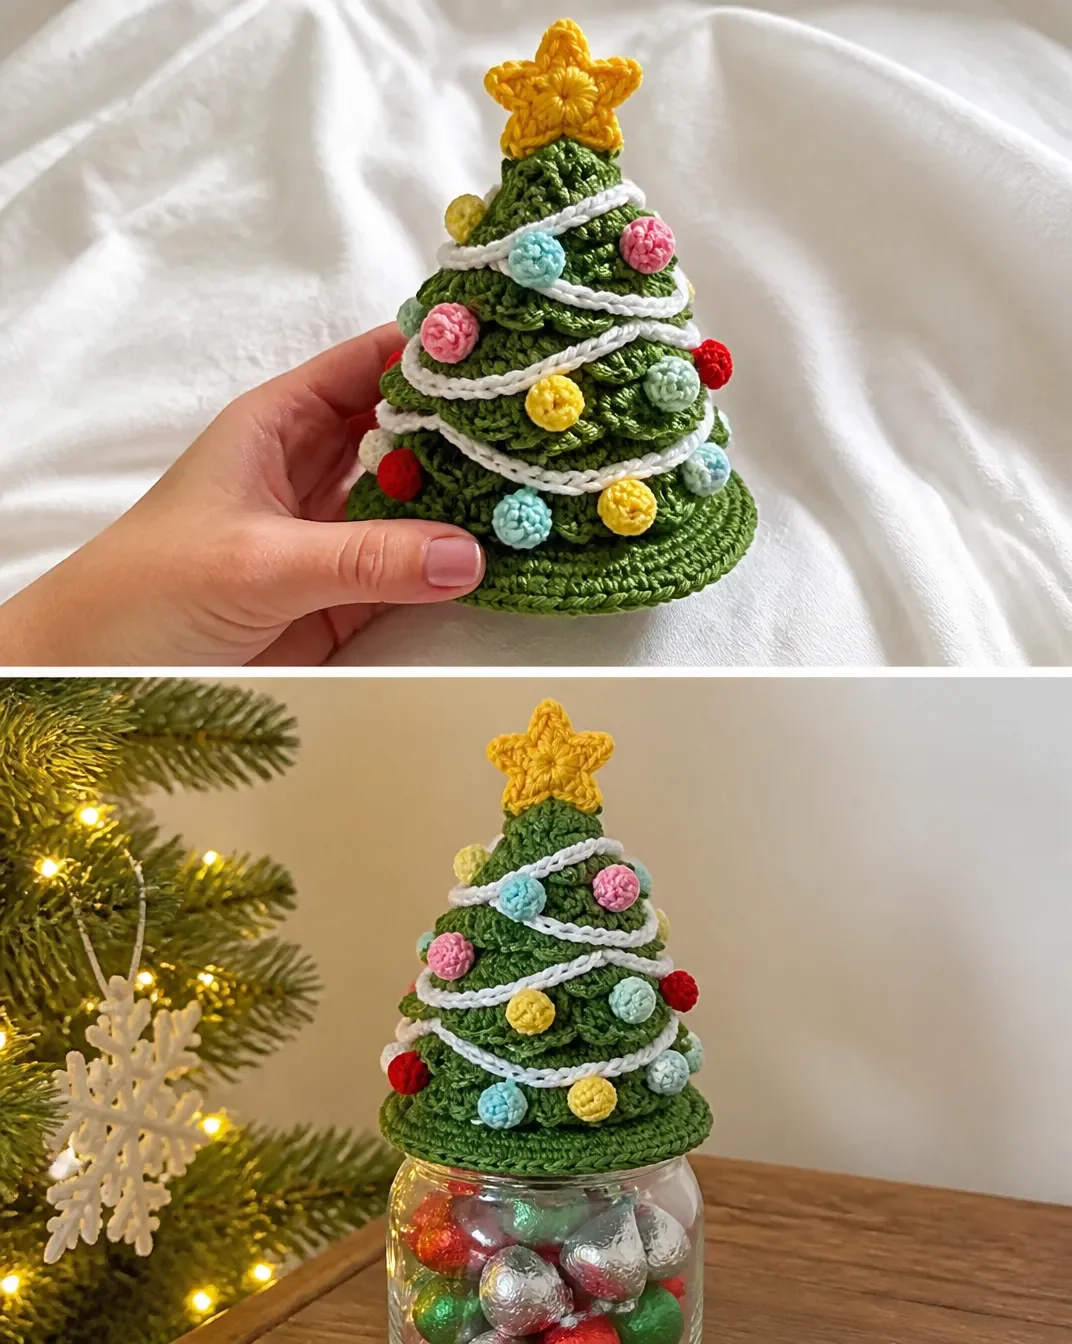
Complete Crochet Tutorial
Special Stitch
Picot Stitch: Ch 3, slip stitch into first chain.
Construction Notes
- To substitute the adjustable ring for the tree base or other components, ch 3 and join to first ch.
- Do not fasten off after Round 16 of the tree base.
- After the tree base, you will be working into all the front loops left behind.
- Repeat the specified outer-layer rounds until reaching the top or bottom as directed.
- Keep the long yarn tails for the star, garland, ornaments, and finishing steps.
Christmas Tree Jar Topper
Make 1 tree.
Tree Base
With A, make an adjustable ring as follows:
- Wrap yarn around your finger with the yarn tail to the left and under the working yarn.
- Insert hook through the circle from front to back.
- Yarn over using the working yarn and pull through loop.
Round 1: Ch 1, 6 sc in adjustable ring, join to first sc. Pull starting end tight to close the circle 6 sc.
Rounds 2 & 3: Sc in each of next 6 sts.
Round 4: Working in back loops only, (hdc, dc) in next st, 1 dc in next st, 2 dc in next st, 1 dc in next st; repeat from * once more 9 sts.
Round 5: Working in back loops only, 2 dc in next st, 1 dc in each of next 2 sts; repeat from * 2 more times 12 dc.
Round 6: Working in back loops only, 2 dc in next st, 1 dc in each of next 3 sts; repeat from * 2 more times 15 dc.
Round 7: Working in back loops only, 2 dc in next st, 1 dc in each of next 4 sts; repeat from * 2 more times 18 dc.
Round 8: Working in back loops only, 2 dc in next st, 1 dc in each of next 5 sts; repeat from * 2 more times 21 dc.
Round 9: Working in back loops only, 2 dc in next st, 1 dc in each of next 6 sts; repeat from * 2 more times 24 dc.
Round 10: Working in back loops only, 2 dc in next st, 1 dc in each of next 7 sts; repeat from * 2 more times 27 dc.
Round 11: Working in back loops only, 2 dc in next st, 1 dc in each of next 8 sts; repeat from * 2 more times 30 dc.
Round 12: Working in back loops only, 2 dc in next st, 1 dc in each of next 9 sts; repeat from * 2 more times 33 dc.
Round 13: Working in back loops only, 2 dc in next st, 1 dc in each of next 10 sts; repeat from * 2 more times 36 dc.
Round 14: Working in back loops only, 2 dc in next st, 1 dc in each of next 11 sts; repeat from * 2 more times 39 dc.
Round 15: Working in back loops only, 2 dc in next st, 1 dc in each of next 12 sts; repeat from * 2 more times 42 dc.
Round 16: Working in back loops only, *2 dc in next st, 1 dc in each of next 13 sts; repeat from * 2 more times, then 1 hdc in next st, 1 sc in next st, slip st in next st 48 sts.
Do not fasten off.
Outer Layer of Tree
You will now be working into all the front loops left behind.
Round 1: Turn, *ch 3, skip 2 sts, slip st into next front loop; repeat from * around.
Repeat this round until you have reached the top of the tree and worked the last front loop.
Next round: Turn, 3 sc in first ch space, sc into slip st, *(2 dc, Picot Stitch, 2 dc) in next ch space, sc in next slip st; repeat from * around.
Repeat this round until you have reached the bottom of the tree; sc in st after the last ch space.
Fasten off.
Star Tree Topper
Make 2.
With C, make an adjustable ring.
Round 1: Ch 1, 5 sc in adjustable ring, join to first sc. Pull starting end tight to close the circle 5 sc.
Round 2: *Ch 3, turn; skip 1 ch, 1 sc in each of next 2 ch, slip st into next sc; repeat from * 4 more times.
Fasten off, leaving a 24” (61 cm) tail.
Garland
With B, ch 200.
Row 1: Slip st into 2nd ch from hook and in each ch across 199 slip sts.
Fasten off, leaving a 60” (152.5 cm) tail.
Christmas Ornaments
Make 3 each using C, D, E, and F.
Make an adjustable ring.
Round 1: Ch 1, 6 sc in adjustable ring, join to first sc. Pull starting end tight to close the circle.
Fasten off, leaving a 12” (30.5 cm) tail.
Finishing and Assembly
- With yarn needle and long tail, join the front and back of the star together and attach to the top of tree.
- Using long yarn tail, attach garland around tree, sliding the needle and yarn through the garland between branches.
- Using long yarn tails, attach ornaments to tree.
- Weave in all loose ends.
- Place the lid cover on top of the jar.
Finished Project Inspiration
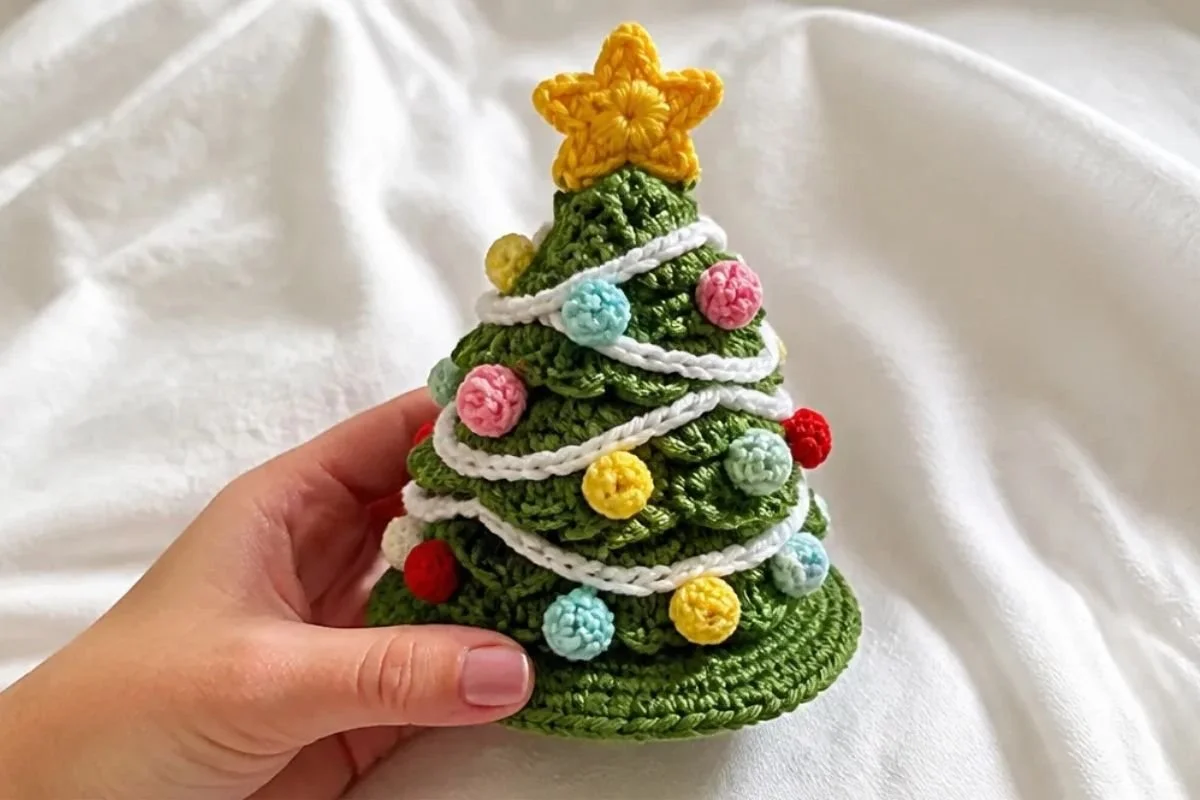
- Use the covered jar as a centerpiece on a holiday dining table or entryway shelf.
- Fill the jar before adding the topper and give it as a seasonal gift.
- Display several decorated jars together, using different ornament color combinations.
- Pair the tree jar topper with wrapped presents, evergreen branches, or other handmade decorations.
- Use an empty jar as a reusable holiday storage container for small craft supplies or wrapped treats.
Caring for Your Crochet Project
Dust the topper gently with a soft, dry cloth or a soft brush, taking care around the picot stitches, garland, star, and ornaments. For small marks, use careful spot cleaning rather than soaking the assembled piece.
Keep the topper away from excessive heat, open flames, and damp storage. Store it flat or loosely arranged in a clean, dry container so the tree layers and decorative pieces are not crushed. Before storing, check that the star and ornaments remain securely attached and that loose ends are woven in.
Tips for Better Results
- Mark the beginning of rounds if needed. The tree base grows steadily, so a removable marker can help you track your place.
- Count each increase carefully. The stitch counts progress from 9 sts in Round 4 to 48 sts in Round 16.
- Work in the correct loops. Rounds 4 through 16 are worked in back loops only, while the outer layer uses the front loops left behind.
- Do not fasten off after Round 16. The remaining yarn connects the base directly to the outer layer.
- Keep the garland tail long. The 60” tail is specifically used to attach the garland around the tree.
- Attach decorations between branches. Sliding the needle and yarn through the garland between branches helps position the trim neatly.
- Secure small ornaments firmly. Use their 12” tails for attachment, then weave in the remaining ends.
- Close adjustable rings firmly. Pull the starting end tight so the centers of the star and ornaments do not remain open.
Creative Ways to Customize Your Project
- Keep Paddy Green for the tree but replace the ornament colors with a limited palette such as red and white, blue and silver, or pink and gold.
- Use one ornament color for a minimalist appearance, while still making three ornaments as directed.
- Choose a contrasting garland color to make the tree layers stand out more strongly.
- Coordinate the jar with the setting by selecting a clear, colored, or decorated jar that safely accommodates the topper.
- Make the star in a bright metallic-looking yarn if desired, but remember that changing yarn can affect stitch definition, texture, and the amount of yarn required.
- A different yarn weight or hook size may change the finished fit of the lid cover, so test the fit against the intended jar before making substitutions.
For broader handmade floral and decorative inspiration, browse these all-in-one crochet bouquet patterns and consider creating a coordinated seasonal display.
Frequently Asked Questions
Is this pattern suitable for a beginner?
It uses basic stitches, an adjustable ring, increases, front-loop and back-loop work, slip stitches, and simple assembly. Beginners should read the loop-placement notes carefully and count each round.
What yarn and hook are recommended?
The pattern calls for RED HEART® Super Saver® and a Susan Bates® Crochet Hook 5.5 mm [US I-9]. The listed colors and color codes are Paddy Green, Soft White, Lemon, Cherry Red, Perfect Pink, and Minty F.
How many pieces are included?
You make one tree, two star pieces, one garland, and three ornaments each in four colors. That results in twelve ornaments total.
Can I change the colors?
Yes. Color changes are optional, but keep the component quantities and construction instructions the same unless you intentionally want to redesign the topper.
Why are the front loops important?
The tree base is worked in back loops only from Round 4 through Round 16. This leaves front loops behind, and those loops are used to build the outer layer.
How is the star attached?
Make two star pieces, leave a 24” tail on each, join the front and back together with a yarn needle, and attach the completed star to the top of the tree.
How do I attach the garland?
Use its 60” yarn tail and slide the needle and yarn through the garland between the branches as you wrap it around the tree.
Can I use another yarn?
A substitute may be used, but yarn weight, fiber, and hook size can affect the topper’s texture, dimensions, and fit on the jar. Test the finished fit before making several pieces.
How should I store the finished topper?
Keep it clean and dry, protect the decorative attachments from crushing, and store it away from excessive heat and moisture.
Conclusion
This crochet Christmas tree jar topper combines simple shapes with festive details, making it a satisfying seasonal project and a charming handmade gift. The layered tree, picot edging, star, garland, and colorful ornaments create a complete holiday design. Enjoy displaying it on a jar, adapting the colors, or using the free Red Heart Christmas tree jar topper pattern as an additional reference.