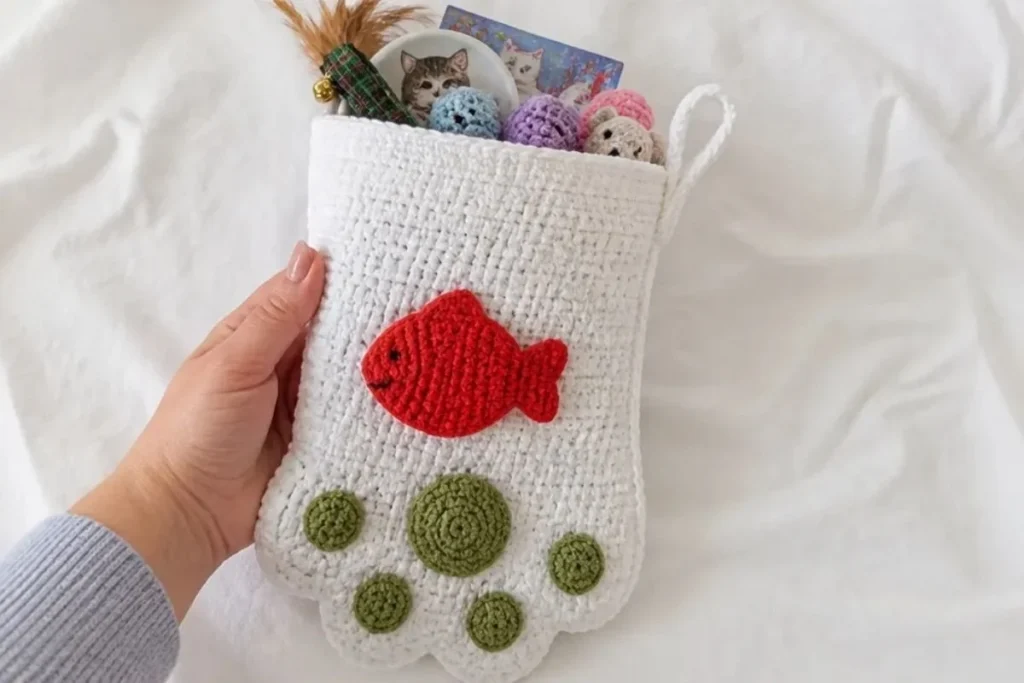
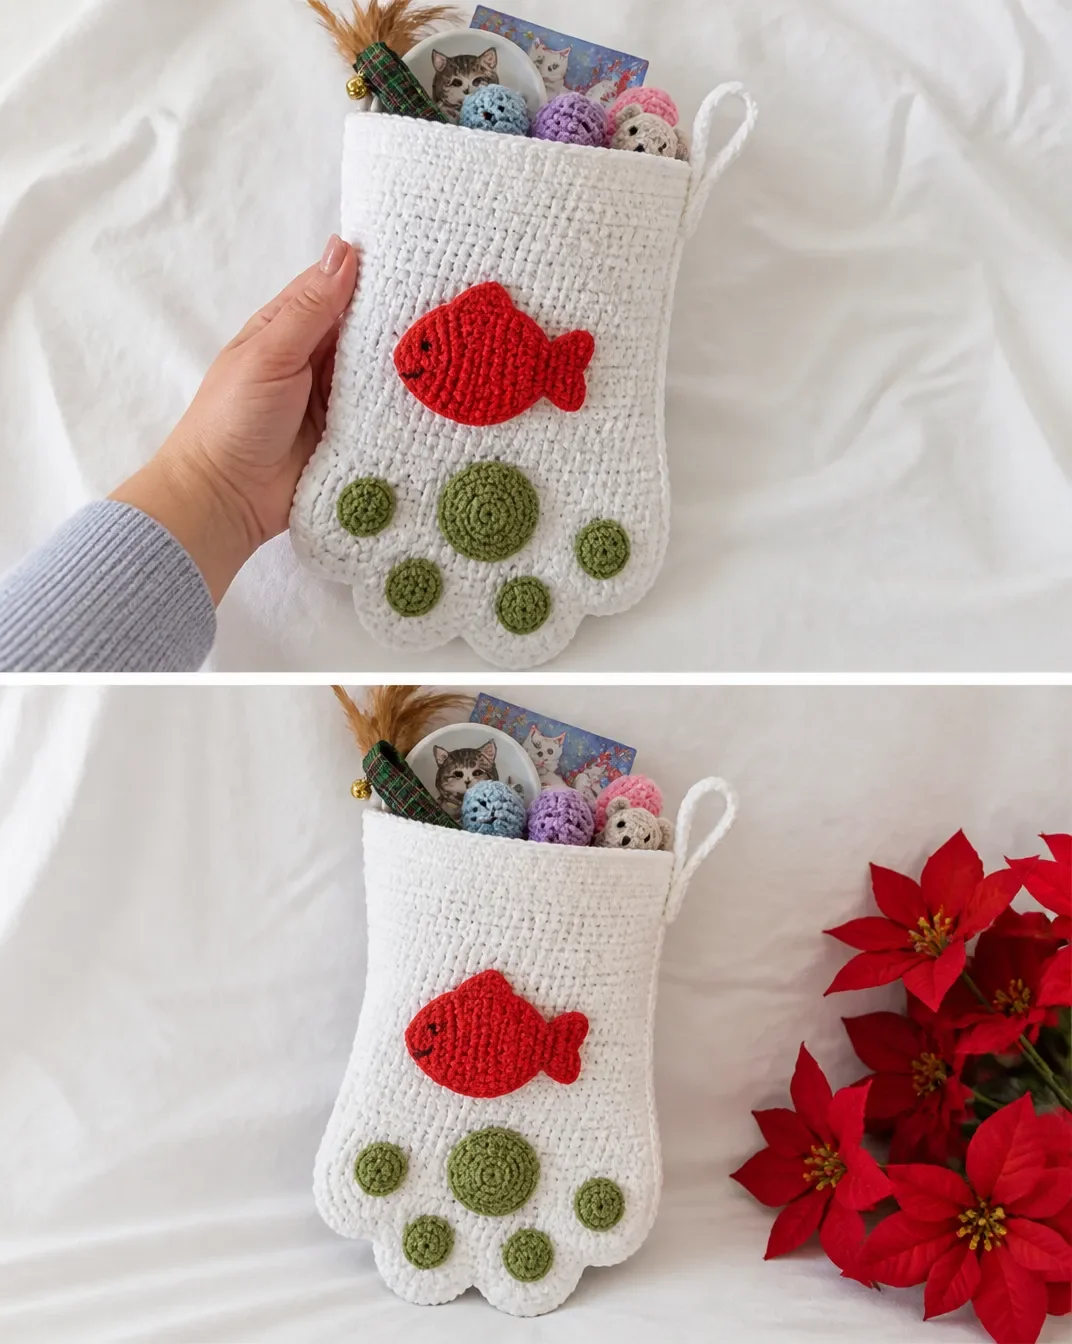
A cat-themed stocking makes Christmas decorating feel especially personal. This Cat Paw Crochet Christmas Stocking Pattern creates a 13½-inch stocking with a soft white paw print, four toe pads, and a playful red fish applique. The finished piece is useful as a mantle decoration, gift holder, or handmade present for a cat lover. Crocheters who enjoy seasonal makes can also pair it with other handmade décor, such as these crochet bouquet patterns. The pattern uses familiar stitches while offering practice with shaping, appliqué placement, and a neat border.
Why You’ll Love This Crochet Project
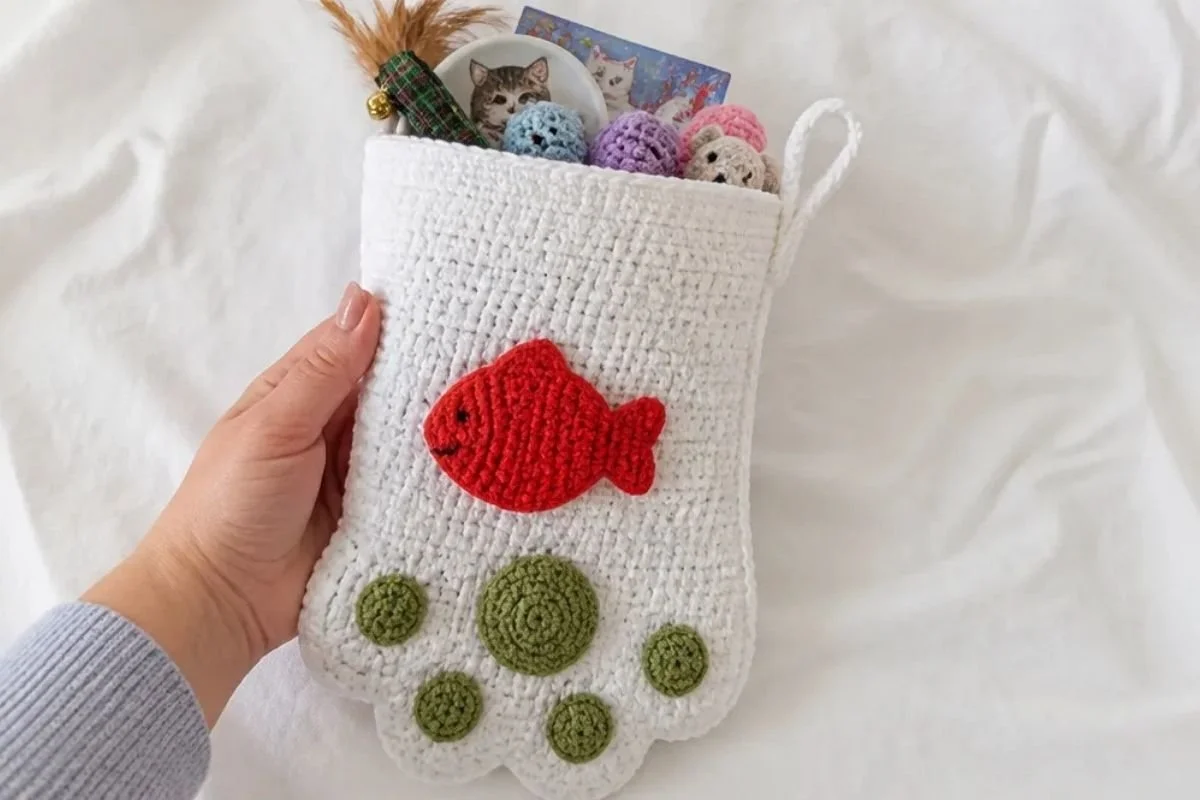
- It has a clear cat-inspired design. The paw print and fish details make this stocking instantly recognizable and festive.
- It combines simple and decorative techniques. Most of the stocking is worked in single crochet, while the upper section introduces half double crochet and tall treble stitches.
- It makes a thoughtful handmade gift. Fill it with small treats, toys, or gift cards for a cat lover.
- It offers useful shaping practice. The side pieces begin with a chain and are expanded through carefully placed increases.
- It works well for seasonal displays. Hang it on a mantel, wall, staircase, or bedroom door.
My Crochet Flower Tip: Although this is not a floral project, the same careful appliqué-placement technique used for crochet flowers applies to the paw and fish. Arrange each piece with pins before sewing so the finished stocking looks balanced.
Before You Start Crocheting
The stocking is constructed from two matching side pieces worked in Color A. After both sides are complete, the center paw, four toe prints, and fish are crocheted separately and sewn to the front. The two stocking sides are then sewn together through both loops of the last row.
A single crochet border is worked around the opening and body, and a chain-10 hanging loop is reinforced with 16 double crochet stitches. The finished stocking length is 13½ inches.
Important techniques include working on both sides of a foundation chain, increasing around curved sections, working continuous rounds, crocheting a shaped fish, sewing appliqués securely, and embroidering facial details.
Abbreviations Used
- ch: chain
- sc: single crochet
- hdc: half double crochet
- dc: double crochet
- tr: treble crochet
- inc: increase
- dec: decrease
- slip st: slip stitch
Materials You’ll Need
- RED HEART® Super Saver® yarn
- Color A: 1 skein, 316 Soft White
- Color B: 1 skein, 624 Tea Leaf
- Color C: 1 skein, 319 Cherry Red
- Color D: 1 skein, 312 Black, for the fish face
- 5mm [US Size H-8] crochet hook
- Yarn needle
Keep the colors separated while working. Color A forms the stocking, Color B creates the paw details, Color C makes the fish, and Color D is used for the embroidered eyes and mouth.
Step-by-Step Crochet Instructions
Work the following approved instructions in the stated order. Make two side pieces before beginning the appliqués.
Stocking Side Make 2
With A, ch 34.
Row 1 (Right Side): Sc in 2nd ch from hook and next 31 ch, 3 sc in last ch, working on opposite side of ch work 32 sc; turn – 67 sc.
Row 2: Ch 1, sc in 32 sc, [inc] 3 times, sc in remaining 32 sc; turn – 70 sc.
Row 3: Ch 1, sc in 33 sc, inc, sc in next 2 sc, inc, sc in 33 sc; turn – 72 sc.
Row 4: Ch 1, sc in 34 sc, [inc] 4 times, sc in 34 sc; turn – 76 sc.
Row 5: Ch 1, sc in 37 sc, [inc] twice, sc in 37 sc; turn – 78 sc.
Row 6: Ch 1, sc in 37 sc, [inc] 4 times, sc in 37 sc; turn – 82 sc.
Row 7: Ch 1, sc in 37 sc, inc, sc in next 6 sc, inc, sc in 37 sc; turn – 84 sc.
Row 8: Ch 1, sc in 38 sc, inc, sc in next 2 sc, [inc] twice, sc in next 2 sc, inc, sc in 38 sc; turn – 88 sc.
Row 9: Ch 1, sc in 27 sc, hdc in next 10 sc, 2 hdc in next sc, hdc in next 2 sc, 2 hdc in next sc, hdc in next 6 sc, 2 hdc in next sc, hdc in next 2 sc, 2 hdc in next sc, hdc in next 10 sc, sc in next 27 sc; turn – 92 sts.
Row 10: Ch 1, sc in 30 sts, [skip 3 sts, 7 tr in next st, skip 3 sts, sc in next st] twice, sc in next st, [skip 3 sts, 7 tr in next st, skip 3 sts, sc in next st] twice, sc in 29 sts; turn.
Row 11: Ch 1, sc in 32 sts, [inc] 3 times, sc in next 5 sts, [inc] 3 times, sc in next 6 sts, [inc] 3 times, sc in next 5 sts, [inc] 3 times, sc in 32 sc. Fasten off.
Repeat these instructions to make the second side.
Center Paw
With B ch 6.
Round 1: Sc in 2nd ch from hook and in next 3 ch, 3 sc in last ch, working on opposite side of ch, sc in next 3 ch, 2 sc in last ch; do not join but work in continuous rounds – 12 sc.
Round 2: Inc in first sc, sc in next 3 sc, [inc] 3 times, sc in next 3 sc, [inc] twice – 18 sc.
Round 3: (Sc, hdc) in first sc, (hdc, dc) in next sc, 2 dc in next sc, slip st in next sc, 2 dc in next sc, (dc, hdc) in next sc, (hdc, sc) in next sc, sc in remaining 11 sc. Fasten off.
Sew in place on the front side of the stocking.
Toe Prints Make 4
Make four identical toe prints with B.
Round 1: With B ch 2; 6 sc in 2nd ch from hook.
Round 2: Inc in each sc around; join with a slip st in first sc. Fasten off.
Sew the four toe prints in place around the center paw.
Fish
With C.
Row 1: With C ch 2; 3 sc in 2nd ch from hook; turn.
Row 2: Ch 1, inc in each sc across; turn – 6 sc.
Row 3: Ch 1, sc in next sc, inc, sc to last 2 sc; inc, sc in last sc; turn – 8 sc.
Row 4: Ch 1, sc in each sc across; turn.
Row 5: Repeat Row 3 – 10 sc.
Rows 6 and 7: Repeat Rows 4 and 5 – 12 sc.
Row 8: Repeat Row 4.
Row 9: Ch 1, sc in next 6 sc; fin: ch 6, sc in 2nd ch from hook, hdc in next ch, dc in next ch, tr in next ch, hdc in last ch, sc in last 6 sc; turn.
Row 10: Ch 1, sc in first 6 sc, skip fin, sc in last 6 sc; turn.
Row 11: Repeat Row 4.
Row 12: Ch 1, sc in first sc, dec, sc to last 3 sc; dec, sc in last sc; turn – 10 sc.
Row 13: Repeat Row 4.
Rows 14 and 15: Repeat Row 12 – 6 sc.
Row 16: Ch 1, sc in first sc, [dec] twice, sc in last sc; turn – 4 sc.
Row 17: Repeat Row 4.
Row 18: Ch 4, (2 tr, dc, hdc, sc) in first sc, slip st in next 2 sc, (sc, hdc, dc, 3 tr) in last sc; turn.
Row 19: Ch 1, sc in first 6 sts, slip st in 2 slip sts, sc in next 5 sts and in top of ch-4. Fasten off.
With D, embroider the eyes and mouth. Sew the fish in place.
Finishing
Sew the front and back sides together through both loops of the last row.
Border and Hanging Loop
Join A in the top center back st of the stocking with sc; work sc evenly around; ch 10 for hanger; sc in each sc around to last 2 sc, skip last 2 sc, work 16 dc in ch-10 loop, skip first 2 sc of last round; join with a slip st in next sc. Fasten off.
Ways to Display Your Finished Crochet
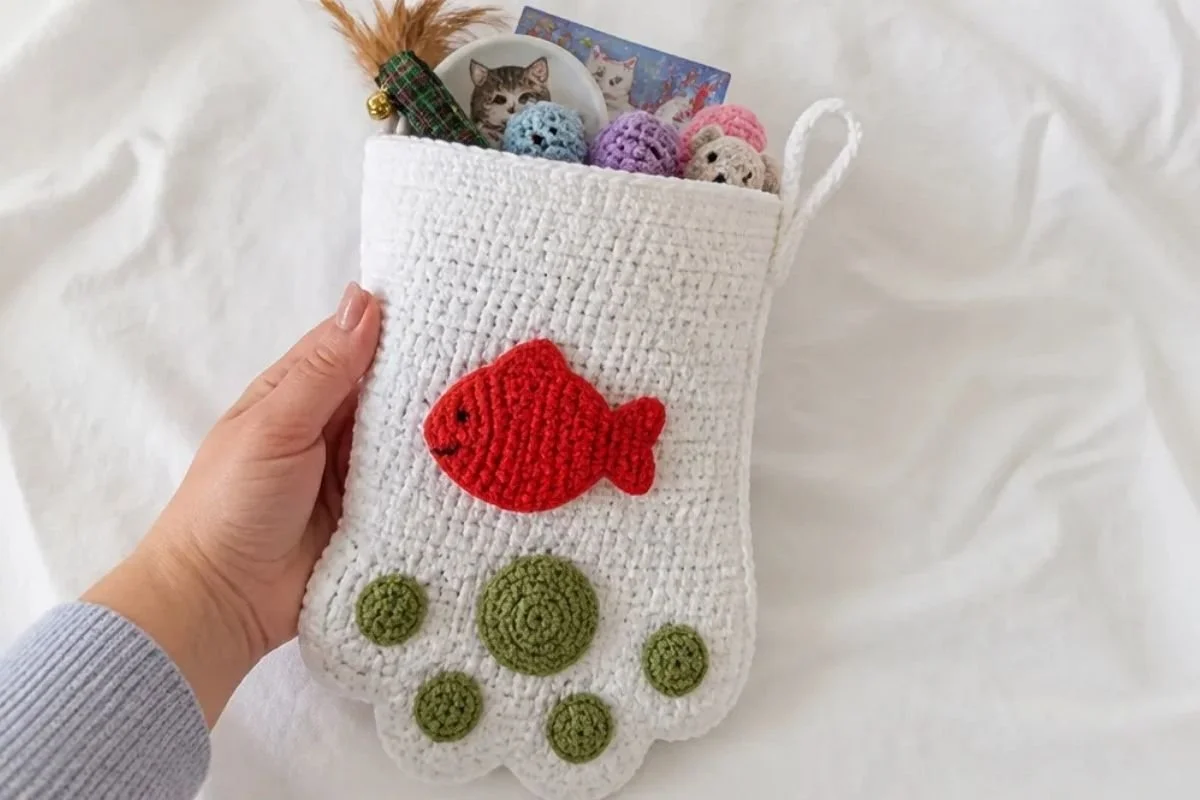
- Hang it on a mantel: Place the stocking beside traditional holiday stockings for a playful cat-themed arrangement.
- Use it as a gift holder: Add small toys, treats, accessories, or wrapped sweets for a cat lover.
- Create a pet-themed display: Pair it with framed cat artwork, a small tree, or other animal-inspired decorations.
- Decorate a bedroom door: The hanging loop makes it easy to display in a personal space.
- Give it as a personalized present: Choose recipient-specific colors while keeping the paw and fish details.
- Use it as a reusable seasonal decoration: Store it after the holidays and bring it out each year.
Caring for Your Crochet Project
Keep the finished stocking clean by gently dusting it with a soft, dry cloth or using a vacuum attachment on a low setting. Take care around the embroidered fish face and the sewn-on paw pieces so they do not catch or pull.
For small marks, use careful spot cleaning rather than soaking the stocking. Avoid excessive heat, which can affect the shape and texture of the yarn. Reshape the stocking gently by hand while it is dry.
Store it in a clean, dry place away from moisture, direct sunlight, and anything that could snag the stitches. Folding it loosely or storing it flat will help protect the appliqués and hanging loop.
Tips for Better Results
- Count each row carefully. The side pieces use several increases, so compare your stitch count with the stated totals at the end of Rows 1–9.
- Mark the beginning of continuous rounds. The center paw is worked without joining, and a removable marker can help you identify the first stitch.
- Keep the two side pieces identical. Use the same tension and check the shaping after each row so the pieces align during assembly.
- Watch the tall stitches in Row 10. The groups of 7 tr create the decorative upper texture; skipping the correct three stitches keeps the pattern balanced.
- Place the appliqués before sewing. Arrange the center paw, toe prints, and fish on the front side first, then adjust their spacing.
- Secure all yarn ends firmly. Weave ends into the wrong side, especially around the appliqués and the final border.
- Check the fish shaping as you work. The increases form the body, while the fin and later decreases create the recognizable fish silhouette.
- Sew through the specified loops. Joining the stocking sides through both loops of the last row creates a stable seam.
For another small handmade holiday accent, the decorative placement skills used here can also help when making a crochet rose for wine glasses.
Creative Ways to Customize Your Project
These options are optional and should be treated separately from the approved instructions:
- Change the stocking color: Replace Color A with another shade while keeping the 5mm hook and the same construction. A yarn change may affect the finished dimensions and stitch definition.
- Use a different paw color: A contrasting Color B can make the paw print stand out more strongly.
- Create seasonal palettes: Try icy blue and white for a winter look, or black, orange, and cream for a Halloween-inspired cat theme.
- Coordinate the fish: Keep the fish in a bright contrast color or choose a muted shade for a softer design.
- Add a name carefully: Embroider a name on the stocking after the pieces are assembled, making sure the lettering does not interfere with the appliqués.
- Try another yarn: A different yarn may change the size, drape, texture, and amount required. Make a test swatch if maintaining the 13½-inch length is important.
Frequently Asked Questions
Is this pattern suitable for a beginner?
It uses basic stitches and straightforward shaping, but beginners should be comfortable counting stitches, increasing, sewing pieces together, and reading row instructions. The fish and decorative upper section provide additional practice.
What yarn is recommended?
The pattern specifies RED HEART® Super Saver® in four colors: Soft White, Tea Leaf, Cherry Red, and Black. Use the colors for the designated parts of the stocking.
Which crochet hook should I use?
Use a 5mm [US Size H-8] crochet hook as specified.
How many stocking pieces do I make?
Make two side pieces. You will also make one center paw, four toe prints, and one fish.
How are the paw and fish attached?
The center paw and toe prints are sewn to the front side of the stocking. The fish is sewn in place after embroidering its eyes and mouth with Color D.
How is the stocking assembled?
Sew the front and back sides together through both loops of the last row. Then work the border and hanging loop in Color A.
Can I change the colors?
Yes. Color changes are an optional customization, but they may alter contrast and the overall appearance. Changing yarn can also affect dimensions, texture, and yarn requirements.
How should I clean the finished stocking?
Use gentle dusting and careful spot cleaning. Avoid excessive heat, soaking, and rough handling around the sewn appliqués and embroidered fish face.
Conclusion
This cat paw stocking combines practical construction with charming seasonal details. The white paw print, toe pads, and red fish create a cheerful design that works as a gift holder or holiday decoration. Follow the stitch counts carefully, sew each component securely, and customize the colors if desired. For another cat-themed holiday option, compare it with this Red Heart cat paws Christmas stocking pattern.