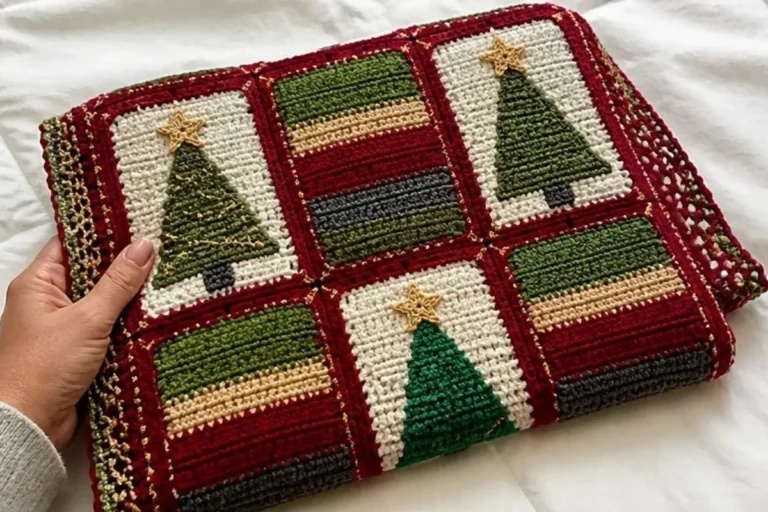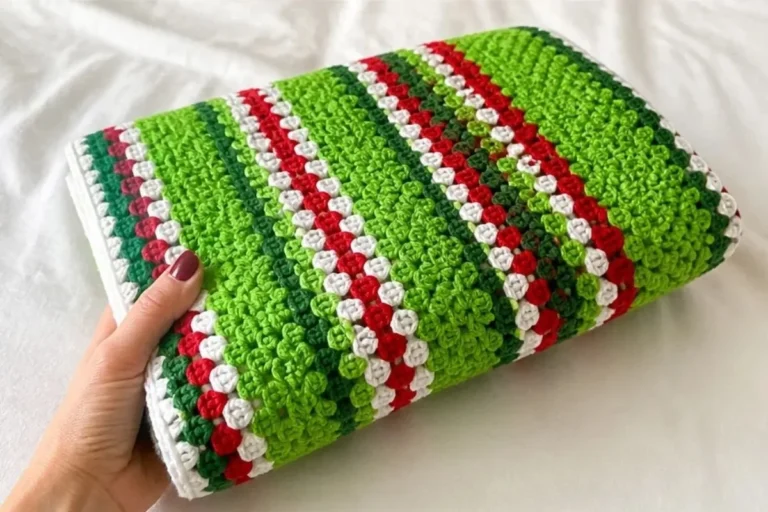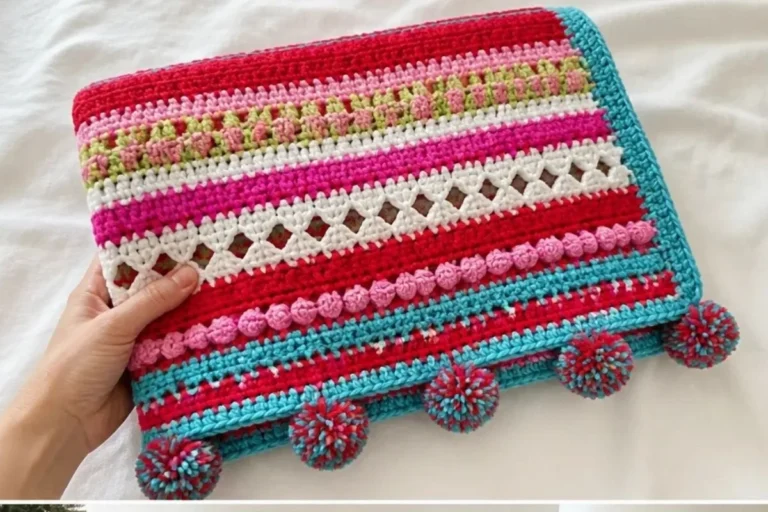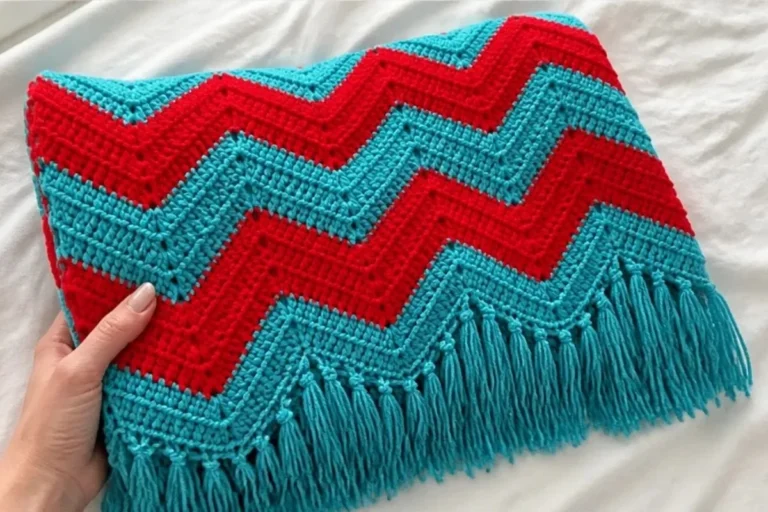
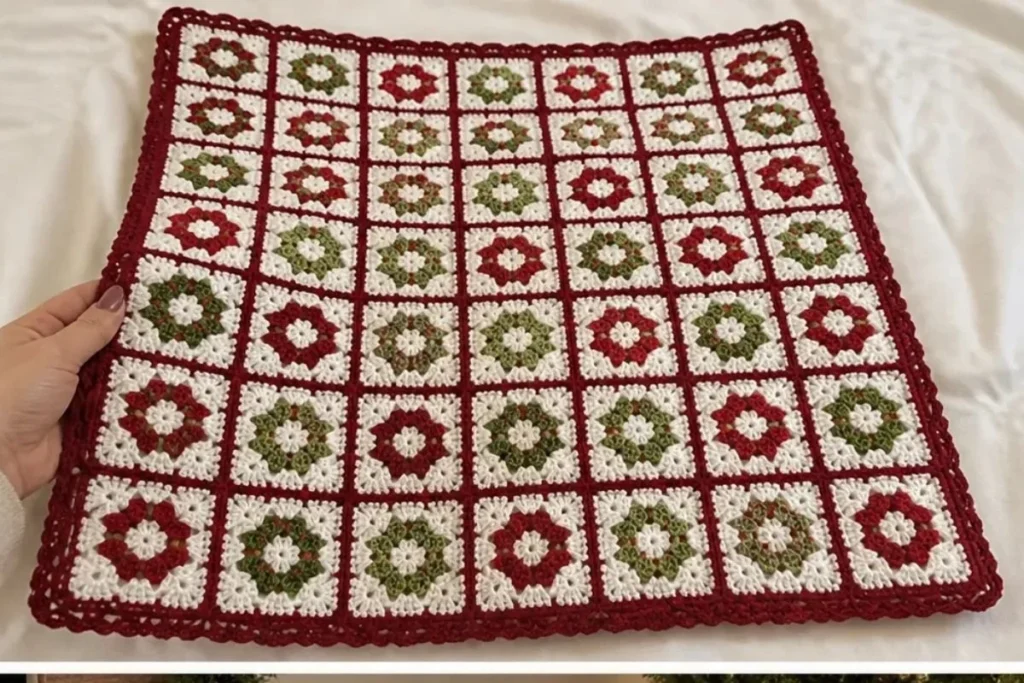
A cozy holiday throw made from hundreds of small crochet squares, this crochet Christmas wreath pattern for a cozy throw combines soft white, burgundy, thyme, and sage into a festive botanical-inspired design. The repeated granny-style squares create a traditional handmade texture, while the color placement gives the finished piece a wreath-like seasonal character. It is a rewarding project for crocheters who enjoy working in sections and assembling a large decorative textile. For another seasonal crochet accent, you might also enjoy this crochet rose pattern for wine glasses.
Why You’ll Love This Crochet Project
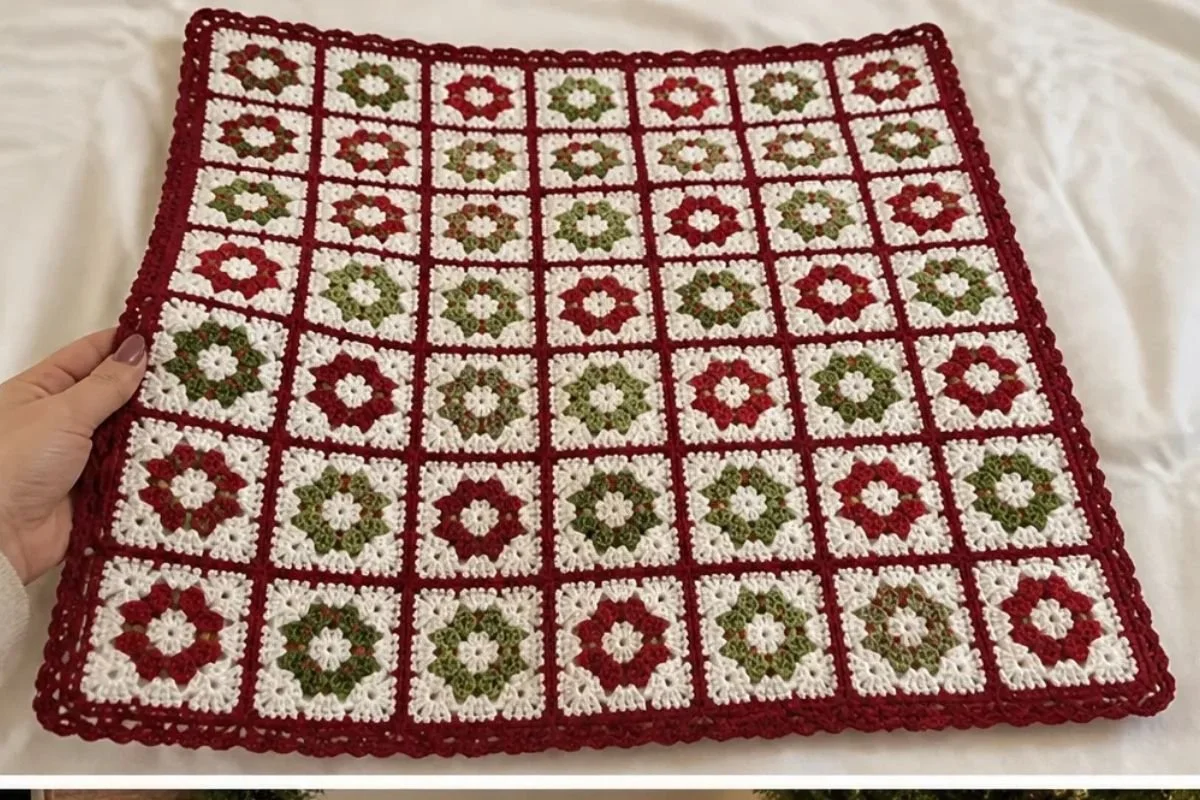
- It creates a substantial handmade throw. The pattern uses 475 squares in total, making it an ambitious project with a richly textured finished surface.
- The color palette feels naturally festive. Soft White forms the foundation, while Burgundy, Medium Thyme, and Light Sage add holiday warmth and leafy contrast.
- The square construction is easy to organize. You can make the motifs in batches, sort them by color combination, and assemble them gradually.
- It builds useful crochet skills. You will practice working into chain spaces, changing colors, joining rounds, sewing motifs together, and adding a decorative border.
- It makes a thoughtful handmade gift. A completed throw can become a winter blanket, a seasonal sofa accent, or a treasured family piece.
My Crochet Flower Tip: Keep finished squares in labeled stacks as you work. Separating one-color squares from two-color squares will make the assembly stage much easier.
Before You Start Crocheting
The throw is made from two types of two-round squares: one-color squares and two-color squares. The one-color group includes 287 squares, while the two-color group includes 188 squares. Each square is crocheted separately, finished with a long sewing tail, and then arranged according to the assembly diagram before being sewn together.
The square pattern uses double crochet groups worked into a small center ring and into corner chain spaces. The two-color version adds a color change during the first round and another change during the second round. Pay close attention to the stated right-side and wrong-side instructions, because the squares are turned between rounds.
After all squares are sewn together, the throw receives a two-round border in Burgundy. The first border round establishes single crochet and chain spaces around the perimeter. The second round works a three-chain decorative edging into those spaces.
Useful abbreviations include:
- ch: chain
- dc: double crochet
- hdc: half double crochet
- sc: single crochet
- sl st: slip stitch
Materials You’ll Need
- Yarn (RED HEART® Super Saver®):
- 5 skeins, color 316 Soft White, A
- 2 skeins, color 376 Burgundy, B
- 1 skein, color 406 Medium Thyme, C
- 1 skein, color 631 Light Sage, D
- Crochet hook: 5.5mm [US I-9]
- Yarn needle
The long yarn tails left on each square are used for sewing the squares together, so avoid trimming them short. The yarn needle is also needed for weaving in the remaining ends after assembly.
Step-by-Step Crochet Instructions
One-Color Squares
Make 287 one-color squares:
- 211 with A
- 68 with B
- 8 with C
Center Ring
Ch 4; join with slip st in first ch to form a ring.
Round 1 (Wrong Side)
Ch 3 (counts as first dc here and throughout),
2 dc in ring,
[ch 2, 3 dc in ring] 3 times
join with hdc in top of beginning ch (joining hdc counts as a ch-2 space), turn
Four 3-dc groups and 4 ch-2 spaces.
Round 2 (Right Side)
Ch 3,
2 dc in first ch-space (around the post of the joining hdc),
ch 1,
[(3 dc, ch 2, 3 dc) in next ch-2 space, ch 1] 3 times,
3 dc in first ch-space (around the post of the joining hdc),
ch 2;
join with slip st in top of beginning ch
Eight 3-dc groups, 4 ch-1 spaces, and 4 ch-2 spaces.
Fasten off, leaving a long tail for sewing squares together.
Two-Color Squares
Make 188 two-color squares:
- 108 using A and B
- 48 using C and D
- 24 using A and C
- 8 using B and C
All two-color squares are worked using the darker of the two colors as the first color and the lighter of the two colors as the second color.
Center Ring
With first color,
ch 4; join with slip st in first ch to form a ring.
Round 1 (Wrong Side)
Ch 3 (counts as first dc here and throughout),
(2 dc, ch 2, 3 dc) in ring;
change to second color, do not fasten off first color,
ch 2,
(3 dc, ch 2, 3 dc) in ring;
join with hdc in top of beginning ch (joining hdc counts as a ch-2 space), turn
Four 3-dc groups and 4 ch-2 spaces.
Round 2 (Right Side)
Continuing with second color,
ch 5,
slip st in 3rd ch from hook.
2 dc in first ch-space (around the post of the joining hdc),
ch 1,
(3 dc, ch 2, 3 dc) in next ch-2 space, ch 1,
3 dc in next ch-2 space;
change to first color,
ch 2, 3 dc in same ch-2 space, ch 1,
(3 dc, ch 2, 3 dc) in next ch-2 space, ch 1,
3 dc in first ch-space (around the post of the joining hdc);
join with slip st in ch-2 space at beginning of round.
Fasten off, leaving a long tail for sewing squares together.
Assembly
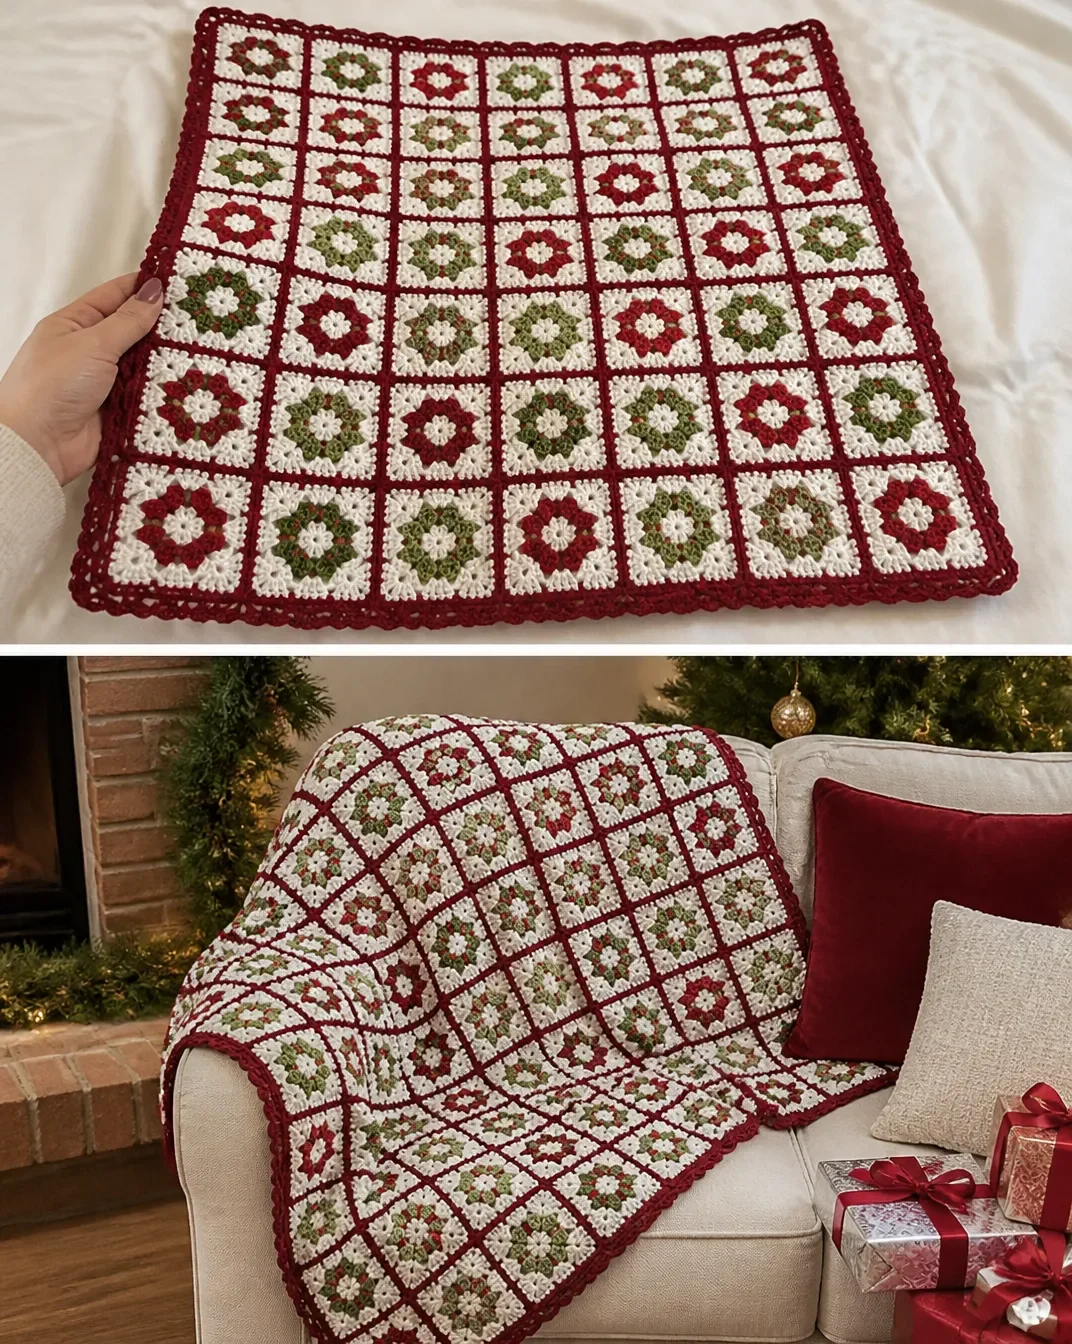
Arrange squares as shown in assembly diagram and sew together.
Weave in ends.
Keep the right side facing consistently while arranging the motifs. Before sewing, lay out the complete design on a clean, flat surface so you can check the placement of the one-color and two-color squares. Sewing with the reserved tails helps reduce the number of additional yarn ends.
Border
With Right Side facing, join B with slip st in any corner ch-2 space.
Round 1 (Right Side)
Ch 1,
beginning in same ch-2 space as join,
**(sc, ch 2, sc) in corner ch-2 space, ch 1,
*[sc in next dc, ch 1, skip next dc, sc in next dc, ch 1, skip next ch-space] twice, sc in seam between squares, ch 1;
repeat from * across to next corner ch-2 space;
repeat from ** around;
join with slip st in first sc.
Round 2
Slip st in first corner ch-2 space, ch 1,
beginning in same ch-2 space,
(sc, ch 3, sc) in each ch-space around;
join with slip st in first sc.
Fasten off.
Ways to Display Your Finished Crochet
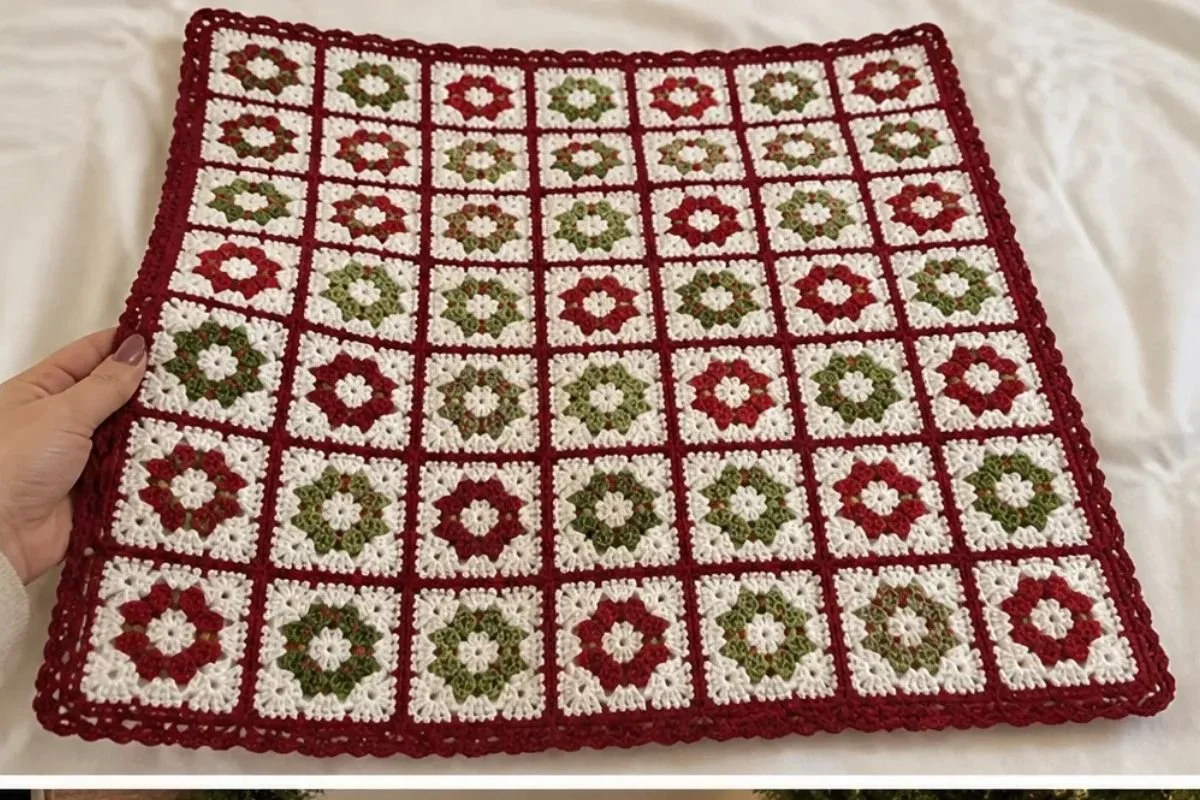
- Drape it over a sofa arm so the Burgundy border and seasonal colors become part of the room’s holiday décor.
- Fold it across the foot of a bed for an extra decorative layer during the colder months.
- Use it as a winter reading throw in a chair, keeping the textured fabric close by for cozy evenings.
- Give it as a handmade holiday gift to someone who appreciates traditional crochet and heirloom-style projects.
- Layer it with neutral furnishings so the Soft White squares stand out while the green shades provide a natural accent.
- Display it seasonally and store it away with other holiday textiles when the season ends.
Caring for Your Crochet Project
Handle the completed throw carefully, especially around the sewn seams and border. Gently shake or dust the surface to remove loose particles rather than pulling at individual stitches.
For small marks, use careful spot cleaning and avoid excessive moisture. If broader cleaning is needed, follow the care instructions for the yarn. Do not use excessive heat, which can affect the shape and texture of the crocheted fabric.
Store the throw completely dry in a cool, clean place. Fold it loosely instead of compressing it tightly, and avoid placing heavy objects on top of it for long periods. Keeping it away from direct sunlight can also help preserve the contrast between the soft white, burgundy, and green shades.
Tips for Better Results
- Make a color checklist. Track each required group separately: 211 A one-color squares, 68 B, 8 C, and each two-color combination.
- Use consistent tension. Similar tension keeps the squares closer in size and helps the seams align during assembly.
- Count the corner spaces. Each completed square should have four ch-2 spaces. These spaces form the corners and are essential for a flat motif.
- Watch the joining hdc. The pattern specifically notes that the joining hdc counts as a ch-2 space. Work the next stitches around its post as instructed.
- Keep the right and wrong sides clear. Round 1 is worked on the wrong side and Round 2 on the right side for both square types.
- Do not cut sewing tails too short. Each square should be fastened off with a long tail for sewing squares together.
- Lay out the full arrangement before sewing. This lets you adjust color placement while every square is still easy to move.
- Secure the border join neatly. Begin in a corner ch-2 space and make sure the first round remains evenly distributed around the assembled throw.
For additional floral-inspired crochet practice, a beginner-friendly crochet peony tutorial can be a useful companion project when exploring botanical color palettes.
Color and Styling Variations
The approved pattern uses a specific four-color palette, but you can create optional variations while keeping the same square construction.
- Try a classic red-and-green palette. Replace the soft white emphasis with another light neutral only if you are prepared for a different visual balance and yarn requirement.
- Use a wintry palette. Silver-gray, deep cranberry, pale sage, and white can create a cooler seasonal effect.
- Emphasize the greenery. Arrange the Medium Thyme and Light Sage squares more prominently for a botanical look.
- Create a neutral holiday throw. Cream, taupe, muted red, and olive can soften the traditional Christmas appearance.
- Change the border color. A light border can make the individual motifs stand out, while Burgundy gives the original design a stronger frame.
- Use another yarn or hook size cautiously. Changing yarn or hook size may affect the squares’ gauge, dimensions, texture, and the amount of yarn required. If you modify either, make a sample square before producing the full quantity.
These are optional styling ideas only; they do not change the approved pattern instructions above.
Frequently Asked Questions
Is this pattern suitable for a beginner?
The individual squares use repeated double crochet groups and chain spaces, but the full project is large because it requires 475 squares. A beginner who is comfortable with basic stitches, color changes, and sewing motifs together can work through it in organized stages.
What yarn is recommended?
The specified yarn is RED HEART® Super Saver® in four colors: 316 Soft White, 376 Burgundy, 406 Medium Thyme, and 631 Light Sage. Use the listed quantities for the approved color arrangement.
What hook size should I use?
Use a 5.5mm [US I-9] crochet hook.
How many squares are required?
You will make 287 one-color squares and 188 two-color squares, for a total of 475 squares.
Which colors are used for the one-color squares?
Make 211 one-color squares with A, 68 with B, and 8 with C.
Which combinations are used for the two-color squares?
Make 108 using A and B, 48 using C and D, 24 using A and C, and 8 using B and C. Work the darker color first and the lighter color second.
How are the squares assembled?
Arrange the squares as shown in the assembly diagram, sew them together, and weave in the ends. Keep the long tails left during fastening off for sewing whenever possible.
What color is used for the border?
The border is worked with B, Burgundy. Join it with a slip stitch in any corner ch-2 space while the right side is facing.
Can the colors be changed?
Yes, color changes are an optional customization. However, changing the palette may alter the visual balance and may affect how much yarn you need in each color.
How should the finished throw be stored?
Store it clean and completely dry in a cool place. Fold it loosely, protect it from excessive heat and direct sunlight, and avoid placing heavy items on top of it.
Conclusion
This crochet Christmas wreath pattern for a cozy throw turns hundreds of simple squares into a richly textured seasonal keepsake. The carefully balanced palette, two-color motifs, and decorative border make it suitable for holiday decorating or gifting. For another festive crochet idea, you can explore this Rudolph Christmas wreath DIY for inspiration, then personalize your throw with your preferred display style and color arrangement.