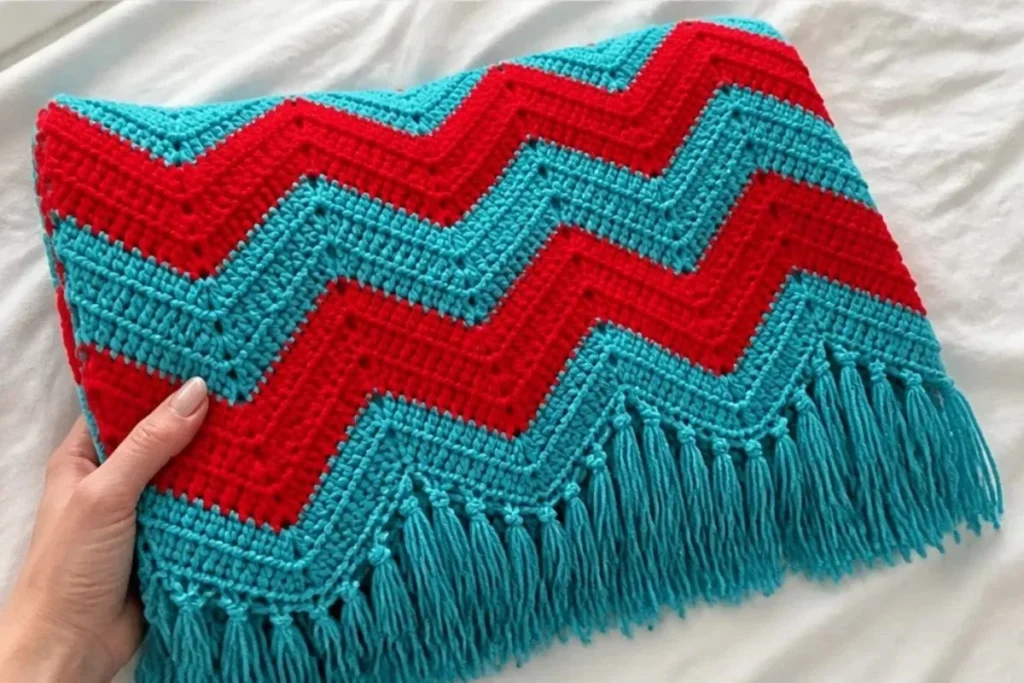
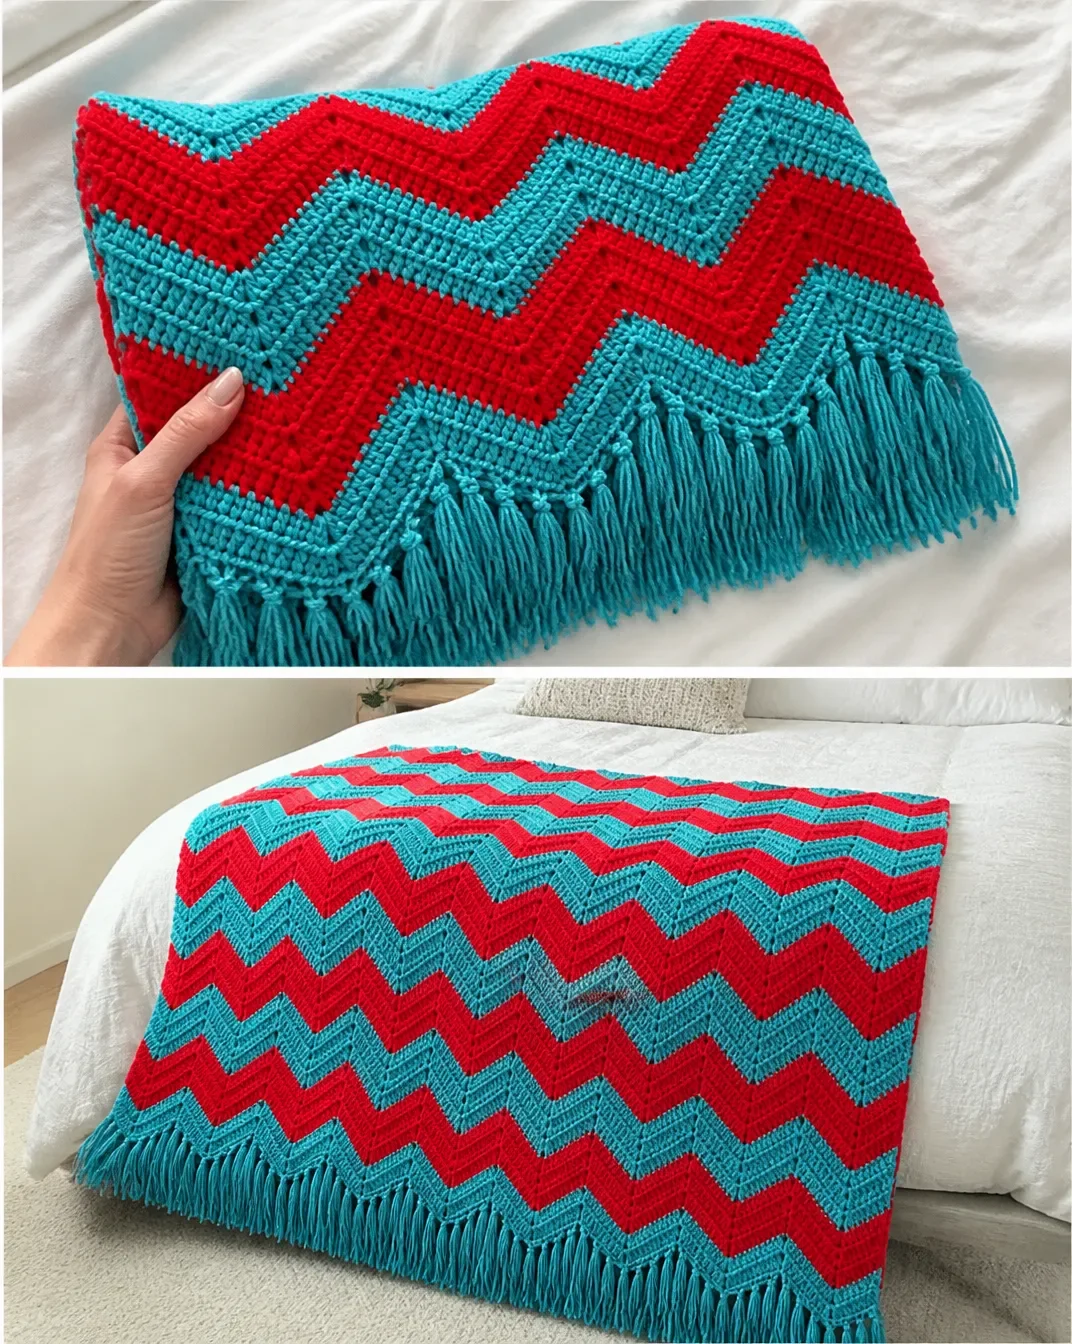
A Festive Crochet Christmas Blanket Pattern brings together cheerful Cherry Red and Turqua stripes with a bold, rippling texture. The finished blanket measures approximately 54 inches [137 cm] in height and is finished with a coordinating fringe, making it a cozy seasonal throw, a thoughtful handmade gift, or a bright accent for holiday decorating. The repeating decreases and three-double-crochet groups create an engaging rhythm for crocheters who enjoy textured rows. For more seasonal handmade inspiration, explore these all-in-one crochet bouquet patterns for coordinating gift ideas.
Why You’ll Love This Crochet Project
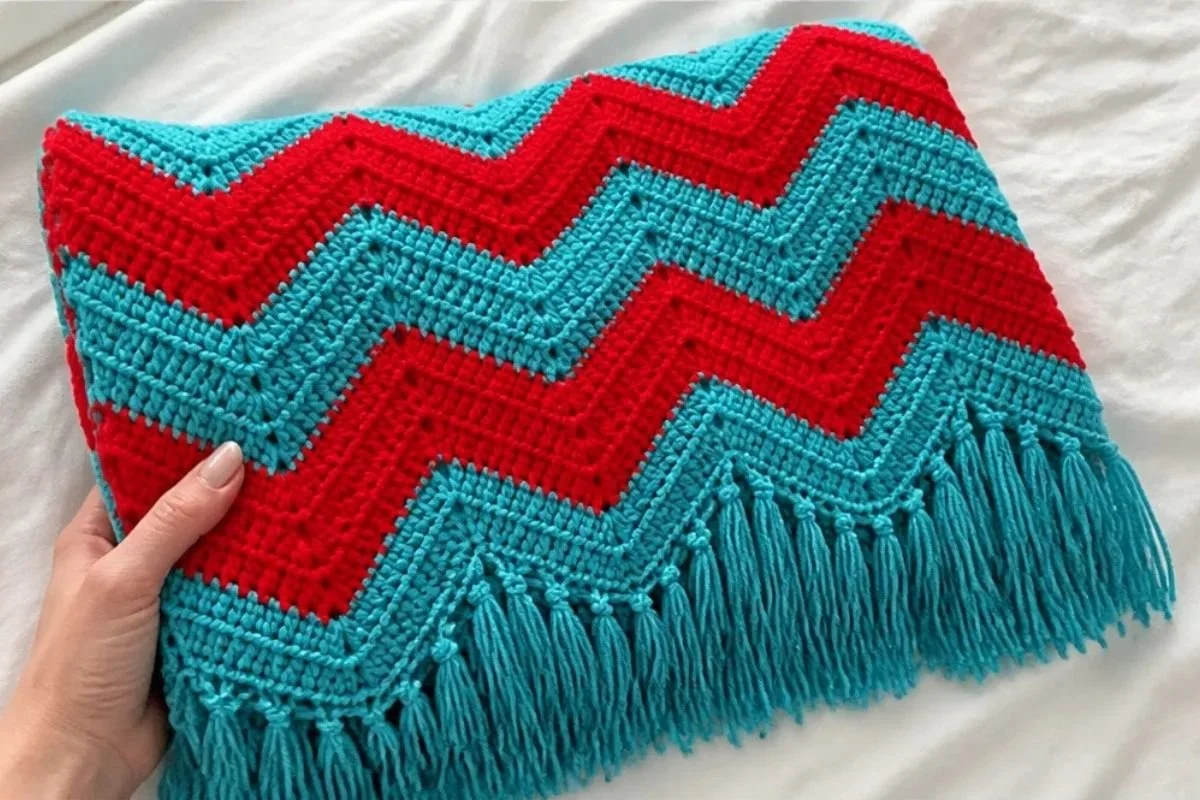
- Festive color contrast: Cherry Red and Turqua create a cheerful holiday palette without requiring complicated colorwork.
- Interesting texture: Repeated dc2tog decreases and groups of three double crochets form a dimensional, gently rippling fabric.
- Useful finished size: At approximately 54 inches [137 cm] in height, the blanket works well as a lap throw, chair accent, or seasonal display piece.
- Straightforward construction: The blanket is worked in rows from a foundation chain, with no separate motifs or sections to assemble.
- Decorative fringe: A three-strand fringe in Contrast B gives the top and bottom edges a polished holiday finish.
My Crochet Flower Tip: Place a removable marker in the first stitch of each row if you tend to lose edge stitches while working the repeated decreases and increases.
Before You Start Crocheting
This blanket is made as one continuous piece. You begin with Contrast A and a chain of 153, work a single-crochet set-up row, and then establish the stripe sequence and textured row pattern. The first two rows are worked in A, followed by two rows in B; these four rows form the repeating Stripe Pattern.
The blanket continues in rows until the work measures approximately 54 inches [137 cm], ending after two rows of A. A single-crochet row finishes the top edge, and the project is completed with knotted fringe across both the bottom and top edges.
The pattern uses US crochet terminology. The main shaping comes from double crochet two together, abbreviated dc2tog, which combines the next two stitches into one decrease. The finished fabric depends on keeping the repeated groups in order, so count carefully at the beginning and end of every row.
Materials You’ll Need
- Red Heart® Super Saver® Jumbo™ (14 oz/396 g; 744 yds/681 m)
- Contrast A: Cherry Red (0319) 2 balls or 1080 yds/988 m
- Contrast B: Turqua (0512) 2 balls or 1362 yds/1245 m
- Size U.S. I/9 [5.5 mm] Susan Bates® Silvalume crochet hook, or size needed to obtain gauge
- Susan Bates® yarn needle
Contrast A establishes the blanket and is used for the first two rows of each four-row stripe sequence. Contrast B is used for the next two rows and for the fringe. Keep the two colors separated while crocheting so the stripe changes remain easy to follow.
Complete Crochet Tutorial
Stripe Pattern
With A, work 2 rows.
With B, work 2 rows.
These 4 rows form the Stripe Pattern.
With A, ch 153. See diagram on page 2.
Set-up Row
- With A, 1 single crochet (sc) in 2nd ch from hook.
- 1 sc in each ch to end of chain. Turn.
- 152 sc.
The chain and set-up row establish the 152-stitch foundation for the textured rows. Make sure the chain is not too tight, since a tight foundation can pull in the lower edge.
Stripe Row Instructions
1st row (RS)
- Ch 2.
- 1 dc in first sc.
- [Double crochet next 2 sts together (dc2tog)] 3 times.
- 3 dc in each of next 3 sc.
- (Dc2tog) 6 times. 3 dc in each of next 3 sc. Rep from * to last 7 sts.
- (Dc2tog) 3 times.
- 1 dc in last st.
- Turn.
2nd row
- Ch 2.
- 1 dc in first st.
- (Dc2tog) 3 times.
- 3 dc in each of next 3 sts.
- (Dc2tog) 6 times. 3 dc in each of next 3 sts. Rep from * to last 7 sts.
- (Dc2tog) 3 times.
- 1 dc in last st.
- Turn.
The first two rows of the Stripe Pattern are now in place. Work the decreases and three-double-crochet groups as written rather than substituting a general ripple stitch repeat, because the sequence controls the blanket’s texture and width.
Continue Stripe Pattern Through Blanket Height
First 2 rows of Stripe Pattern are now in place.
Keeping continuity of Stripe Pattern, repeat the 2nd row until work from beginning measures approximately 54 inches [137 cm], ending after 2 rows of A.
Continue changing colors according to the established sequence: two rows with A, followed by two rows with B. Maintain the same row structure throughout the blanket.
Finishing Top Edge
With A, work the next row as follows:
- Ch 1.
- 1 sc in each st to end of row.
- Fasten off.
This single-crochet row creates a simple, stable top edge before the fringe is added.
Fringe
- Cut lengths of B measuring 16 inches [40.5 cm] long.
- Taking 3 strands together, fold them in half.
- Knot the folded strands into fringe across the bottom and top of the blanket.
- Trim the fringe evenly.
Use the same number of strands for each fringe bundle so the edging has a consistent appearance. A crochet hook, yarn needle, or your fingers can help pull the folded loop through the edge before the loose ends are drawn through.
Ways to Display Your Finished Crochet
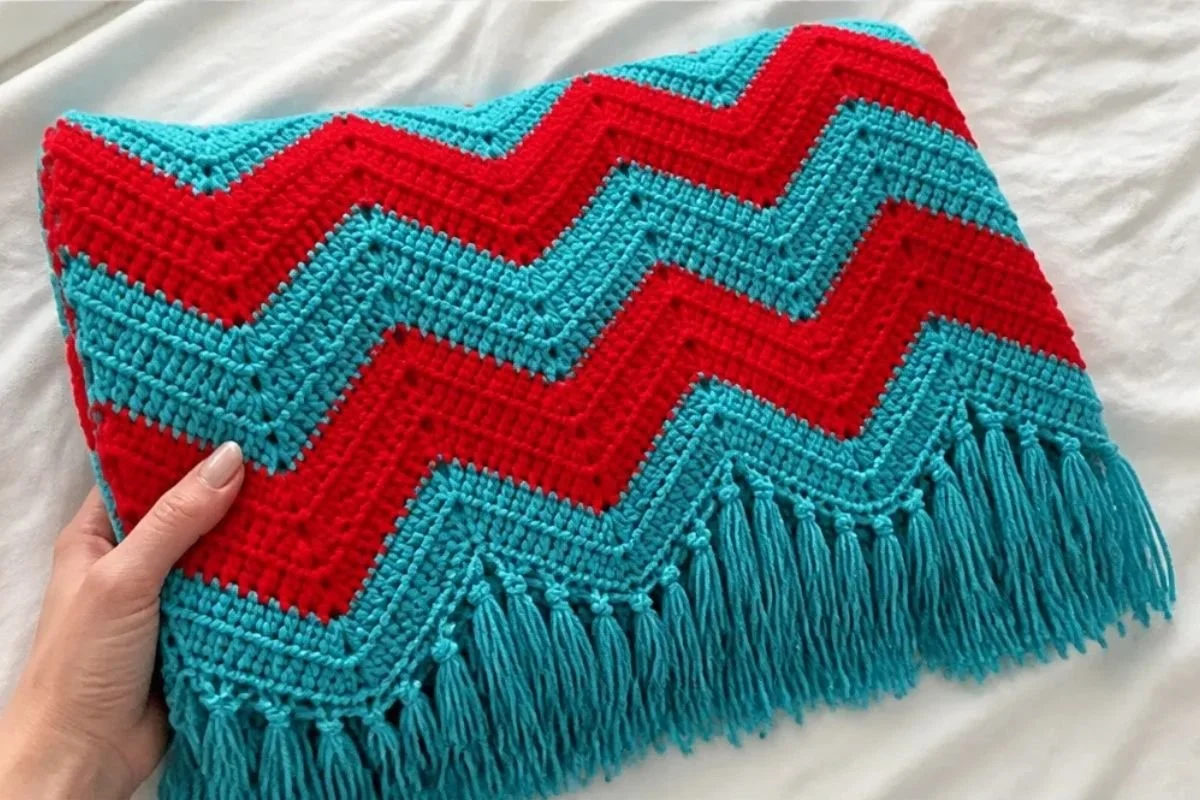
- Drape it over a sofa arm: Let the red-and-turquoise stripes show against a neutral chair or couch.
- Use it as a holiday lap blanket: Keep it folded near a reading chair or family-room seating area.
- Style it at the foot of a bed: Fold the blanket lengthwise so the textured rows and fringe remain visible.
- Create a seasonal gift: Pair the finished throw with coordinating handmade accessories or a holiday card.
- Use it as a photo-ready backdrop: The bold stripe colors make a festive background for gift baskets or holiday displays.
- Coordinate it with crochet decorations: Add handmade ornaments, garlands, or floral accents in red, turquoise, white, or natural tones.
For another small seasonal crochet accent, a crochet rose for wine glasses can complement a holiday table or gift presentation.
Caring for Your Crochet Project
Treat the finished blanket gently, especially around the fringe. Follow the yarn manufacturer’s care instructions for the specific yarn, and test any cleaning method on a discreet area first if you are uncertain.
For routine maintenance, shake the blanket outdoors or gently dust it with a soft brush. Avoid pulling on individual fringe strands, and trim only loose or uneven ends when necessary. If the blanket becomes creased in storage, lay it flat and smooth it by hand rather than applying excessive heat.
Store the blanket clean and completely dry. Fold it loosely in a breathable storage container or place it on a shelf away from direct sunlight, dampness, and rough surfaces that could catch the textured stitches or fringe.
Tips for Better Results
- Count the foundation chain carefully. The starting chain is 153, and the set-up row finishes with 152 sc.
- Identify the right side. The first stripe row is marked RS, so keep track of which side faces you as you turn.
- Mark the first and last stitches. Edge stitches can be easy to miss after several decreases, particularly when working into a textured row.
- Work every dc2tog completely. Insert the hook into each of the next two stitches, draw up loops, and complete the decrease as one stitch.
- Keep the color sequence consistent. Work two rows with A and two rows with B for each four-row Stripe Pattern.
- Measure from the beginning regularly. Stop when the work measures approximately 54 inches [137 cm], ending after two rows of A.
- Maintain even fringe bundles. Cut all B strands to 16 inches [40.5 cm] and use three strands together for every knot.
- Trim after attaching the fringe. Slight differences are easier to see and correct once all fringe is in place.
Color and Styling Variations
The approved pattern uses Cherry Red and Turqua, but you can make optional color changes while keeping the construction unchanged.
- Traditional holiday palette: Replace the turquoise-style contrast with a white, cream, or forest-green shade if your chosen yarn line offers a comparable option.
- Winter palette: Use a deep blue with white or silver-toned yarn for a snowy seasonal effect.
- Modern holiday palette: Try red with black, charcoal, or a muted teal for a less traditional look.
- Single-color version: Work the entire blanket in one color if you prefer the texture to be the main feature. The stripe instructions can remain structurally the same, but the color-change effect will be removed.
- Coordinated fringe: Keep the fringe in Contrast B for definition, or optionally use the dominant blanket color for a subtler edge.
If you substitute yarn, choose a comparable yarn and understand that fiber, thickness, and tension can affect the blanket’s dimensions, texture, drape, and yarn requirements. Changing the hook size can also alter the fabric and finished measurements, so use the hook size needed to obtain the intended gauge.
Frequently Asked Questions
Is this blanket suitable for a beginner?
It can suit a beginner who is comfortable with chains, single crochet, double crochet, turning rows, and basic decreases. The repeated row sequence is consistent, but careful counting is important.
What yarn colors are used?
Contrast A is Cherry Red (0319), and Contrast B is Turqua (0512), using Red Heart® Super Saver® Jumbo™ yarn.
What hook size does the pattern use?
The pattern calls for a size U.S. I/9 [5.5 mm] Susan Bates® Silvalume crochet hook, or the size needed to obtain gauge.
How many balls of yarn are required?
Contrast A requires 2 balls or 1080 yds/988 m. Contrast B requires 2 balls or 1362 yds/1245 m.
How wide is the starting foundation?
The pattern begins with ch 153 and produces 152 sc in the set-up row.
How tall should the blanket be?
Continue the Stripe Pattern until the work from the beginning measures approximately 54 inches [137 cm], ending after two rows of A.
Can I change the colors?
Yes. Color changes are an optional styling choice, but replacing the yarn may affect gauge, texture, drape, dimensions, and yarn requirements. Preserve the two-row A and two-row B sequence if you want the same stripe structure.
How is the fringe made?
Cut B into 16-inch [40.5 cm] lengths. Take three strands together, fold them in half, knot them across the bottom and top of the blanket, and trim the fringe evenly.
How should I prevent the blanket from losing its shape?
Maintain consistent tension, work the edge stitches carefully, measure as you progress, and avoid pulling on the textured fabric or fringe during finishing and storage.
Conclusion
This Festive Crochet Christmas Blanket Pattern combines a lively two-color stripe sequence, rhythmic textured rows, and an easy knotted fringe for a warm seasonal throw. Follow the stitch pattern carefully, keep the color changes consistent, and personalize the display with your favorite holiday accents. For more Christmas blanket inspiration, browse these Christmas holiday blanket patterns and tutorials.