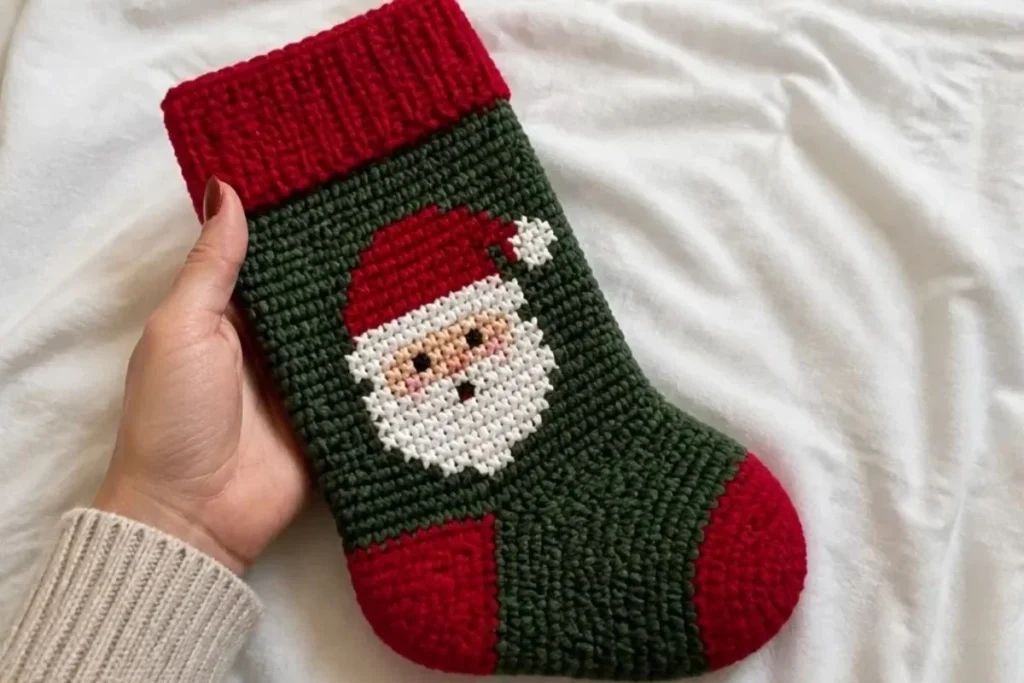
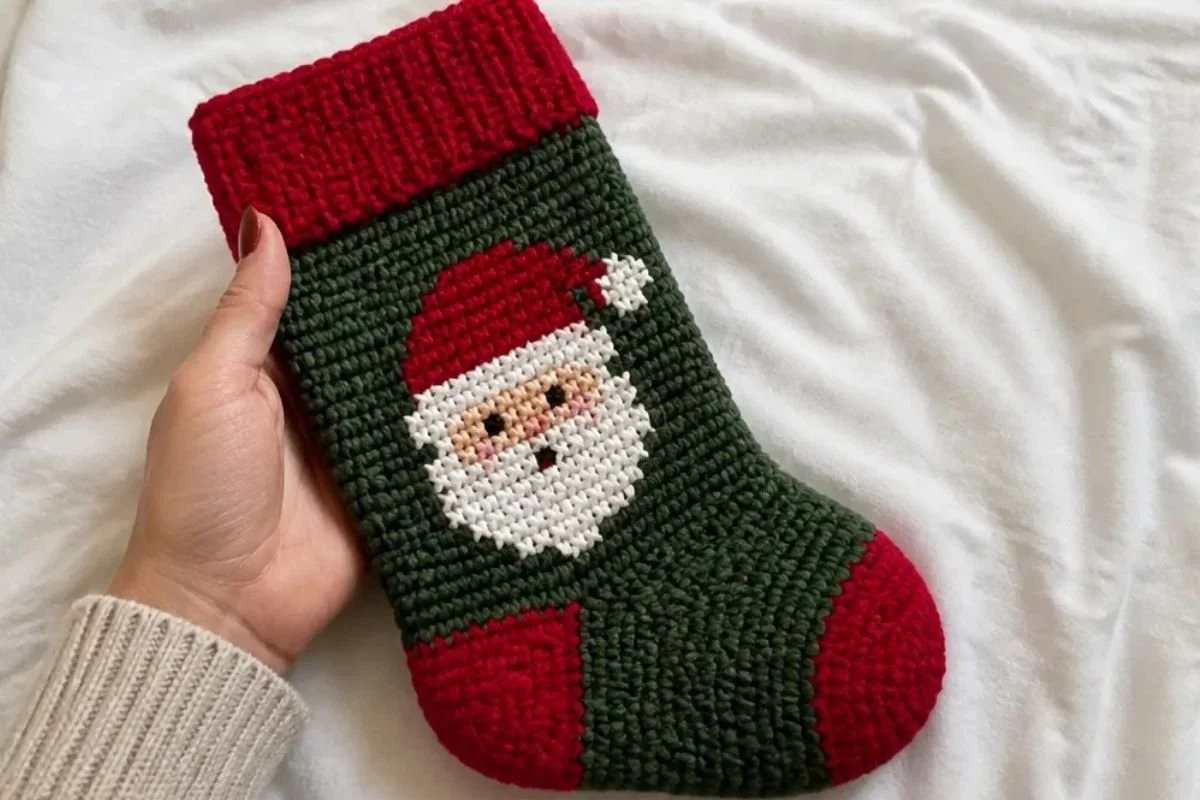
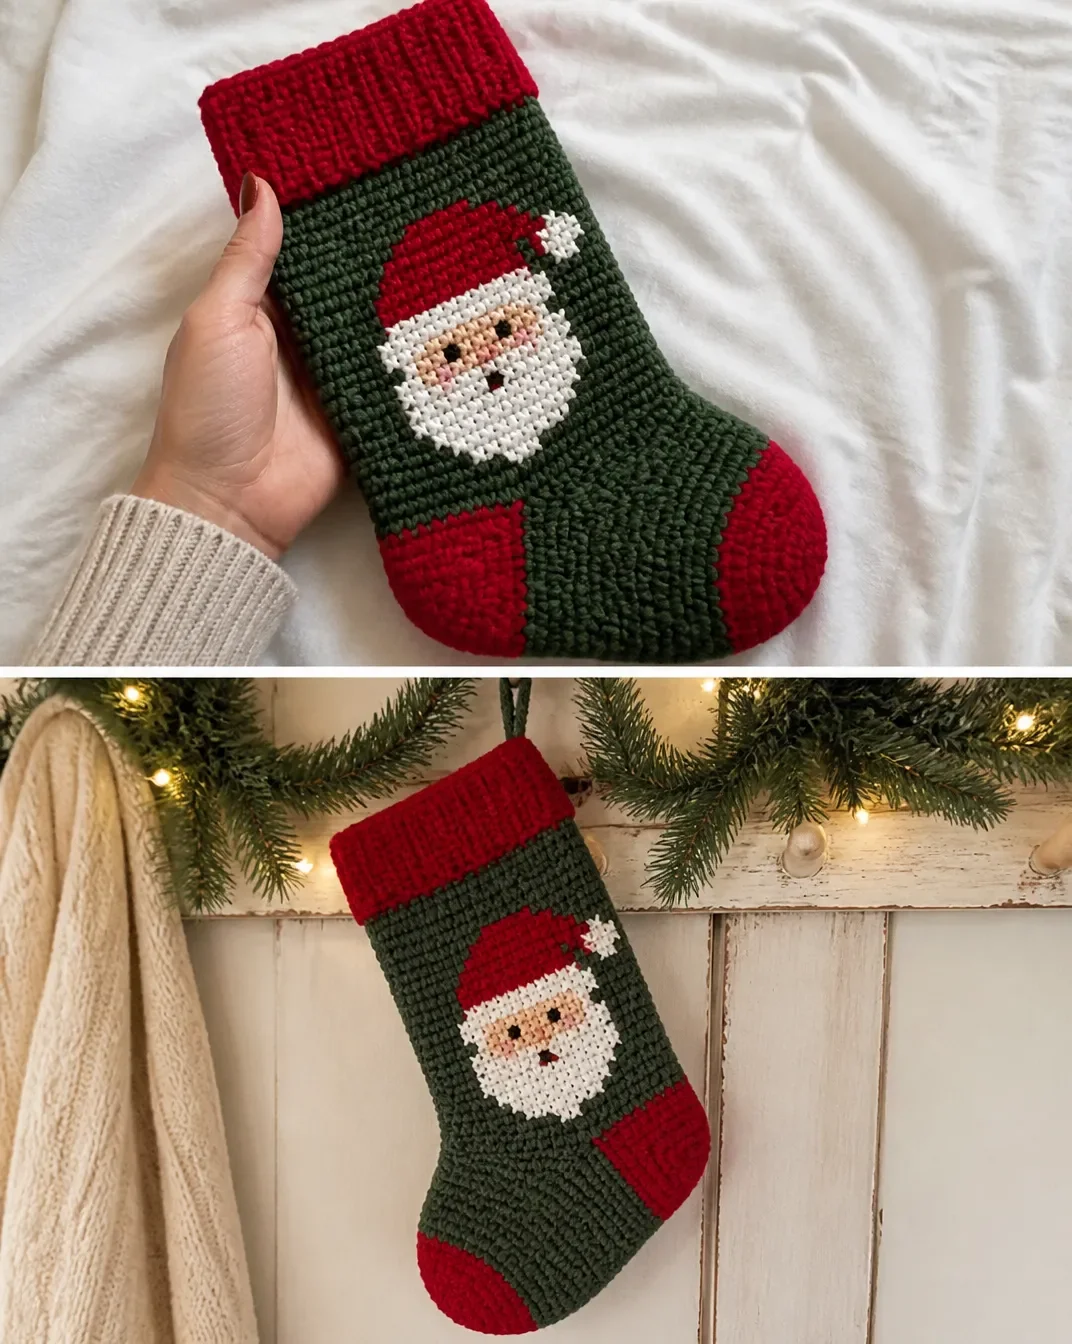
A handmade stocking adds warmth and personality to a holiday mantel, tree, or gift exchange. This Crochet Christmas Stocking Pattern with Cross Stitch combines a sturdy single crochet stocking shape with a ribbed slip-stitch cuff and colorful embroidered details. Choose the Snowman, Santa, or Tree color version, then add the corresponding cross-stitch chart for a festive finish. It is a rewarding project for crocheters who want to practice shaping, color changes, embroidery, and thoughtful handmade gifting. For more seasonal inspiration, explore these creative crochet bouquet patterns for coordinating holiday décor.
Why You’ll Love This Crochet Project
- It combines crochet and embroidery. The stocking is crocheted in single crochet, then personalized with cross-stitch embroidery worked over the crochet fabric.
- The construction teaches useful shaping. You will practice building a cuff, working a tubular leg, shaping a heel, decreasing for the toe, and adding a hanging loop.
- There are three festive color options. The Snowman, Santa, and Tree versions create different holiday looks while following the same general stocking construction.
- It makes a meaningful handmade gift. A finished stocking can be displayed year after year or given as a personalized gift for a family member.
- It suits seasonal decorating. Hang it from a mantel, staircase, wall hook, or Christmas tree display.
My Crochet Flower Tip: Place cardboard inside the stocking before embroidery so your needle does not catch the back of the stitches or accidentally join the front and back layers.
Before You Start Crocheting
This pattern is worked as one stocking with four main construction stages: a slip-stitch cuff, a single crochet leg, a shaped heel, and a decreasing toe. A hanging loop is added after the toe is finished, and cross-stitch embroidery completes the selected design.
The cuff begins with a six-chain foundation and is worked in rows through the back loops only until it measures 14″ [35.5 cm]. After the cuff is joined, 46 single crochet stitches are worked evenly around its side edge to begin the leg. The leg continues until it measures 9″ [23 cm] from the bottom of the cuff.
The heel is worked flat over part of the leg stitches, shaped with decreases, and then joined back to the instep. The joined round begins with 52 sc and is decreased until 44 sts remain. The foot continues in rounds until it measures 5½” [14 cm] from the joining round. The toe then decreases four stitches on every row until 12 sts remain.
The pattern uses RS for right side, WS for wrong side, ch for chain, sl st for slip stitch, sc for single crochet, sc2tog for single crochet two together, pm for place marker, rem for remaining, and beg for beginning. “Rep” means repeat. The supplied instructions use US crochet terminology.
Materials You’ll Need
Yarn: Bernat® Super Value™
Choose one complete color version.
Version I Snowman
- Main Color (MC): Forest Green (53243) 1 ball
- Contrast A: Cherry Red (53436) 1 ball
- Contrast B: Winter White (07407) 1 ball
- Contrast C: Black (07421) 1 ball
Version II Santa
- Main Color (MC): Teal Heather (53203) 1 ball
- Contrast A: Oatmeal (53010) 1 ball
- Contrast B: Cherry Red (53436) 1 ball
- Contrast C: Winter White (07407) 1 ball
- Contrast D: Black (07421) 1 ball
Version II Tree
- Main Color (MC): Oatmeal (53010) 1 ball
- Contrast A: Taupe (53012) 1 ball
- Contrast B: Forest Green (53243) 1 ball
- Contrast C: Cherry Red (53436) 1 ball
Notions and Tools
- Size U.S. H/8 (5 mm) crochet hook or size needed to obtain gauge
- Stitch marker
- Embroidery needle
Use the color labels exactly as assigned for the version you are making. Contrast A is used for the cuff and heel, while MC forms most of the leg and foot. The cross-stitch colors depend on the corresponding chart and version.
Complete Crochet Instructions
Cuff
With A, ch 6.
1st row: (RS).
1 sl st in 2nd ch from hook.
1 sl st in each ch to end of chain.
Turn. 5 sl sts.2nd row: Working in back loops only, 1 sl st in each sl st across. Turn.
Rep 2nd row until work from beg measures 14″ [35.5 cm], ending on a WS row.
Join Cuff
Working in back loops only, sl st last row and rem loops of foundation ch tog.
Fasten off.
Leg
Join MC with sl st to side edge of Cuff.
1st rnd: Ch 1.
Work 46 sc evenly around side edge of Cuff.
Join with sl st to first sc.
Turn.2nd rnd: Ch 1.
1 sc in each sc around.
Join with sl st to first sc.
Turn.Rep 2nd rnd until work from bottom of Cuff measures 9″ [23 cm].
Fasten off.
Heel
(RS). Join A with sl st to first sc.
1st row: Ch 1.
1 sc in same sp as last sl st.
1 sc in each of next 22 sc.
Turn.
Leave rem sts unworked.2nd row: Ch 1.
1 sc in each sc to end of row.
Turn.Rep 2nd row for 2″ [5 cm], ending on a WS row.
Shape Heel
1st row: (RS).
Ch 1.
1 sc in each of next 15 sc.
Sc2tog.
1 sc in next sc.
Turn.
Leave rem sts unworked.
2nd row:
Ch 1.
1 sc in each of first 9 sts.
Sc2tog.
1 sc in next sc.
Turn.
3rd row:
Ch 1.
1 sc in each of first 10 sts.
Sc2tog.
1 sc in next sc.
Turn.
4th row:
Ch 1.
1 sc in each of first 11 sts.
Sc2tog.
1 sc in next sc.
Turn.
5th row:
Ch 1.
1 sc in each of first 12 sts.
Sc2tog.
1 sc in next sc.
Turn.
6th row:
Ch 1.
1 sc in each of first 13 sts.
Sc2tog.
1 sc in next sc.
Turn.
7th and 8th rows:
Ch 1.
1 sc in each of first 14 sts.
Sc2tog.
Turn.
15 sts.
Fasten off at end of 8th row.
Joining Round After Heel
With RS facing, join MC with sl st at left side of Heel Base.
Ch 1.
1 sc in each of next 23 sc of instep.
Pm.
Work 7 sc up right side of Heel,
1 sc in each of next 15 sc across end of Heel
and 7 sc down left side of Heel.
Join with sl st to first sc.
Turn.
52 sc.
Shape the Foot
2nd rnd:
Ch 1.
1 sc in each sc to marker.
Sc2tog.
1 sc in each sc to last 2 sc.
Sc2tog.
Join with sl st to first sc.
Turn.
Rep 2nd rnd until 44 sts rem.
Next rnd:
Ch 1.
1 sc in each sc around.
Join with sl st to first sc.
Turn.
Rep last rnd until work from joining rnd measures 5½” [14 cm].
Join A at end of last row.
Break MC.
Shape Toe
1st rnd: With A, ch 1.
(1 sc in each of next 9 sc. Sc2tog) x 4 times
Join with sl st to first sc.
Turn.
2nd rnd:
Ch 1.
(1 sc in each of next 8 sc. Sc2tog) x 4 times
Join with sl st to first sc.
Turn.
Cont in same manner, dec 4 sts on every row until 12 sts rem.
Break yarn, leaving a long end.
Draw end tightly through rem sts and fasten securely.
Hanging Loop
With MC, ch 25.
Sl st in 2nd ch from hook and each ch to end of chain.
Fasten off.
Fold in half and sew in position.
Finishing: Cross-Stitch Embroidery Placement
Placing a piece of cardboard into your stocking will help prevent catching stitches as you embroider.
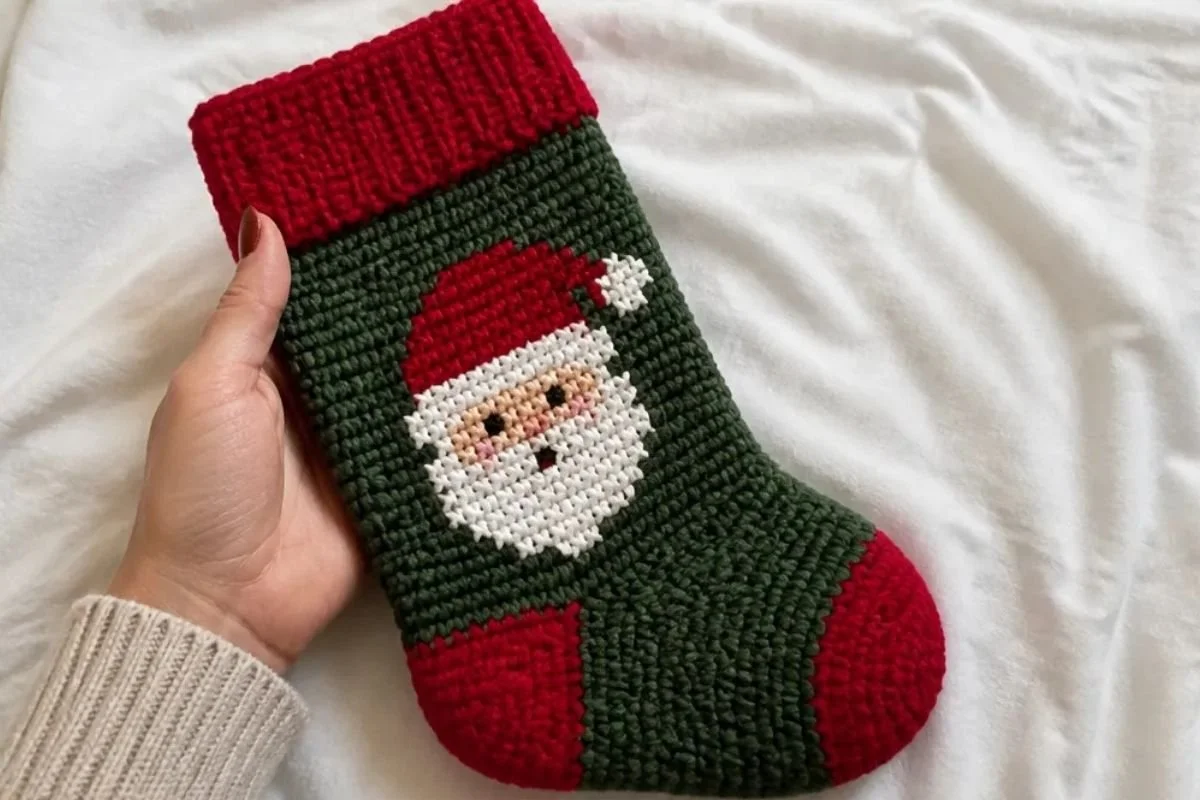
Measure approx 2″ [5 cm] down from beg of Leg and mark center sc of Stocking Front.
Line up marked stitch with center stitch of chart and work cross stitch embroidery.
Each square of chart represents 1 sc.
Chart Placement by Version
Use the corresponding chart:
- Version I: Cross stitch Chart I to stocking as shown in picture.
- Version II: Cross stitch Chart II to stocking as shown in picture.
- Version III: Cross stitch Chart III to stocking as shown in picture.
Handmade Gift and Decoration Ideas
- Hang one stocking for each family member along a mantel or staircase.
- Use the Snowman, Santa, and Tree versions together for a coordinated holiday display.
- Add a name tag or small card near the hanging loop for a personalized gift presentation.
- Display the stocking on a bedroom door, entryway hook, or decorative wall peg.
- Fill it with small wrapped gifts, ornaments, candy, or seasonal notes.
- Pair it with other handmade holiday decorations in complementary reds, greens, creams, and winter whites.
A small crochet accent can also coordinate with holiday table settings; for example, these crochet flowers for wine glasses can inspire additional handmade details around a festive gathering.
Caring for Your Crochet Project
- Keep the stocking away from excessive heat, which can affect the yarn and embroidery.
- Dust it gently with a soft brush or dry cloth before and after seasonal display.
- For a small mark, use careful spot cleaning rather than soaking the entire stocking.
- Avoid rough handling around the cross-stitch embroidery, especially if long yarn ends are present on the inside.
- Store the stocking completely dry in a cool, dry place.
- Fold it loosely or stuff it lightly with clean tissue paper to help prevent deep creases.
- Keep it protected from snagging objects and pests while stored with other holiday decorations.
- Follow the yarn manufacturer’s care instructions when a more thorough cleaning is needed.
Tips for Better Results
- Measure the cuff carefully. Continue the second row until the cuff measures 14″ [35.5 cm], and end on a WS row before joining it.
- Work the cuff in back loops only. This creates the ribbed texture and is essential to the cuff construction.
- Distribute the 46 sc evenly. When working around the cuff edge, space the stitches consistently so the leg does not twist or flare.
- Track right-side and wrong-side rows. The heel is worked flat, so turning at the stated points helps maintain the correct shaping.
- Use the stitch marker in the joining round. The marker identifies the decrease area and helps you work the two sc2tog decreases in the correct places.
- Count after each toe round. The toe decreases four stitches on every row, so checking the count helps prevent uneven shaping.
- Protect the stocking during embroidery. Insert cardboard before cross-stitching to keep the needle from catching the opposite side.
- Align the chart before stitching. Mark the center sc of the stocking front approximately 2″ [5 cm] down from the beginning of the leg, then line it up with the chart’s center stitch.
Color and Styling Variations
The approved pattern already provides three seasonal palettes, so the simplest customization is choosing a different version:
- Use Version I for the Snowman design with Forest Green, Cherry Red, Winter White, and Black.
- Use Version II for the Santa design with Teal Heather, Oatmeal, Cherry Red, Winter White, and Black.
- Use the listed Version III Tree palette with Oatmeal, Taupe, Forest Green, and Cherry Red.
Optional color changes are possible, but keep the role of each color clear when following the chart. Replacing Bernat® Super Value™ with another yarn may affect gauge, stitch size, finished dimensions, texture, and yarn requirements. Changing the hook size can also alter the stocking’s measurements and the cross-stitch chart alignment, so maintain the stated hook size or use the size needed to obtain gauge.
Frequently Asked Questions
Is this stocking suitable for a newer crocheter?
It includes basic stitches such as chains, slip stitches, single crochet, and single crochet two together. The heel and toe require careful counting, while the cross-stitch finishing adds an embroidery step.
Which yarn is used for the pattern?
The pattern uses Bernat® Super Value™ yarn. Each version lists its own Main Color and contrast colors, with 1 ball of each specified color.
What hook size should I use?
Use a size U.S. H/8 (5 mm) crochet hook or the size needed to obtain gauge.
How many crochet components are made?
The stocking is constructed as one crocheted piece with a cuff, leg, heel, and toe. A separate 25-chain hanging loop is crocheted and sewn into position.
Can I use a different color combination?
Yes. The three listed versions provide approved color options, and you may select other colors as an optional variation. Keep the chart colors and placement coordinated so the cross-stitch design remains clear.
How is the heel shaped?
The heel is first worked flat for 2″ [5 cm], ending on a WS row. It is then shaped across eight rows using sc2tog decreases before the foot is joined around the heel and instep.
How do I keep the cross-stitch from catching the back of the stocking?
Insert a piece of cardboard into the stocking before embroidering. This separates the front and back layers while you work.
How should I store the finished stocking?
Store it dry in a cool place, protected from snags, excessive heat, dust, and pests. Fold it loosely or support it with clean tissue paper to help preserve its shape.
Conclusion
This crochet Christmas stocking pattern creates a durable seasonal decoration with a ribbed cuff, shaped heel and toe, hanging loop, and colorful cross-stitch detail. Choose the Snowman, Santa, or Tree palette, follow the stitch counts carefully, and personalize your finished stocking for display or gifting. For another source of seasonal crochet inspiration, see this Bernat cross-stitch Christmas stockings pattern.