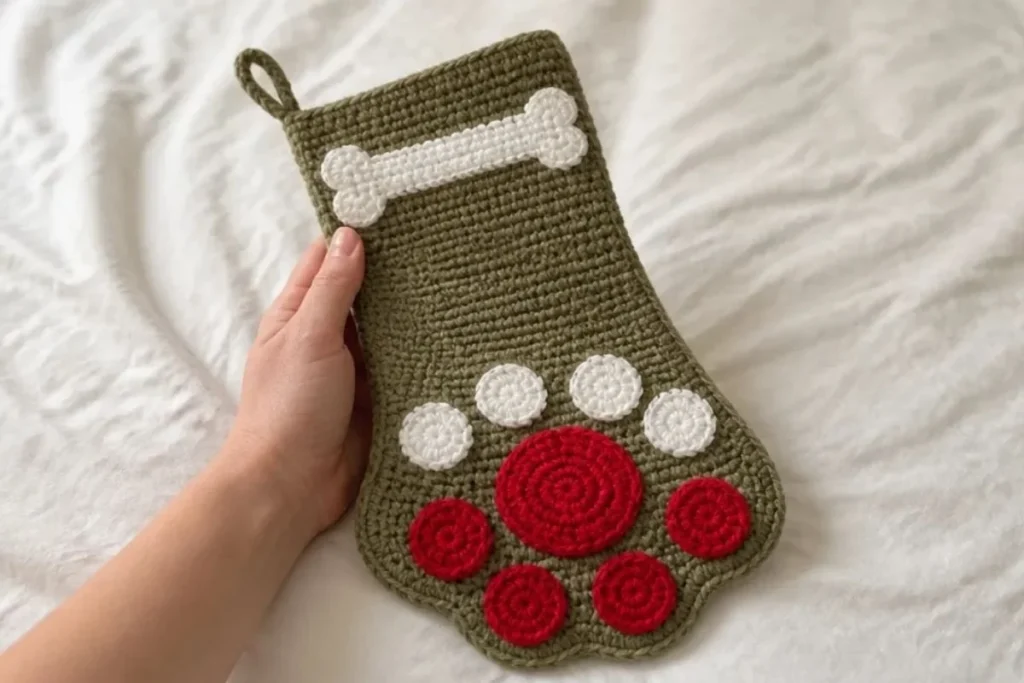
A dog paw motif gives this Dog Paw Crochet Christmas Stocking Pattern a cheerful, pet-loving touch. The stocking is worked in two shaped panels, decorated with a raised paw print and a bone, then finished with a decorative border and hanging loop. It makes a thoughtful handmade gift for a dog lover and a charming addition to a mantel, staircase, or holiday display. For more seasonal crochet inspiration, explore these all-in-one crochet bouquet patterns and coordinate your stocking with other handmade decorations.
Why You’ll Love This Crochet Project
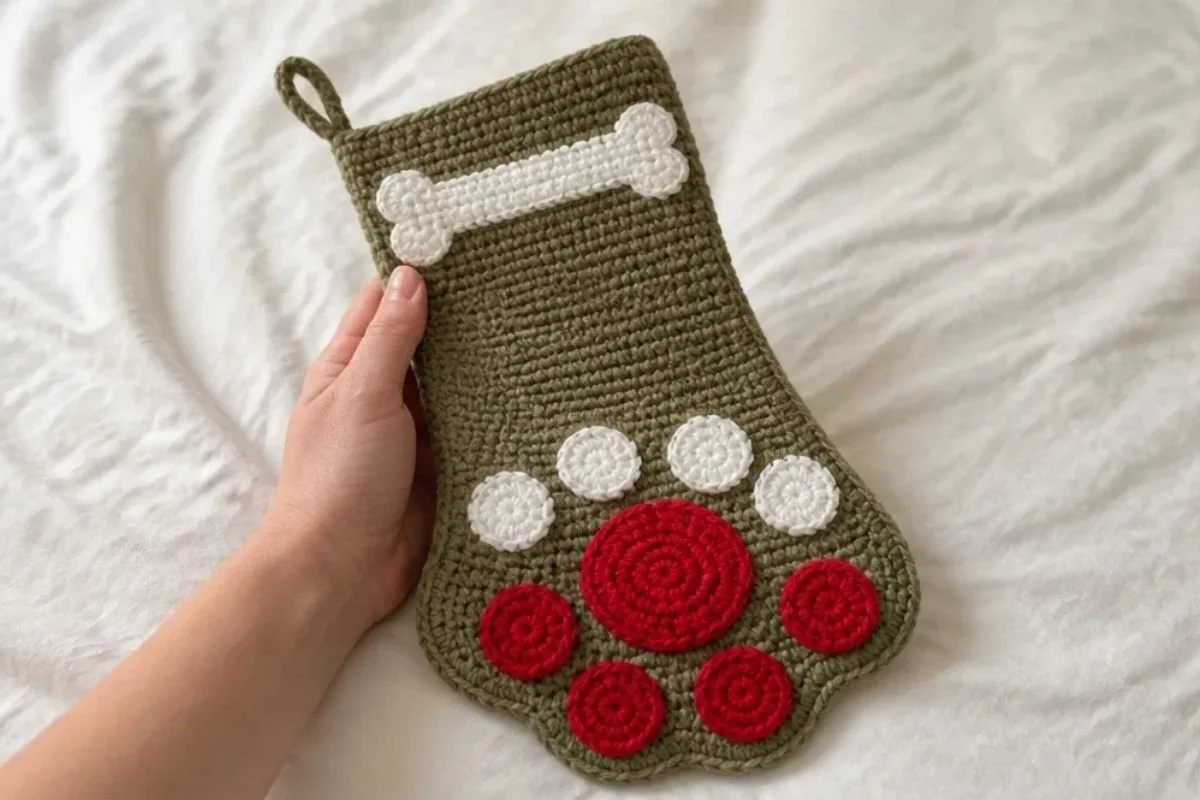
- The paw design is instantly recognizable. A cherry-red center paw, four smaller paw prints, and a soft-white bone create a playful Christmas look.
- It uses basic shaping techniques. The stocking panels begin with a foundation chain and use increases to form the rounded toe and foot.
- It offers stitch practice. You will work single crochet, half double crochet, double crochet, treble crochet, slip stitches, joined rounds, and continuous rounds.
- It makes a meaningful handmade gift. Personalize the color palette for a favorite dog, family, or holiday theme.
- It works as both decoration and keepsake. The finished stocking can hold small gifts, treats, or notes while adding a handmade detail to seasonal décor.
My Crochet Flower Tip: Before sewing on the paw and bone, arrange all appliqué pieces on the stocking front and check their spacing from a distance. This makes it easier to create a balanced design. You may also find Crochet Rose For Wine Glasses Easy Flower Pattern useful.
Before You Start Crocheting
This project includes two identical stocking panels, one center paw, four paw prints, one bone, and four bone ends. The panels are crocheted separately in Tea Leaf, then sewn together through both loops of the final row. The decorative pieces are made in Cherry Red and Soft White and sewn to the front before or after the panels are joined.
The stocking shape is created with strategically placed increases. Rows 1–8 widen the foot, row 9 introduces half double crochet shaping, row 10 adds treble-crochet shell-like details, and row 11 completes the panel. The border is worked around the completed stocking, with a chain-10 loop added for hanging.
The center paw and bone ends are worked in continuous rounds. Do not join at the end of these rounds; use a stitch marker to identify the round ending and move it as work progresses.
Abbreviations
- ch: chain
- sc: single crochet
- hdc: half double crochet
- dc: double crochet
- tr: treble crochet
- sl st: slip stitch
- RS: right side
- PM: place marker
- st/sts: stitch/stitches
- tog: together
Materials You’ll Need
- Red Heart® Super Saver™ (7 oz/198 g; 364 yds/333 m), Contrast A Tea Leaf (0624): 1 ball
- Red Heart® Super Saver™, Contrast B Cherry Red (0319): 1 ball
- Red Heart® Super Saver™, Contrast C Soft White (0316): 1 ball
- Size U.S. H/8 (5 mm) crochet hook or size needed to obtain gauge
- Stitch marker
Tea Leaf forms the stocking panels and border. Cherry Red creates the center paw and smaller paw prints, while Soft White is used for the bone.
Complete Crochet Instructions
Keep track of every stitch count as you work. The two stocking panels must match, so make the second panel using the same row sequence and tension as the first.
Back and Front Make Alike
With A, ch 34.
- 1st row: (RS) 1 sc in 2nd ch from hook and each of next 31 ch. 3 sc in last ch. Do not turn. Working on opposite side of ch, 1 sc in each of next 32 ch. Turn. 67 sc.
- 2nd row: Ch 1. 1 sc in each of next 32 sc. (2 sc in next sc) 3 times. 1 sc in each of last 32 sc. Turn. 70 sc.
- 3rd row: Ch 1. 1 sc in each of next 33 sc. 2 sc in next sc. 1 sc in each of next 2 sc. 2 sc in next sc. 1 sc in each of last 33 sc. Turn. 72 sc.
- 4th row: Ch 1. 1 sc in each of next 34 sc. (2 sc in next sc) 4 times. 1 sc in each of last 34 sc. Turn. 76 sc.
- 5th row: Ch 1. 1 sc in each of next 37 sc. (2 sc in next sc) twice. 1 sc in each of last 37 sc. Turn. 78 sc.
- 6th row: Ch 1. 1 sc in each of next 37 sc. (2 sc in next sc) 4 times. 1 sc in each of last 37 sc. Turn. 82 sc.
- 7th row: Ch 1. 1 sc in each of next 37 sc. 2 sc in next sc. 1 sc in each of next 6 sc. 2 sc in next sc. 1 sc in each of next 37 sc. Turn. 84 sc.
- 8th row: Ch 1. 1 sc in each of next 38 sc. 2 sc in next sc. 1 sc in each of next 2 sc. (2 sc in next sc) twice. 1 sc in each of next 2 sc. 2 sc in next sc. 1 sc in each of last 38 sc. Turn. 88 sc.
- 9th row: Ch 1. 1 sc in each of next 27 sc. 1 hdc in each of next 10 sc. 2 hdc in next sc. 1 hdc in each of next 2 sc. 2 hdc in next sc. 1 hdc in each of next 6 sc. 2 hdc in next sc. 1 hdc in each of next 2 sc. 2 hdc in next sc. 1 hdc in each of next 10 sc. 1 sc in each of last 27 sc. Turn. 92 sts.
- 10th row: Ch 1. 1 sc in each of next 30 sts. (Skip next 3 sts. 7 tr in next st. Skip next 3 sts. 1 sc in next st) twice. 1 sc in next st. Rep from * to * once more. 1 sc in each of last 29 sts. Turn.
- 11th row: Ch 1. 1 sc in each of next 32 sts. (2 sc in next sc) 3 times. 1 sc in each of next 5 sts. (2 sc in next sc) 3 times. 1 sc in each of next 6 sts. (2 sc in next sc) 3 times. 1 sc in each of next 5 sts. (2 sc in next sc) 3 times. 1 sc in each of last 32 sc. Fasten off.
Repeat the complete instructions to make the second stocking panel.
Center Paw
Note: Do not join at end of rnd. Work in continuous rnds. PM to indicate end of rnd. Move marker as work progresses.
With B, ch 6.
- 1st rnd: 1 sc in 2nd ch from hook and each of next 3 ch. 3 sc in last ch. Working on opposite side of ch, 1 sc in each of next 3 ch. 2 sc in last ch. Do not join but work in continuous rnds. 12 sc.
- 2nd rnd: 2 sc in first sc. 1 sc in each of next 3 sc. (2 sc in next sc) 3 times. 1 sc in each of next 3 sc. (2 sc in next sc) twice. 18 sc.
- 3rd rnd: (1 sc, 1 hdc) in first sc. (1 hdc, 1 dc) in next sc. 2 dc in next sc. Sl st in next sc. 2 dc in next sc. (1 dc, 1 hdc) in next sc. (1 hdc, 1 sc) in next sc. 1 sc in each of last 11 sc. Fasten off.
Sew in place at front side of Stocking.
Paw Prints Make 4
With B, ch 2.
- 1st rnd: 6 sc in 2nd ch from hook. Join with sl st to first sc.
- 2nd rnd: Ch 1. 2 sc in each sc around. Join with sl st in first sc. Fasten off.
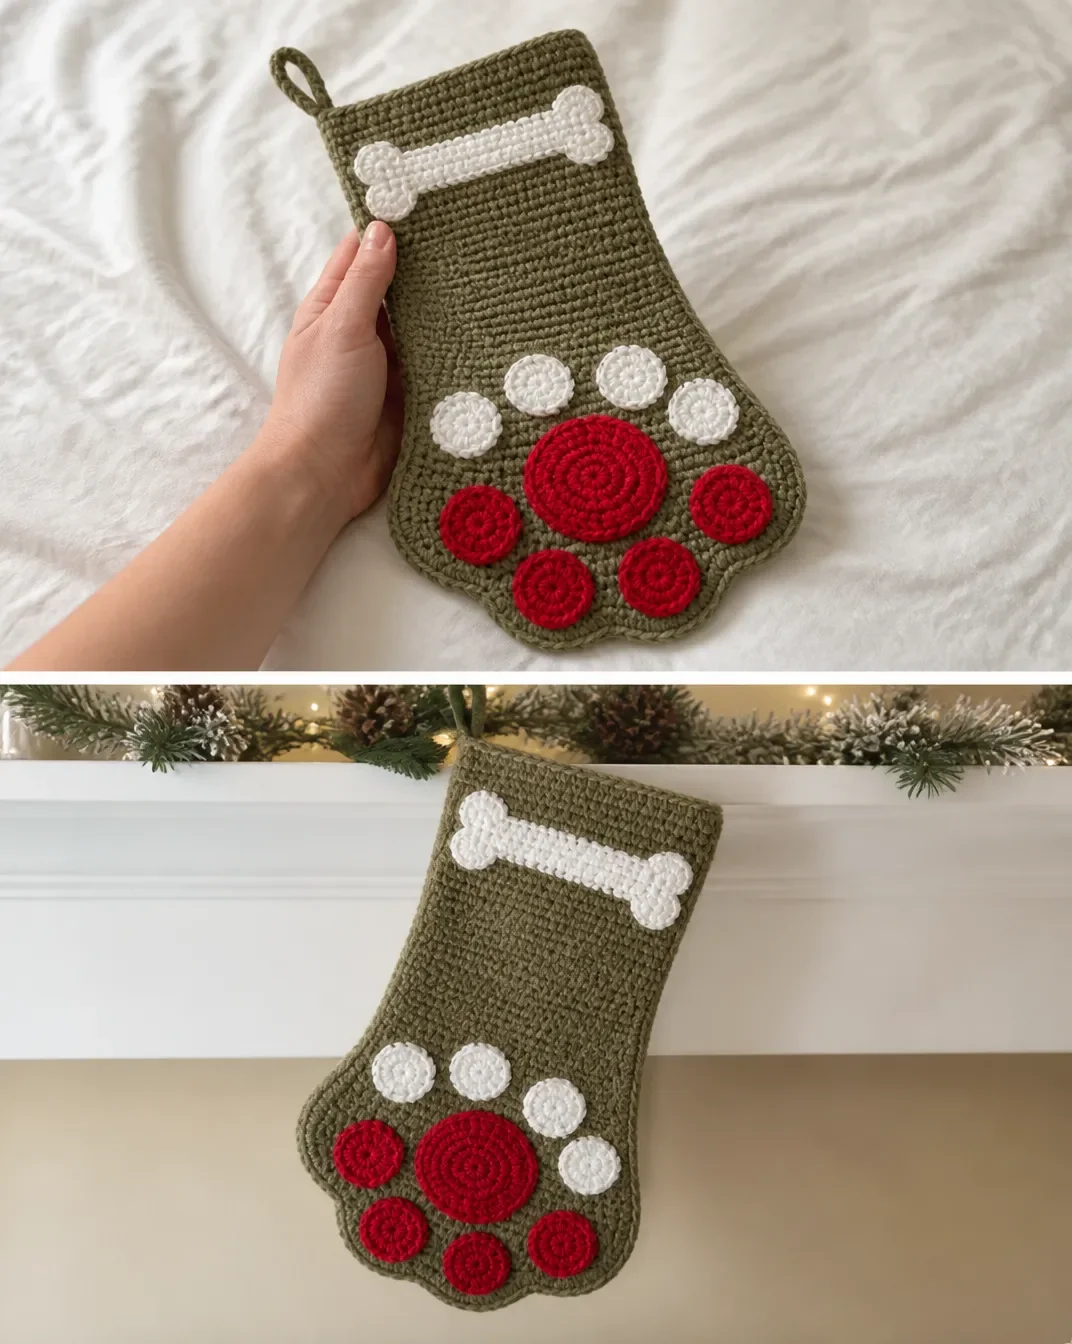
Sew in place around Center Paw as shown in picture.
Bone
With C, ch 15.
- 1st row: (RS) 1 sc in 2nd ch from hook and each ch to end of chain. Turn. 14 sc.
- 2nd to 7th rows: Ch 1. 1 sc in each sc to end of row. Turn. Fasten off.
Ends of Bone Make 4
Note: Do not join at end of rnd. Work in continuous rnds. Move marker as work progresses.
With C, ch 2.
- 1st rnd: 6 sc in 2nd ch from hook. Do not join but work in continuous rnds. PM at end of rnd.
- 2nd rnd: 2 sc in each sc around. 12 sc.
- 3rd rnd: Ch 1. (1 sc in next sc. 2 sc in next sc) 6 times. 18 sc. Fasten off.
Sew Bone in place with 2 Ends over each short edge of Bone as shown in picture.
Finishing
Sew Front and Back
Sew Front and Back of Stocking tog through both loops of last row.
Border and Hanging Loop
- 1st rnd: Join A with sl st to top center back st of Stocking. Ch 1. Work sc evenly around. Ch 10 for hanging loop. Join with sl st to first sc.
- 2nd rnd: Sl st in each of first 3 sc. Ch 1. 1 sc in same sp as last sl st and each sc to last 2 sc. Skip last 2 sc. 16 dc in next ch-10 loop. Skip first 2 sl st. Join with sl st to first sc. Fasten off.
Weave in loose ends securely, taking care not to pull the stocking panels out of shape.
Creative Ways to Use Your Project
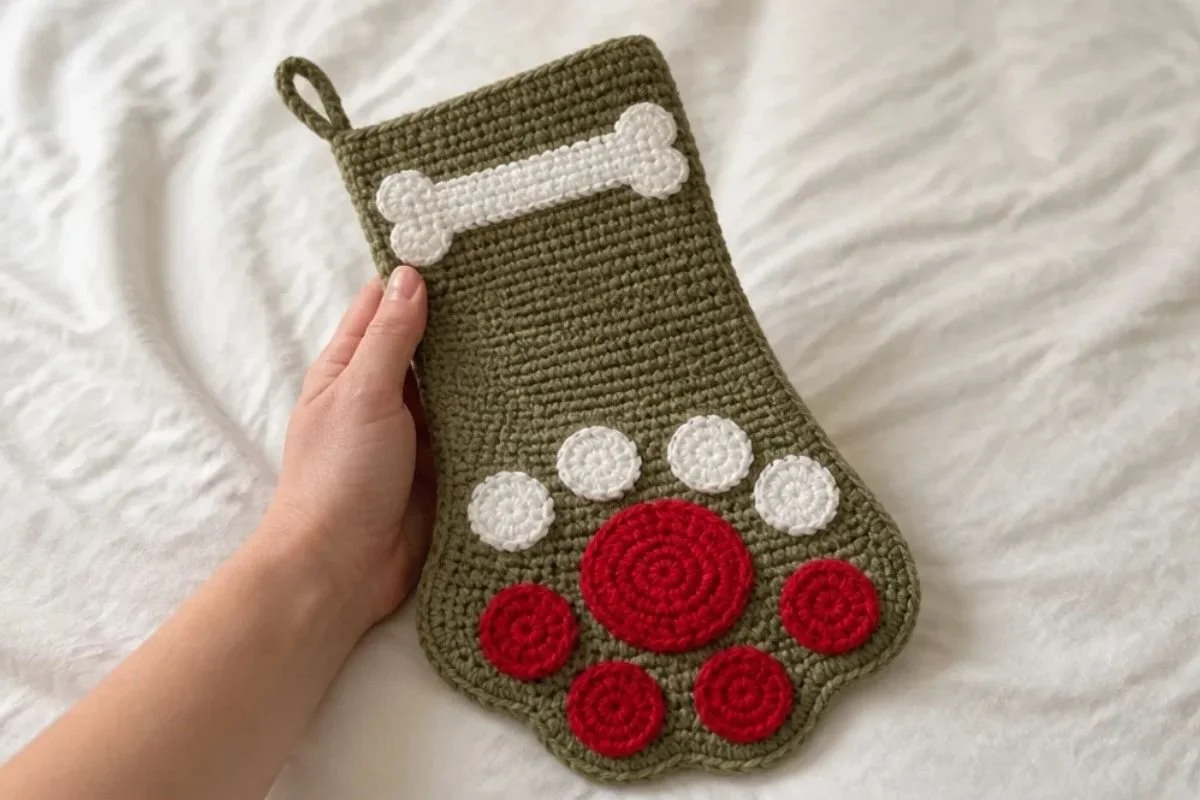
- Personalized mantel decoration: Add a pet’s name with carefully sewn surface embroidery or a small fabric tag.
- Treat stocking: Use it to hold wrapped dog treats, toys, or a handwritten note for a pet-loving family member.
- Gift presentation: Fill it with small accessories, ornaments, or gift cards for a festive handmade presentation.
- Pet-themed holiday display: Hang it beside other stockings or place it near a holiday tree, entryway, or seasonal shelf.
- Coordinated handmade décor: Pair the stocking with other crochet decorations, including floral accents or a small holiday bouquet.
- Color-matched keepsake: Use optional color changes to coordinate it with a dog’s collar, household décor, or a specific holiday palette.
Caring for Your Crochet Project
Handle the raised paw and bone appliqués gently, especially when moving or storing the stocking. Dust the surface with a soft, dry cloth or a gentle brush. For a small mark, spot-clean carefully with a barely damp cloth and allow the stocking to air-dry completely.
Avoid excessive heat, which can distort crochet stitches and change the shape of the appliqués. Do not overload the hanging loop, since the stocking is intended for lightweight seasonal items. Store it flat or loosely folded in a dry container, with tissue paper around the raised decorations if needed to prevent crushing.
Follow the yarn manufacturer’s care instructions when laundering is necessary, and test any cleaning method on a discreet area first.
Tips for Better Results
- Count after every shaping row. The panel counts progress from 67 sc in row 1 to 92 sts in row 9. Checking these totals helps catch missed increases early.
- Keep the two panels identical. Compare the second panel with the first after each row so the finished stocking edges align cleanly.
- Use a marker for continuous rounds. The center paw and bone ends are not joined at the round ends, so the marker is essential for tracking the beginning of each round.
- Watch stitch height in row 10. The 7 tr groups create the decorative shaping. Skipping the specified stitches keeps these groups positioned correctly.
- Shape the appliqués while sewing. Position the center paw and bone flat against the stocking before securing them, and use small, even stitches around their edges.
- Sew through both loops when joining. The finishing instruction specifically calls for sewing the Front and Back tog through both loops of the last row, which gives the seam a stable edge.
- Secure yarn tails carefully. Weave each end through several nearby stitches on the wrong side, then trim without cutting the crocheted fabric.
- Check the hanging loop before finishing. Make sure the chain-10 loop lies at the top center back and is firmly joined to the border.
Color and Styling Variations
The approved pattern uses Tea Leaf for the stocking, Cherry Red for the paw details, and Soft White for the bone. These colors create a traditional holiday contrast, but the design can be customized without changing the construction.
- Use a darker green for a forest-inspired stocking while keeping the red paw bright and visible.
- Replace Cherry Red with a favorite dog’s color or a nontraditional shade such as navy, purple, or gold.
- Make the bone in a pale cream or light gray for a softer appearance.
- Coordinate the border and stocking body in contrasting colors for a striped or color-blocked effect.
- Create a set using different paw colors for each family member or pet.
- Add optional surface embroidery, such as initials, after the stocking is complete.
When substituting yarn, choose a similar yarn category and remember that fiber, thickness, and tension can affect gauge, texture, dimensions, and yarn requirements. Changing the hook size can also alter the finished size and the fit between the two panels, so use the same hook and tension for both.
Frequently Asked Questions
Is this stocking suitable for a beginner?
It is a useful project for a crocheter who knows basic stitches and is ready to practice shaping, continuous rounds, appliqué placement, and sewing. The pattern includes several stitch heights, so careful counting is important.
What yarn colors are used?
Contrast A is Tea Leaf (0624), Contrast B is Cherry Red (0319), and Contrast C is Soft White (0316). Tea Leaf is used for the stocking and border, Cherry Red for the paw details, and Soft White for the bone.
What hook size should I use?
Use a size U.S. H/8 (5 mm) crochet hook or the size needed to obtain gauge. Use the same hook consistently for both stocking panels.
How many stocking panels are required?
Make two alike: one Back and one Front. They are crocheted separately and then sewn together through both loops of the last row.
How many paw pieces are included?
Make one Center Paw and four Paw Prints. The center paw is sewn to the front, and the four smaller prints are arranged around it.
How is the bone assembled?
The Bone is worked as a flat strip, and four Ends of Bone are made separately. Sew the Bone in place with 2 Ends over each short edge of Bone as shown in picture.
Why is a stitch marker needed?
The center paw and bone ends are worked in continuous rounds without joining. The marker identifies the end of each round and should be moved as work progresses.
Can I change the colors?
Yes. Color changes are optional, but they may affect the holiday style and contrast of the paw and bone. Keep the component assignments clear while assembling the stocking.
How should I store the finished stocking?
Store it in a dry place, loosely folded or flat, with care taken not to crush the raised paw and bone pieces. Avoid excessive heat and heavy items that could stretch the hanging loop.
Conclusion
This dog paw stocking combines practical shaping with playful appliqué details, making it a memorable handmade holiday decoration or gift. Follow the stitch counts carefully, sew the components securely, and customize the palette to suit the recipient. For another version of this seasonal project, see the Free Easy Red Heart Dog Paws Christmas Stocking Crochet Pattern.