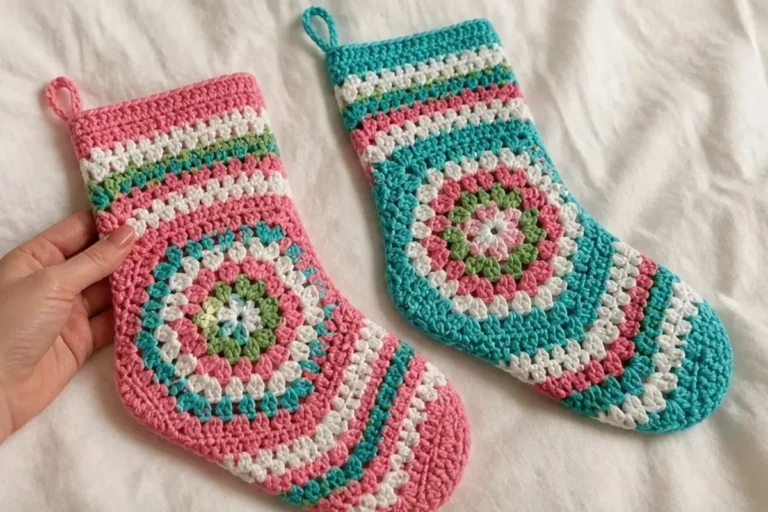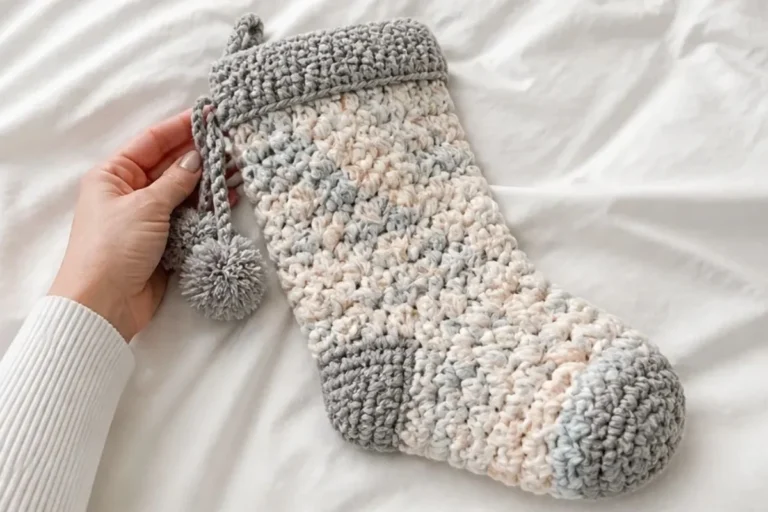
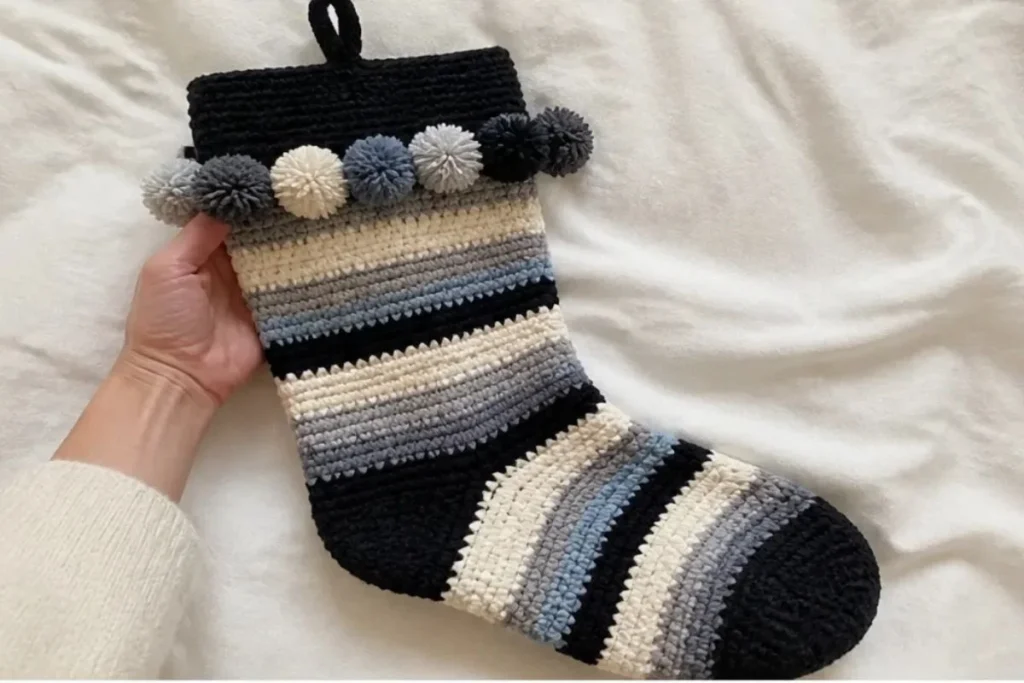
The Kitsch Striped Stocking Crochet Pattern creates a cheerful holiday decoration with bold color bands, a textured ribbed cuff, a shaped heel, and a neat toe finished with playful pompoms. It is a satisfying project for crocheters who want to practice working in the back loops, crocheting evenly around a cuff, shaping a heel, and decreasing for a toe. Hang it by the fireplace, display it on a staircase, or give it as a handmade seasonal gift. For more festive handmade inspiration, browse these creative crochet bouquet patterns.
Why You’ll Love This Crochet Project
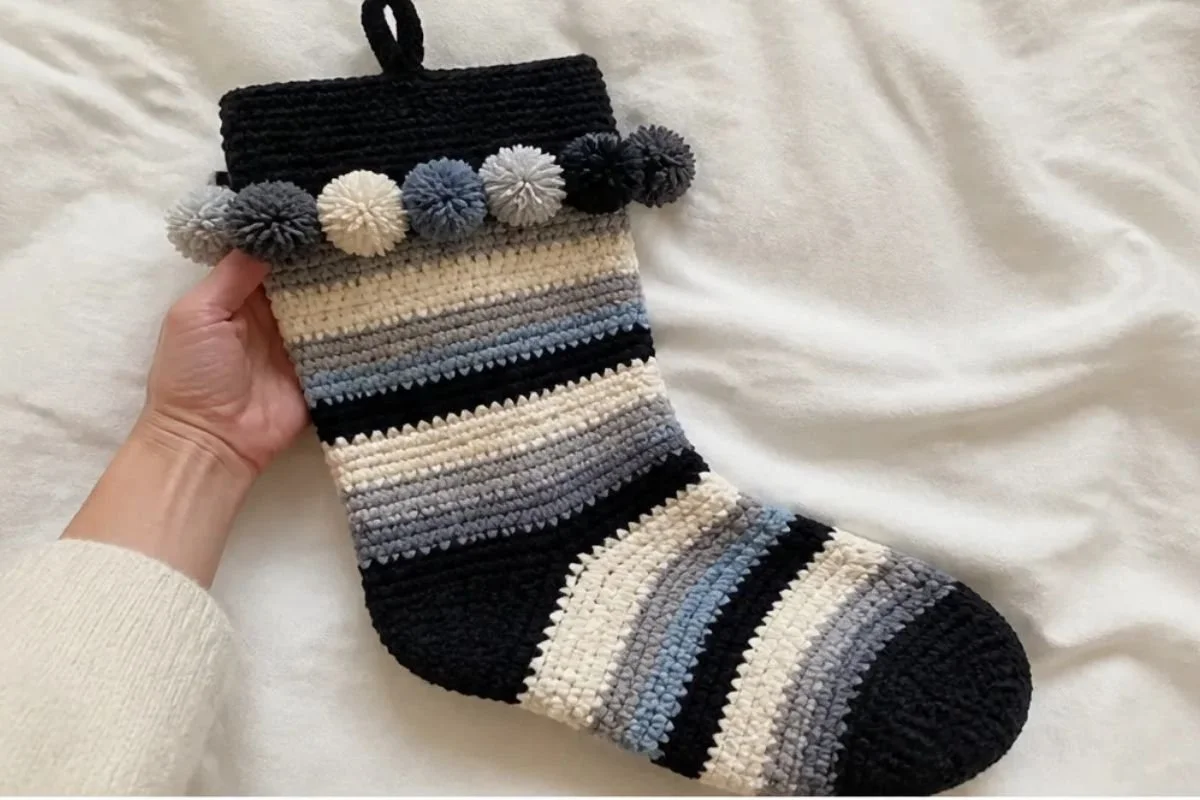
- Striking striped design: The two-color arrangement gives the stocking a playful, graphic appearance that works with traditional or modern holiday décor.
- Textured ribbed cuff: Working the cuff in back loops only creates vertical ridges and gives the top of the stocking a polished finish.
- Useful shaping practice: The heel and toe introduce structured decreases without requiring complicated stitch patterns.
- Personalized color choices: Seven O’Go color combinations are provided, so you can choose a bold, neutral, jewel-toned, or rainbow-inspired palette.
- Gift-ready finishing: The hanging loop and nine pompoms make the completed stocking ready for display or gifting.
My Crochet Flower Tip: Keep a row counter or mark each completed round while working the leg and foot. The stripe patterns are easy to follow when the color changes and round counts are tracked together.
Pattern Overview
This stocking is crocheted in several connected stages. First, you make a long ribbed cuff in color A and join its ends. Next, you rotate the work and crochet the leg around the cuff, following the 31-round Leg Stripe Pattern. The heel is worked back and forth across part of the leg, shaped with decreases, and fastened off.
The foot begins by joining color B at the heel base. It is worked in joined rounds, with decreases along the instep and sole until the required stitch count remains. The foot stripe sequence continues through round 20, followed by a toe shaped with four decreases per round. Finally, you add the hanging loop and make nine pompoms for the cuff.
Useful abbreviations include:
- ch: chain
- sc: single crochet
- sl st: slip stitch
- sc2tog: single crochet two together
- rnd: round
- RS: right side
- WS: wrong side
- PM: place marker
- rem: remaining
Materials You’ll Need
- Red Heart® Super Saver® O’Go™ Solids: 7 oz / 198 g; 364 yds / 333 m
- Red Heart® Super Saver® O’Go™ Stripes: 5 oz / 141 g; 236 yds / 215 m
- One O’Go contrast version:
- Version 1: Contrast A Black (07120), 1 O’Go; Contrast B Newsprint (07124), 1 O’Go
- Version 2: Contrast A Cherry (07190), 1 O’Go; Contrast B Jeweltone (07195), 1 O’Go
- Version 3: Contrast A White (07100), 1 O’Go; Contrast B Baby Rainbow (07175), 1 O’Go
- Version 4: Contrast A Gold (07160), 1 O’Go; Contrast B Peacock (07155), 1 O’Go
- Version 5: Contrast A Soft Navy (07180), 1 O’Go; Contrast B Christmas (07196), 1 O’Go
- Version 6: Contrast A Dusty Gray (07140), 1 O’Go; Contrast B Rainbow (07192), 1 O’Go
- Version 7: Contrast A Café Latte (07130), 1 O’Go; Contrast B Forest (07136), 1 O’Go
- Stitch marker
- Yarn needle
- 1½” [4 cm] piece of cardboard for pompoms
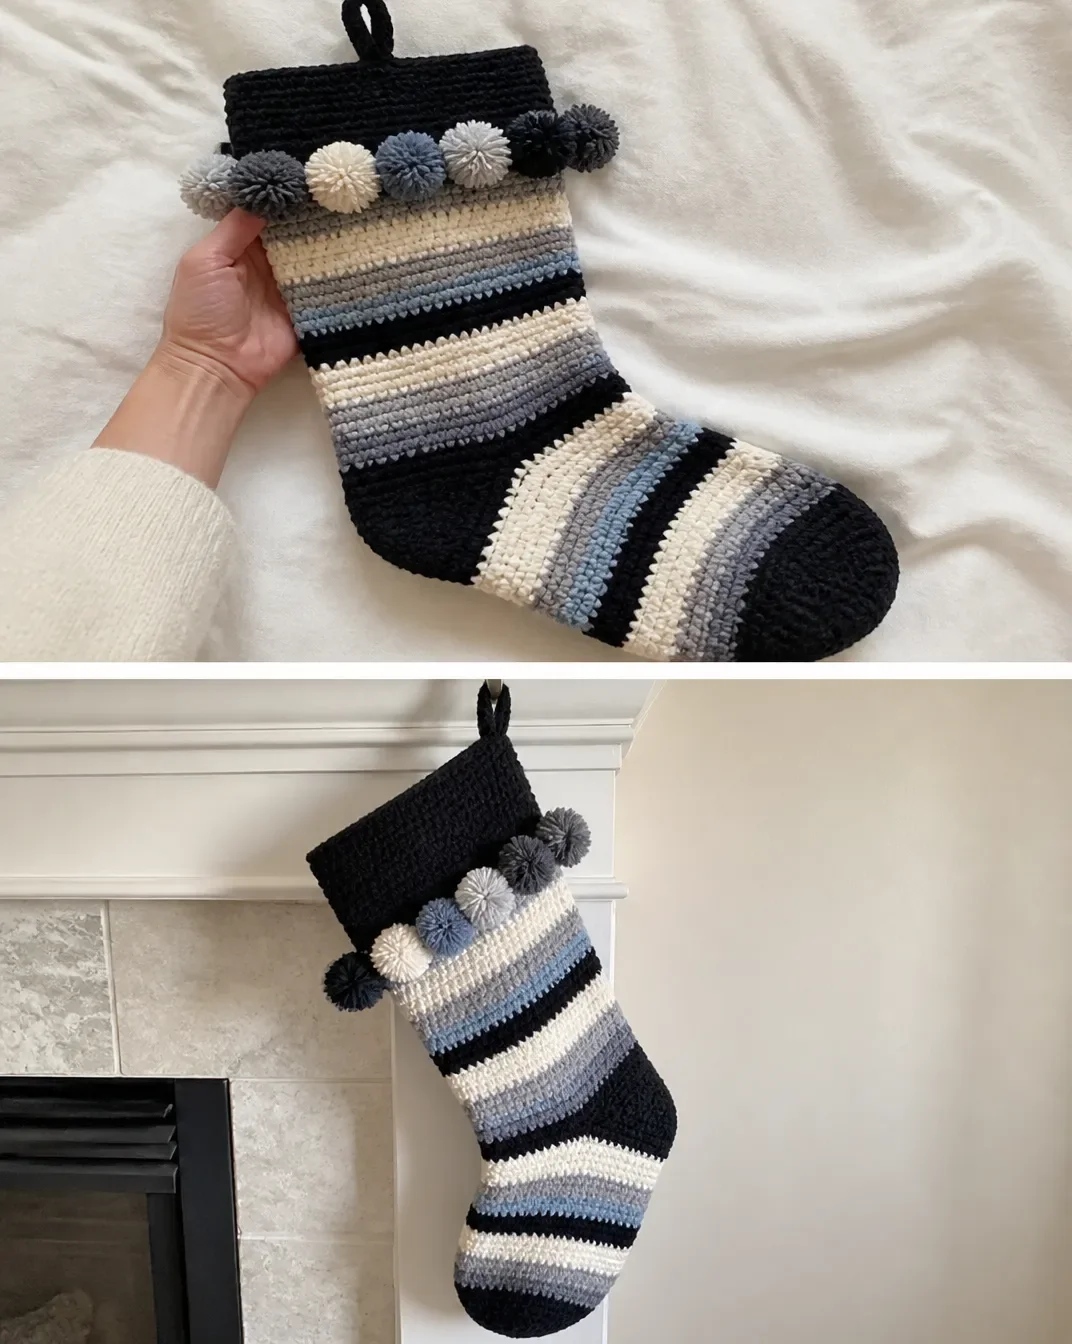
Step-by-Step Crochet Instructions
Stripe Patterns
Leg Stripe Pattern
- With B, work 2 rnds.
- With A, work 2 rnds.
- Repeat from ** to ** twice more.
- With B, work 6 rnds.
- With A, work 2 rnds.
- With B, work 2 rnds.
- Repeat from *** to *** once more.
- With A, work 2 rnds.
- With B, work 3 rnds.
These 31 rnds form the Leg Stripe Pattern.
Foot Stripe Pattern
- With B, work 3 rnds. Join A.
- With A, work 2 rnds.
- With B, work 2 rnds.
- Repeat the previous two color instructions once more.
- With A, work 2 rnds.
- With B, work 6 rnds.
- With A, work 1 rnd.
These 20 rnds form the Foot Stripe Pattern.
Stocking Cuff
With A, ch 11.
- 1st row (RS): 1 sc in 2nd ch from hook. 1 sc in each ch to end of chain. Turn. 10 sc.
- 2nd row: Ch 1. Working in back loops only, 1 sc in each sc to end of row. Turn.
- Repeat the 2nd row until work from beginning measures 14″ [35.5 cm], ending on a WS row. Do not fasten off.
- Proceed as follows.
Join Cuff
Working in back loops only, slip stitch the last row and remaining loops of the foundation chain together. Do not turn.
Leg
Rotate to work along the side edge of the cuff.
- 1st rnd: Ch 1. Work 46 sc evenly around the side edge of the cuff. Join with a slip stitch to the first sc. Join B. Turn. Begin working the Leg Stripe Pattern.
- 2nd rnd: With B, ch 1. 1 sc in each sc around. Join.
- 3rd to 32nd rnds: Keeping continuity of the Leg Stripe Pattern, ch 1. 1 sc in each sc around. Join.
The Leg Stripe Pattern is complete.
Heel
- 1st row (RS): With A, ch 1. 1 sc in the same space as the last slip stitch. 1 sc in each of the next 22 sc. Turn. Leave remaining stitches unworked. 23 sc.
- 2nd row: Ch 1. 1 sc in each sc to end of row. Turn.
- Repeat the 2nd row for 2″ [5 cm], ending on a WS row.
Shape Heel
- 1st row (RS): Ch 1. 1 sc in each of the next 15 sc. Sc2tog. 1 sc in next sc. Turn. Leave remaining stitches unworked. 17 sts.
- 2nd row: Ch 1. 1 sc in each of the first 9 sts. Sc2tog. 1 sc in next sc. Turn. 11 sts.
- 3rd row: Ch 1. 1 sc in each of the first 10 sts. Sc2tog. 1 sc in next sc. Turn. 12 sts.
- 4th row: Ch 1. 1 sc in each of the first 11 sts. Sc2tog. 1 sc in next sc. Turn. 13 sts.
- 5th row: Ch 1. 1 sc in each of the first 12 sts. Sc2tog. 1 sc in next sc. Turn. 14 sts.
- 6th row: Ch 1. 1 sc in each of the first 13 sts. Sc2tog. 1 sc in next sc. Turn. 15 sts.
- 7th and 8th rows: Ch 1. 1 sc in each of the first 14 sts. Sc2tog. Turn. 15 sts.
Fasten off.
Foot
Joining Round After Heel
- Joining rnd (RS): Join B with a slip stitch at the left side of the heel base. Ch 1. 1 sc in each of the next 23 sc of the instep. PM. Work 7 sc up the right side of the heel, 1 sc in each of the next 15 sc across the end of the heel, and 7 sc down the left side of the heel. Join. 52 sc.
- 2nd rnd: Ch 1. 1 sc in each sc to the marker. Sc2tog. 1 sc in each sc to the last 2 sc. Sc2tog. Join. 50 sts.
The first 2 rnds of the Foot Stripe Pattern are complete.
Continue Foot Stripe Pattern
Keeping continuity of the Foot Stripe Pattern, repeat the 2nd rnd until 44 sts rem.
- 6th rnd: With B, ch 1. 1 sc in each sc around. Join.
- 7th rnd: Ch 1. 1 sc in each sc around. Join.
- 8th to 20th rnds: Keeping continuity of the Foot Stripe Pattern, repeat the 7th rnd.
The Foot Stripe Pattern is complete.
Shape Toe
- 1st rnd: With A, ch 1. (1 sc in each of the next 9 sc. Sc2tog) 4 times. Join. 40 sts.
- 2nd rnd: Ch 1. (1 sc in each of the next 8 sc. Sc2tog) 4 times. Join. 36 sts.
- 3rd to 8th rnds: Continue in the same manner, decreasing 4 sts on every rnd until 12 sts rem.
Break yarn, leaving a long end. Draw the end tightly through the remaining stitches and fasten securely.
Finishing
Hanging Loop
With A, ch 25. Slip stitch in the 2nd ch from hook and each chain to the end of the chain. Fasten off. Fold the strip in half and sew it in position at the top center back of the cuff as shown in the photo.
Pompoms Make 9
Wind B around the 1½” [4 cm] piece of cardboard 100 times. Tie the yarn tightly in the middle and leave long ends for attaching to the stocking. Cut the loops at both ends and trim to a smooth, round shape.
Sew the pompoms evenly around the base of the cuff as shown in the photo.
Ways to Display Your Finished Crochet
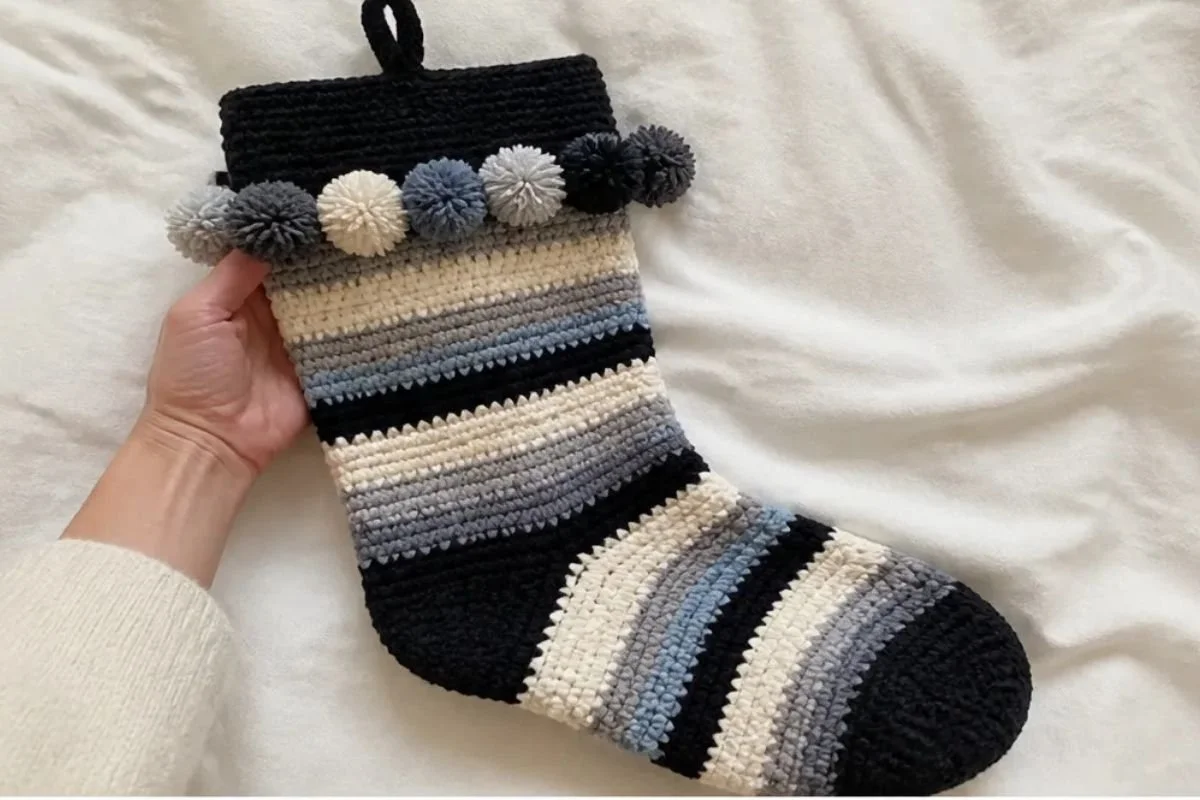
- Hang the stocking from a mantel, shelf, staircase railing, or sturdy decorative hook using its crocheted loop.
- Make coordinating stockings in different O’Go versions for a colorful family display.
- Use the stocking as a seasonal gift holder for small presents, treats, or handwritten notes.
- Pair it with other handmade holiday decorations, such as crochet ornaments, garlands, or floral accents.
- Display it in an entryway or guest room as a cheerful winter decoration.
- Give a finished stocking as a personalized gift, choosing colors that match the recipient’s holiday décor.
For another small seasonal crochet accent, a crochet rose for a wine glass can complement a festive table or gift presentation.
Caring for Your Crochet Project
- Keep the stocking away from direct heat sources, fireplaces, radiators, and hot lights.
- Dust it gently with a soft cloth or a low-suction brush attachment.
- For a small mark, spot-clean carefully with a slightly damp cloth rather than soaking the entire stocking.
- Do not wring, twist, or pull the cuff, hanging loop, or pompoms.
- Allow any damp area to dry completely in its natural shape.
- Store the stocking in a clean, dry container between seasons.
- Avoid compressing the pompoms under heavy decorations, since prolonged pressure can flatten their shape.
- Check the sewn attachments before hanging, especially if the stocking will hold small gifts.
Tips for Better Results
- Count the cuff stitches carefully. The foundation chain and first row should produce 10 sc before the ribbing begins.
- Work every cuff ribbing row in back loops only. This is what creates the pronounced ridged texture.
- Measure the cuff before joining. It must measure 14″ [35.5 cm] from the beginning and end on a WS row.
- Distribute the 46 leg stitches evenly. Consistent spacing around the cuff helps prevent a wavy or gathered edge.
- Track color changes by round. The Leg Stripe Pattern contains 31 rounds, while the Foot Stripe Pattern contains 20 rounds.
- Use the marker during the foot decreases. The marker identifies the instep area and helps position the two sc2tog decreases correctly.
- Check stitch counts after shaping. The heel and toe change rapidly, so confirming the listed counts can catch missed decreases early.
- Make the pompoms evenly. Wind B around the cardboard 100 times for each pompom, tie the center firmly, and trim gradually for a round finish.
Creative Ways to Customize Your Project
These ideas are optional and do not change the approved pattern instructions:
- Choose one of the seven listed O’Go versions for a ready-made color pairing, or select colors with a similar contrast between A and B.
- Use a neutral color for A and a bright or multicolored option for B to make the stripes more prominent.
- Coordinate the pompoms with color B, as written, or use a contrasting shade from the same yarn version for a different accent.
- Make a matched set using the same color combination, then create a varied display with another version for a second stocking.
- Add a small embroidered initial after finishing if personalization is desired, taking care not to distort the crochet fabric.
- If you substitute yarn, remember that fiber, yarn thickness, and tension can affect the stocking’s dimensions, stripe appearance, stitch counts, and yarn requirements. A different hook size may also change the finished size and fabric density, so substitutions should be treated as optional modifications rather than exact replacements.
Frequently Asked Questions
Is this stocking suitable for a beginner?
It is a useful project for a crocheter comfortable with single crochet, joined rounds, back-loop-only stitches, color changes, and basic decreases. The heel and toe require careful counting.
What yarn is recommended?
The pattern specifies Red Heart® Super Saver® O’Go™, using one O’Go for contrast A and one O’Go for contrast B from one of the seven listed versions.
What hook size should I use?
The supplied pattern instructions do not specify a hook size, so use the hook size associated with the approved pattern source rather than selecting one based on guesswork.
How many pompoms are required?
Make 9 pompoms. Each one is formed by winding color B around a 1½” [4 cm] piece of cardboard 100 times.
Can I change the colors?
Yes. The pattern already provides seven color versions, and the colors may also be customized. Keep one shade as A and the other as B so the stripe instructions remain easy to follow.
How is the stocking shaped?
The cuff is joined into a tube, the leg is worked around its edge, and the heel is crocheted back and forth before the foot is rejoined in rounds. The toe is shaped by decreasing four stitches on every round until 12 stitches remain.
How should I attach the hanging loop?
After crocheting the chain and slip-stitching back along it, fold the loop in half and sew it securely at the top center back of the cuff.
Can I use a different yarn?
You can, but a different yarn may alter the fabric, proportions, stripe width, stitch counts, and amount of yarn required. The finished stocking should be checked throughout the project rather than assumed to match the specified dimensions.
Conclusion
The Kitsch Striped Stocking Crochet Pattern combines bold stripes, a textured cuff, shaped construction, and pompom details in one festive project. Follow the stitch counts carefully, take time with the heel and toe, and choose a color version that suits your holiday style. When you are ready for more seasonal inspiration, explore these free crochet Christmas stocking patterns.