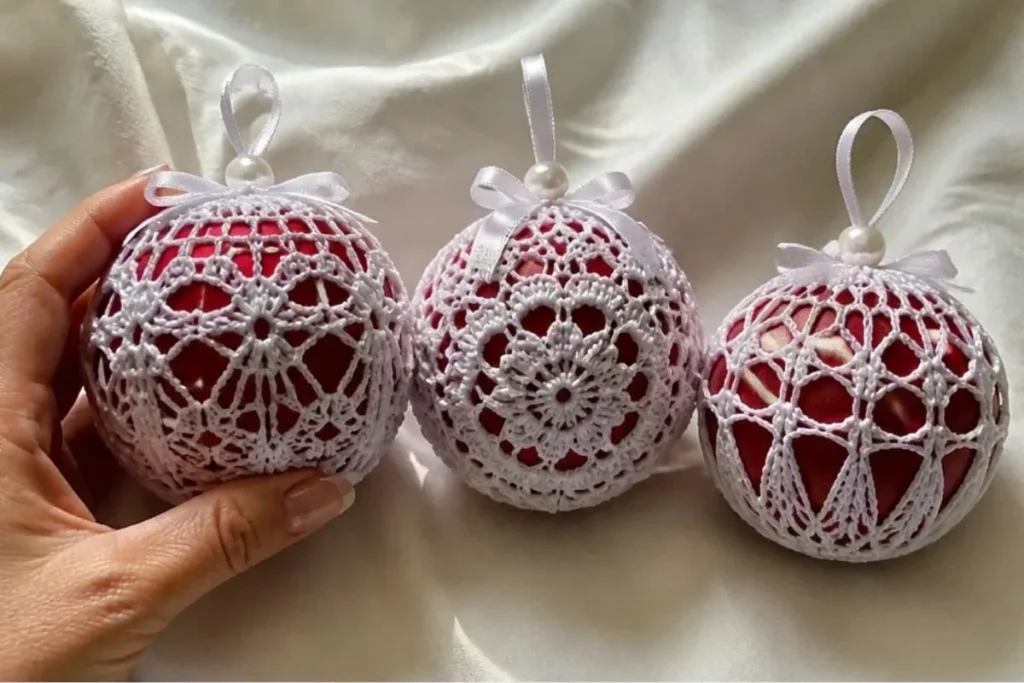
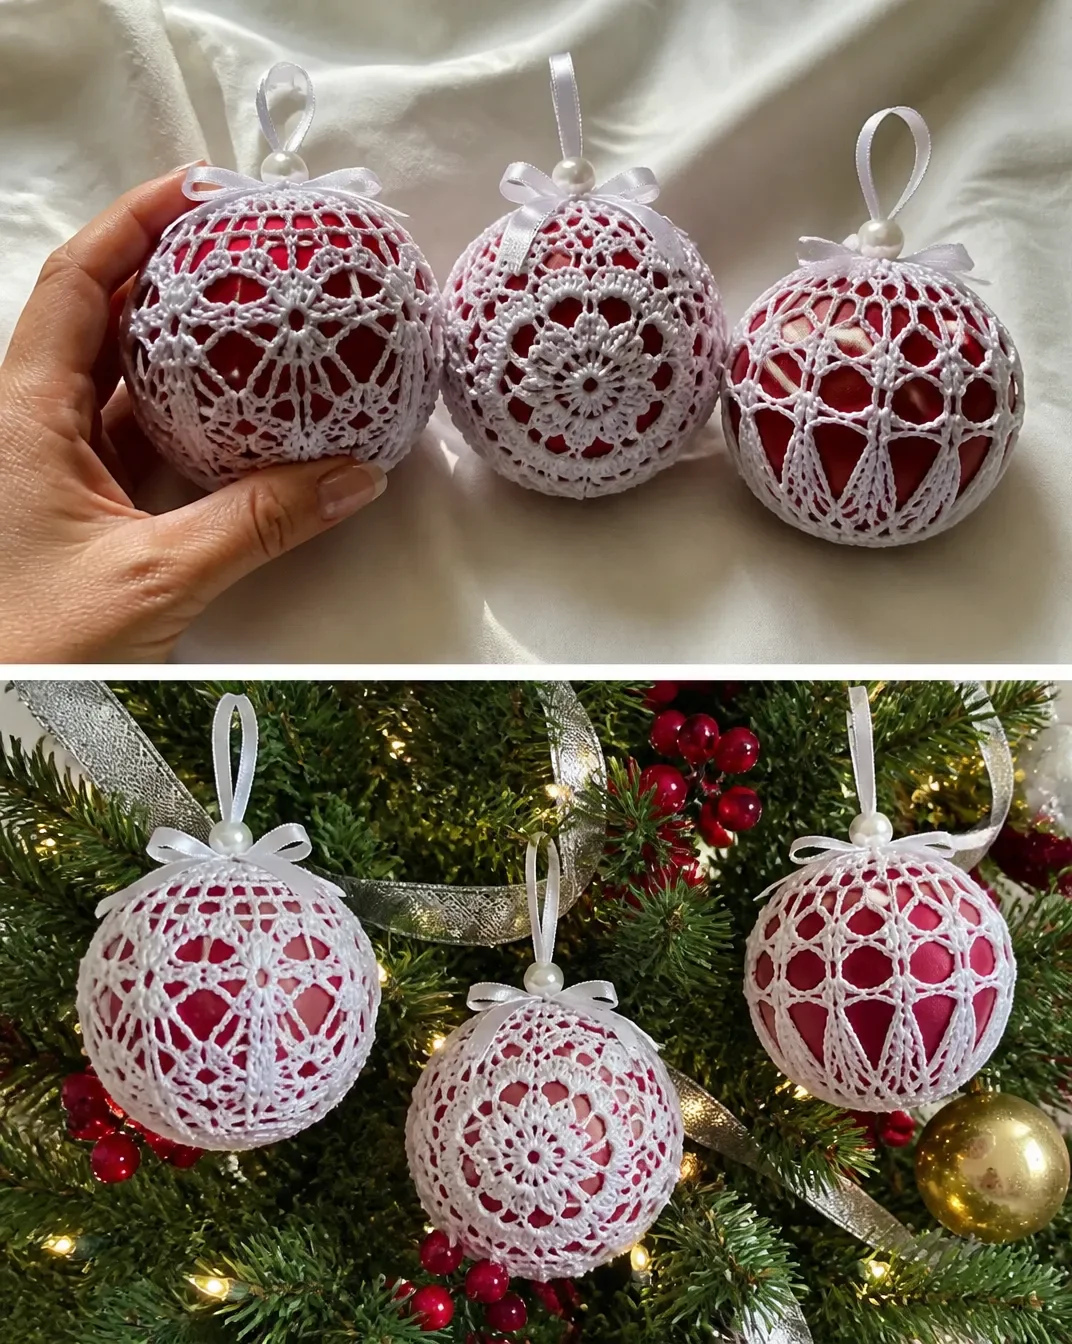
A trio of delicate crochet Christmas tree ornaments can turn simple red satin balls into elegant handmade decorations. This Crochet Christmas Tree Ornaments Pattern includes three distinct lace covers: an elaborate center design, a looped openwork style, and a classic shell-like pattern. They are lovely for a tree, holiday centerpiece, or thoughtful handmade gift. If you enjoy creating coordinated seasonal arrangements, explore these all-in-one crochet bouquet patterns for more decorative inspiration.
Why You’ll Love This Crochet Project
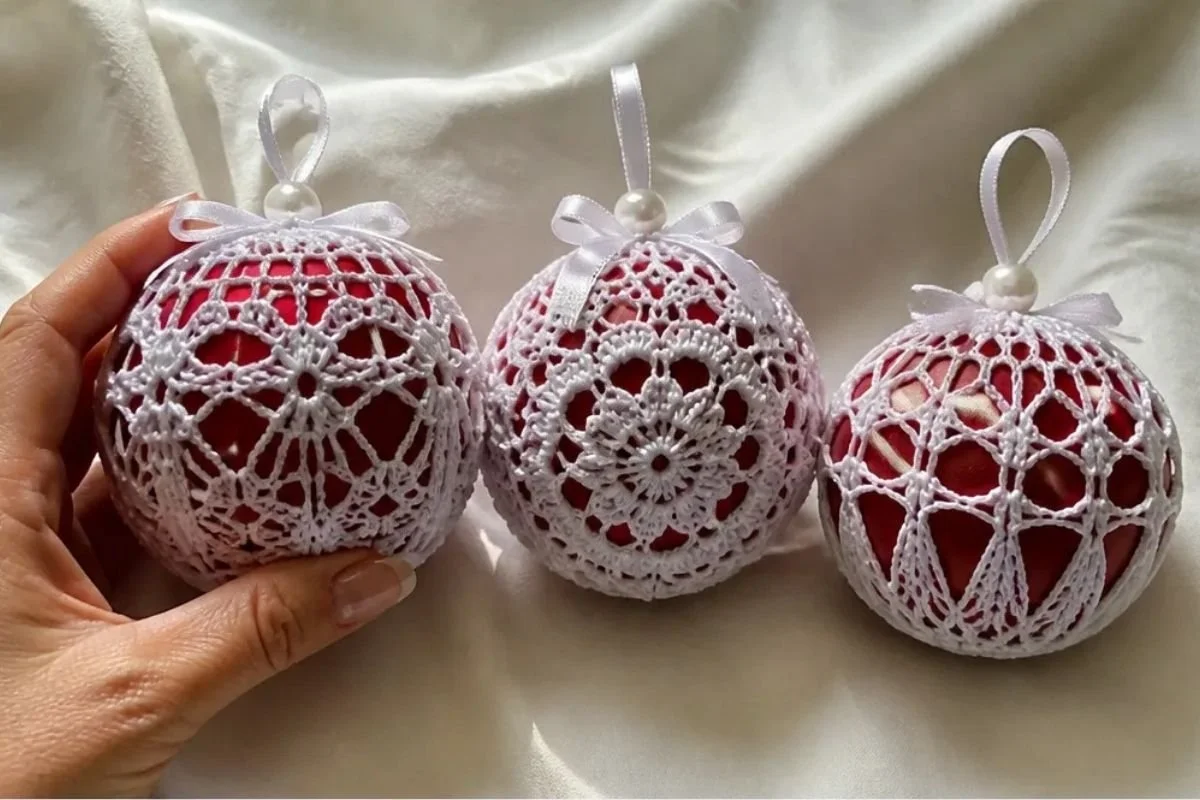
- Three designs in one pattern: The three ornament covers use different stitch structures, so the finished set has visual variety while remaining coordinated.
- Elegant lace texture: Size 10 crochet thread creates openwork details, picots, chain spaces, and delicate edging.
- Useful crochet practice: The pattern works with rings, joined rounds, double crochet, treble stitches, picots, chain loops, and careful shaping.
- Handmade holiday decorating: The covered satin balls can hang on a Christmas tree, fill a decorative bowl, or accent a holiday table.
- Gift-ready finish: Red satin balls, white crochet thread, ribbon, and pearl pins create a polished traditional color combination.
My Crochet Flower Tip: Make a small set of all three designs so the ornaments can be displayed together without looking identical.
Before You Start Crocheting
The project includes three crocheted ornament covers, each made for a 3-inch red satin ball. Ball Number 1 uses one continuous crocheted cover with 19 rounds. Ball Numbers 2 and 3 use two matching halves that are joined around the satin ball.
Use a 1.5 mm [US 7] steel crochet hook and AUNT LYDIA’S® Classic Crochet Thread, Size 10 in White for the crochet work. Pay close attention to joining points and chain spaces, since the lace structure depends on consistent placement.
The pattern uses US crochet terminology. A few abbreviations used throughout are:
- ch: chain
- sc: single crochet
- hdc: half double crochet
- dc: double crochet
- dtr: double treble crochet
- slip st: slip stitch
- yo: yarn over
Special Stitch and Pattern Notes
Picot: Ch 3, slip st in top of last st made.
An asterisk or double asterisk indicates that the following instructions are repeated as shown. Directions in brackets are worked the number of times specified.
Materials You’ll Need
Ball Number 1 Center of Photo
- AUNT LYDIA’S® Classic Crochet Thread, Size 10: 1 ball, White
- Steel crochet hook: 1.5 mm [US 7]
- Tapestry needle
- 1/8-inch x 25-inch double-faced satin ribbon
- 2-inch-long pearl teardrop corsage pin
- 3-inch red satin ball
Ball Number 2 Top of Photo
- Steel crochet hook: 1.5 mm [US 7]
- Tapestry needle
- 1/8-inch x 7-inch double-faced satin ribbon
- 2-inch-long pearl teardrop corsage pin
- 3-inch red satin ball
Ball Number 3 Bottom of Photo
- Steel crochet hook: 1.5 mm [US 7]
- Tapestry needle
- 1/8-inch x 7-inch double-faced satin ribbon
- 2-inch-long pearl teardrop corsage pin
- 3-inch red satin ball
The tapestry needle is used for weaving in ends and sewing the two halves together on Ball Numbers 2 and 3. The ribbon forms either a gathered bow or hanging loop, while the pearl teardrop corsage pin secures the hanger at the top of the satin ball.
Step-by-Step Crochet Instructions
Ball Number 1 Center of Photo
Ball Cover
Ch 6; join with a slip st to form a ring.
Round 1
Ch 5 (counts as dc, ch-2), [dc in ring, ch 2] 7 times; join with a slip st in 3rd ch of ch-5.
Round 2
Slip st in next space, ch 5 (counts as dtr), 3 dtr in same space, ch 3, [4 dtr in next space, ch 3] 7 times; join with a slip st in top of ch-5.
Round 3
Slip st in next dtr, [sc between 2nd and 3rd dtr, (4 dc, ch 2, 4 dc) in next ch-3 space] 8 times; join in first sc.
Round 4
Slip st in next 4 dc and into ch-2 space, ch 5 (counts as dtr), (dtr, [ch 3, 2 dtr] 3 times) all in same space,
- (4 dc, ch 2, 4 dc) in next ch-2 space **, ([2 dtr, ch 3] 3 times, 2 dtr) all in next ch-2 space;
repeat from * around, end at **; join in top of ch-5.
Round 5
Ch 1,
- sc between next 2 dtr, (3 dc, [picot, 3 dc] twice) all in next ch-3 space;
repeat from * twice more;
sc between next 2 dtr, sc between dtr and dc, (4 dc, picot, 4 dc) in next ch-2 space, sc between dc and dtr;
repeat from * around; join in first sc.
Fasten off.
Round 6
Join thread in 3rd picot of Round 5; ch 1, sc in picot,
- ch 3, sc in next picot, ch 5, sc in next picot, ch 3, pull up a loop in each of the next 3 picots, yo and draw through all 4 loops on hook, ch 3, sc in next picot, ch 5 **, sc in next picot;
repeat from * around, end at **; join.
Round 7
Ch 1, sc in first sc,
- ch 3, sc in next sc, ch 5, hdc in next sc, ch 3, dc in next joined sts, ch 3, hdc in next sc, ch 5 **, sc in next sc;
repeat from * around, end at **; join.
Round 8
Ch 1, sc in first sc,
- ch 3, sc in next space, ch 3, sc in next sc, [ch 3, sc] twice in ch-5 space, ch 3, sc in next hdc, ch 3, sc in next space, ch 3, sc in next dc, ch 3, sc in next space, ch 3, sc in next hdc, [ch 3, sc] twice in ch-5 space **, ch 3, sc in next sc;
repeat from * around, end at **; (ch 1, hdc) in first sc to join and form last loop.
Rounds 9–17
Ch 1, sc in loop just formed,
- ch 3, sc in next ch-3 loop;
repeat from * around, ending with (ch 1, hdc) in first sc to join and form last loop.
Round 18
Repeat Round 17 ending with ch 3; join in first sc.
Round 19
- (Sc, picot, sc) in next ch-3 loop;
repeat from * around; join in first sc.
Fasten off. Weave in ends.
To Finish
- Insert satin ball into crocheted piece, placing the center hole at the bottom of the crocheted piece on the center bottom of the ball.
- Weave the 18-inch length of ribbon through Round 15, draw up the ribbon very tightly, and knot. Tie a bow on top of the knot and trim the ribbon ends.
- Insert the teardrop pearl corsage pin through the ends of the 7-inch length of ribbon and into the center top of the ball to form the hanger loop.
Ball Number 2 Top of Photo
Ball Cover: First Half
Ch 12; join with a slip st to form a ring.
Round 1
Ch 1, 24 sc in ring; join with a slip st in first sc.
Round 2
Ch 10 (counts as dtr, ch-5), skip next sc, [sc in next sc, ch 5, skip next sc, dtr in next sc, ch 5, skip next sc] 5 times, sc in next sc, ch 5, skip next sc; join with a slip st in 5th ch of ch-10.
Round 3
Ch 1, sc in same st as joining, ch 8, [sc in next dtr, ch 8] 5 times; join in first sc.
Round 4
Ch 1, sc in first sc,
- sc in first ch of ch-8, ch 8, skip next 6 ch, sc in next ch **, sc in next sc;
repeat from * around, end at **; join in first sc – 18 sc.
Round 5
Ch 1, sc in first 2 sc,
- sc in first ch of ch-8, ch 8, skip next 6 ch, sc in next ch **, sc in next 3 sc;
repeat from * to last sc, end at **; sc in last sc; join – 30 sc.
Round 6
Ch 1, sc in first 3 sc,
- sc in first ch of ch-8, ch 8, skip next 6 ch, sc in next ch **, sc in next 5 sc;
repeat from * to last 2 sc, end at **; sc in last 2 sc; join – 42 sc.
Round 7
Slip st in next 3 sc, slip st in next 4 ch, ch 1, sc in same loop, ch 12,
- sc in next loop, ch 12;
repeat from * around; join in first sc.
Round 8
Ch 1, sc in first sc, sc in each ch and sc around; join – 78 sc.
Round 9
Ch 1, sc in each sc around; join.
Fasten off. Weave in ends.
Second Half
Work same as First Half, leaving a 48-inch thread tail at the end of Round 9 to sew halves together and to make the hanger loop.
Finishing
- Place the crocheted halves over the satin ball, matching the crochet design pattern and matching stitches. Sew or slip stitch together with the length of thread left on the Second Half.
- With the remaining thread left after sewing, use the crochet hook to anchor the thread with a slip stitch at the center top of the ball. Ch 40; join to the first chain to form a loop, being careful not to twist the chain. Fasten off.
- Open the hanger loop at the base. Insert the teardrop pearl corsage pin into the satin ball at the center top to give firm hold to the hanger loop. Weave in ends.
Ball Number 3 Bottom of Photo
Ball Cover: First Half
Ch 12; join with a slip st to form a ring.
Round 1
Ch 3 (counts as dc), 23 dc in ring; join with a slip st to top of ch-3.
Round 2
Ch 6 (counts as dc, ch 3), skip next dc, [dc in next dc, ch 3, skip next dc] 11 times; join in 3rd ch of ch-6.
Round 3
Ch 3, 5 dc in next ch-3 space, [dc in next dc, 5 dc in next ch-3 space] 11 times; join.
Round 4
Ch 3, 2 dc in same st as joining, ch 3, skip next 5 dc, [3 dc in next dc, ch 3, skip next 5 dc] 11 times; join.
Rounds 5 and 6
Ch 3, dc in next 2 dc, ch 3, [dc in next 3 dc, ch 3] 11 times; join.
Round 7
Ch 3, dc in next 2 dc, 3 dc in next ch-3 space, [dc in next 3 dc, 3 dc in next ch-3 space] 11 times; join.
Fasten off. Weave in ends.
Second Half
Work same as First Half, leaving a 48-inch thread tail at the end of Round 7.
Finishing
- Place the crocheted halves over the satin ball, matching the crochet design pattern and matching stitches. Sew or slip stitch together with the length of thread left on the second half.
- Insert the teardrop pearl corsage pin through the ends of the 7-inch length of ribbon and into the center top of the ball to form the hanger loop.
Ways to Display Your Finished Crochet
- Hang all three ornaments together on a Christmas tree, spacing them among evergreen branches so each lace design is visible.
- Place the covered balls in a shallow holiday bowl as a textured tabletop accent.
- Use one ornament at each place setting for a handmade seasonal touch.
- Tie an ornament to a wrapped gift with coordinating ribbon.
- Combine the ornaments with white lights, greenery, or traditional red decorations for a cohesive holiday display.
- Keep one design as a small host gift and display the remaining pair as a matching set.
For additional handmade holiday inspiration, a small crochet rose ornament or accent can complement these decorations; this crochet rose pattern for wine glasses offers another delicate way to use floral-style crochet details in seasonal entertaining.
Caring for Your Crochet Project
- Dust the ornaments gently with a soft, dry brush or a cool air setting held at a distance.
- Avoid soaking the crochet covers, since the satin balls, ribbons, and pearl corsage pins are part of the finished construction.
- For a small mark, use minimal moisture on a clean cloth and dab carefully rather than rubbing the lace.
- Keep the ornaments away from direct heat, fireplaces, radiators, and hot storage areas.
- Store each ornament in soft tissue paper inside a sturdy box so the openwork does not catch on other decorations.
- Avoid placing heavy items on top of the ornaments, especially Ball Number 1, whose extended lace cover can be delicate.
- Check the ribbon and pin before hanging the ornaments each season.
Helpful Crochet Tips
- Keep the tension even. Size 10 thread and a 1.5 mm hook produce delicate lace, so tight or loose tension can noticeably change the size and openness of the cover.
- Mark the beginning of rounds. Joined rounds contain several chain spaces and slip stitches; a removable marker can help identify the first stitch or space.
- Count repeated groups carefully. Ball Number 2 includes stated totals of 18 sc, 30 sc, 42 sc, and 78 sc. Use these counts to confirm that the shaping is on track.
- Read chain spaces literally. In Ball Number 1, many stitches are worked between stitches or into ch-3 and ch-5 spaces rather than into the top loops of individual stitches.
- Make picots consistently. Each picot is ch 3 followed by a slip stitch in the top of the last stitch made. Similar-sized picots will give the edging a more even appearance.
- Match the halves before joining. For Ball Numbers 2 and 3, align the crochet design and corresponding stitches around the satin ball before sewing or slip stitching.
- Protect the thread tail. The 48-inch tail is needed for joining and, for Ball Number 2, forming the hanger loop. Do not weave it in before assembly.
- Tighten Ball Number 1 gradually. When drawing the ribbon through Round 15, pull it firmly and evenly so the cover gathers around the ball without distorting the lace.
Creative Ways to Customize Your Project
These options are separate from the approved pattern and are intended only as optional styling ideas:
- Use a different thread color, such as metallic gold, deep green, silver, or icy blue, while keeping the same thread type for a similar lace effect.
- Coordinate the ribbon with the crochet thread for a monochromatic ornament, or use contrasting ribbon for a brighter accent.
- Display the three designs in a seasonal palette, such as white with burgundy ribbon or cream with forest-green ribbon.
- Group the ornaments with natural evergreen sprigs, pinecones, or a simple ceramic bowl.
- If substituting yarn or changing hook size, expect the fabric, opening size, drape, and yarn requirements to change. The covers are designed around size 10 thread and a 1.5 mm steel hook, so substitutions may no longer fit the 3-inch satin balls precisely.
- Make several sets in different colors for coordinated tree sections or handmade holiday gifts.
Frequently Asked Questions
Is this pattern suitable for a beginner?
It is best suited to a crocheter who is comfortable with joined rounds, chain spaces, double crochet, treble stitches, and reading repeated instructions. Ball Number 3 has the most straightforward stitch structure, while Ball Number 1 includes more intricate lace shaping.
What yarn and hook should I use?
The supplied materials specify AUNT LYDIA’S® Classic Crochet Thread, Size 10 in White and a 1.5 mm [US 7] steel crochet hook. These specifications are used for all three ornament designs.
How many ornaments does the pattern make?
The pattern makes three covered ornaments: Ball Number 1, Ball Number 2, and Ball Number 3. Each is made for a 3-inch red satin ball.
Do Ball Numbers 2 and 3 use the same construction?
Both use two crocheted halves that are placed over the satin ball and joined. However, their stitch patterns and round counts differ, so each half must be worked according to its own instructions.
How is Ball Number 1 gathered around the ball?
After inserting the satin ball, weave the 18-inch ribbon through Round 15, draw it up very tightly, knot it, and tie a bow on top of the knot.
Can I change the crochet thread color?
Yes, changing the color is an optional styling choice. Keep in mind that changing thread type or size can affect the fit, texture, and appearance of the finished cover.
How are the hangers attached?
Ball Number 1 uses a 7-inch ribbon secured at the top with a teardrop pearl corsage pin. Ball Number 2 has a chain-40 hanger made from its remaining thread tail and is secured with a pearl corsage pin. Ball Number 3 uses a 7-inch ribbon and pearl corsage pin.
How should I store the ornaments?
Wrap each ornament in soft tissue paper and store it in a sturdy container away from moisture, heat, and heavy objects. Handle the lace, ribbons, and pins carefully when unpacking and rehanging.
Conclusion
These crochet Christmas tree ornaments combine delicate thread lace with bright satin balls for a classic handmade holiday look. The three designs offer variety while working beautifully as a coordinated set. Display them on a tree, give them as gifts, or customize the thread and ribbon colors to suit your décor. For another festive crochet idea, try this flat Christmas tree crochet pattern as a complementary decoration.