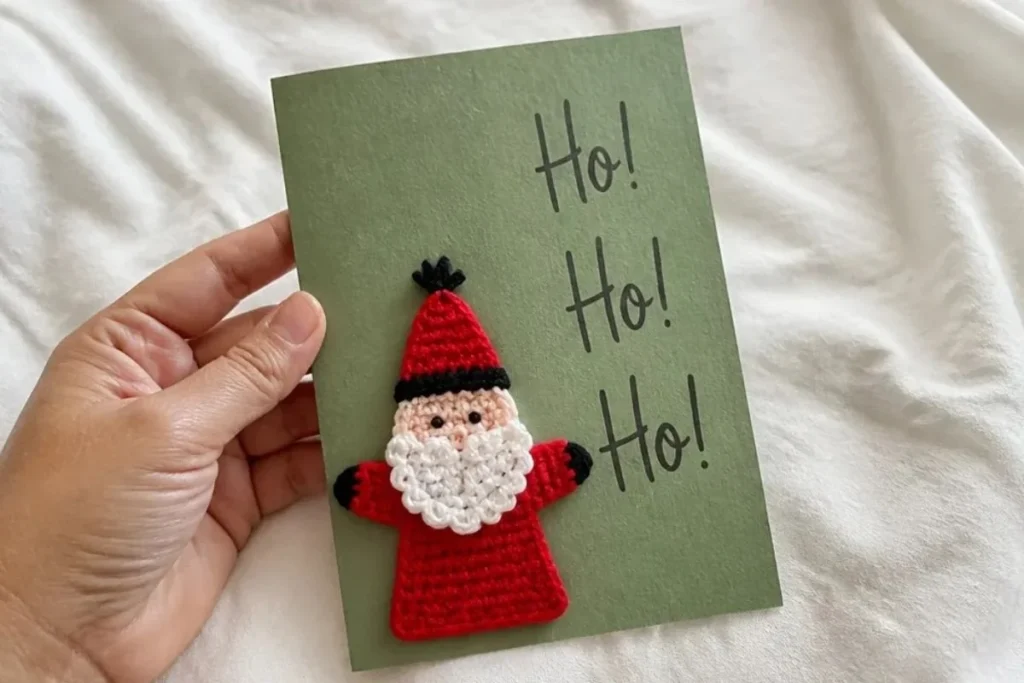
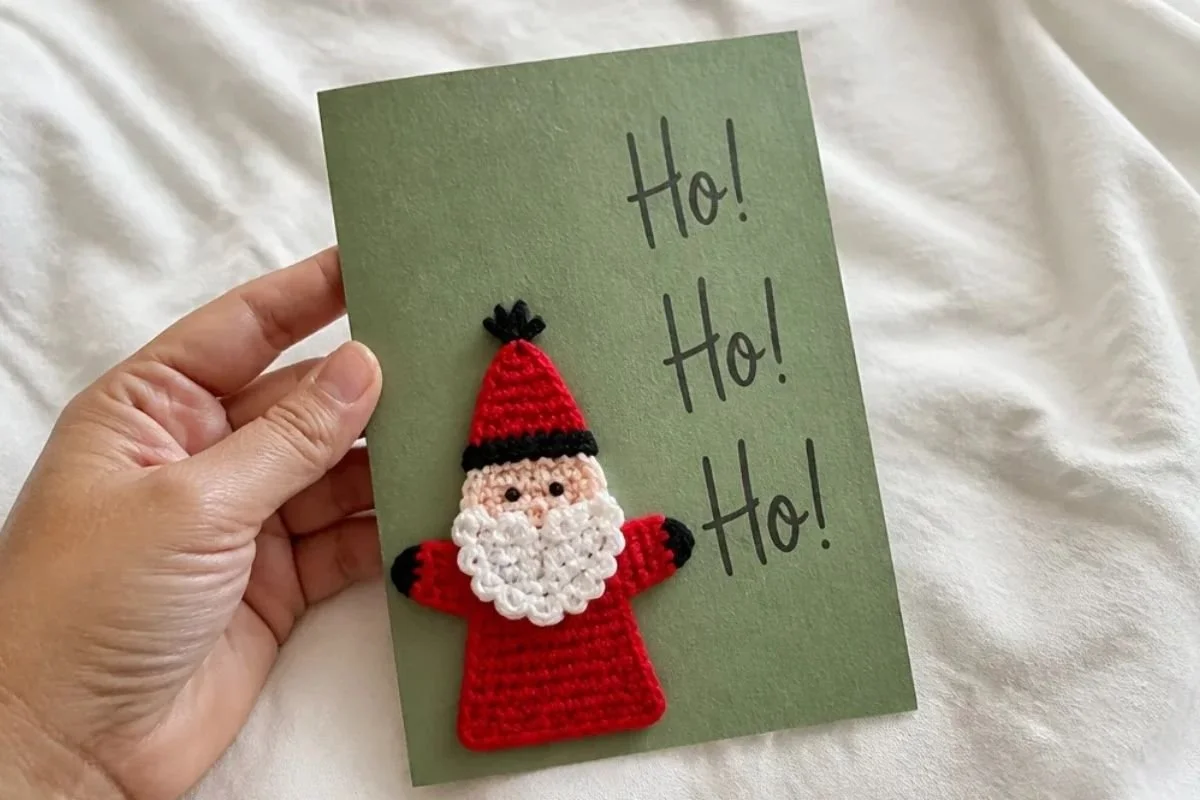
A handmade Santa motif adds a cheerful holiday detail to a blank greeting card without requiring a large crochet project. This Crochet Santa Motif Pattern for Christmas Cards creates a small appliqué from separate body, arms, face, hat, and beard pieces, then joins them with craft glue. It is a practical project for crocheters who enjoy seasonal cards, handmade gifts, and decorative paper crafts. For another festive handmade accent, you may also enjoy this crochet rose pattern for wine glasses.
Why You’ll Love This Crochet Project
- It is a manageable seasonal project. The Santa is made from several small crocheted components rather than a large, continuous piece.
- It adds a personal touch to greeting cards. A blank card becomes a handmade holiday keepsake with a dimensional Santa on the front.
- It practices useful shaping techniques. The body and hat use decreases, while the face and beard introduce circular work and controlled increases.
- It uses festive texture and color. Victory Red, black, peach, and metallic White/Pearl create a recognizable Santa design.
- It works well for gifting. Finished cards can be given to family, friends, teachers, or coworkers during the holiday season.
My Crochet Flower Tip: Keep the small components organized as you work. Place each finished piece beside the pattern section it belongs to so the assembly process stays clear.
Before You Start Crocheting
This project includes one Santa motif made from a body, two arms, a face, a hat, and a beard. The pieces are crocheted separately and assembled with craft glue before the completed Santa is attached to the front of a blank card.
The pattern uses half double crochet, double crochet, single crochet, treble crochet, slip stitches, chains, shaping decreases, and increases. The face is worked continuously without joining, while the remaining components are worked in rows.
The color key is:
- A: 494 Victory Red
- B: 12 Black
- C: 424 Peach
- D: 1P White/Pearl metallic thread
Special Abbreviation
dc2tog (worked over 2 sts): [Yarn over and draw up a loop in next st, yarn over and draw through 2 loops] twice, yarn over and draw through all 3 loops on hook.
Materials You’ll Need
- AUNT LYDIA’S® Classic Crochet Thread, Size 10: 1 ball each of 494 Victory Red A, 12 Black B, and 424 Peach C
- AUNT LYDIA’S® Metallic Crochet Thread, Size 10: 1 ball of 1P White/Pearl D
- Susan Bates® Steel Crochet Hook: 1.5mm [US 7]
- Tapestry needle
- Craft glue
- Blank card
Use the tapestry needle to weave in yarn ends before assembly. Craft glue attaches the crocheted pieces to one another and secures the completed Santa to the card.
Step-by-Step Crochet Instructions
Work the components in the order below. Maintain the stated stitch counts, turning instructions, and color changes so the pieces fit together during assembly.
Pattern: SANTA
Body
With A, ch 17.
Row 1 (Right Side): Hdc in 2nd ch from hook and each ch across; turn – 16 hdc
Row 2: Ch 2, skip first st, dc in next st (counts as dc2tog), dc in each st to last 2 sts, dc2tog; turn – 14 dc
Rows 3–7: Repeat Row 2 – 4 dc
Row 8: Ch 1, skip first dc, hdc in next 2 dc, ch 1, slip st in last dc – 2 hdc
Fasten off.
Left Arm
With right side facing, join A in end of Row 5 of Body.
Row 1: Ch 1, 3 hdc around post of dc on Row 5 of Body; turn – 3 hdc
Rows 2–4: Ch 1, hdc in each hdc; turn. At end of Row 4 change to B.
Row 5: With B, ch 1, hdc in each hdc; turn.
Row 6: Ch 2, skip first hdc, 2 dc in next hdc, ch 2, slip st in last hdc. Fasten off.
Right Arm
With right side facing, join A in end of Row 5 of Body opposite Left Arm. Repeat Rows 1–6 of Left Arm.
Face
With C, ch 4; join with slip st to form ring; ch 1, 8 sc in ring; do NOT join.
Sc in each sc around without joining until circle measures 1” in diameter, working 2 sc in next sc whenever needed to increase to keep circle flat; slip st in next sc. Fasten off.
Hat
With A, ch 10.
Row 1 (Right Side): Hdc in 2nd ch from hook and in each ch across; turn – 9 hdc
Row 2: Ch 2, skip first st, dc in next st, dc in each st to last 2 sts, dc2tog; turn – 7 dc
Rows 3 and 4: Repeat Row 2 – 3 dc
Row 5: Ch 2, skip first dc, dc2tog; turn; turn – 2 dc
Row 6: Ch 3, dc in next dc; turn – 2 dc
Row 7: Ch 3, dc in next dc changing to B; turn.
Row 8: With B, ch 3, 2 dc in first dc, ch 1, turn, slip st in top of ch-3. Fasten off.
Beard
With D, ch 11.
Row 1 (Right Side): Sc in 2nd ch from hook and each ch across; turn – 10 sc
Row 2: Ch 1, 2 hdc in each sc across; turn – 20 hdc
Row 3: Ch 1, skip first hdc, slip st in next 5 hdc, skip next hdc, [3 hdc in next hdc] twice, tr in next 3 hdc, [3 hdc in next hdc] twice, skip next hdc, slip st in last 5 hdc. Fasten off.
Finishing and Assembly
Weave in ends. Block if pieces won’t lie flat.
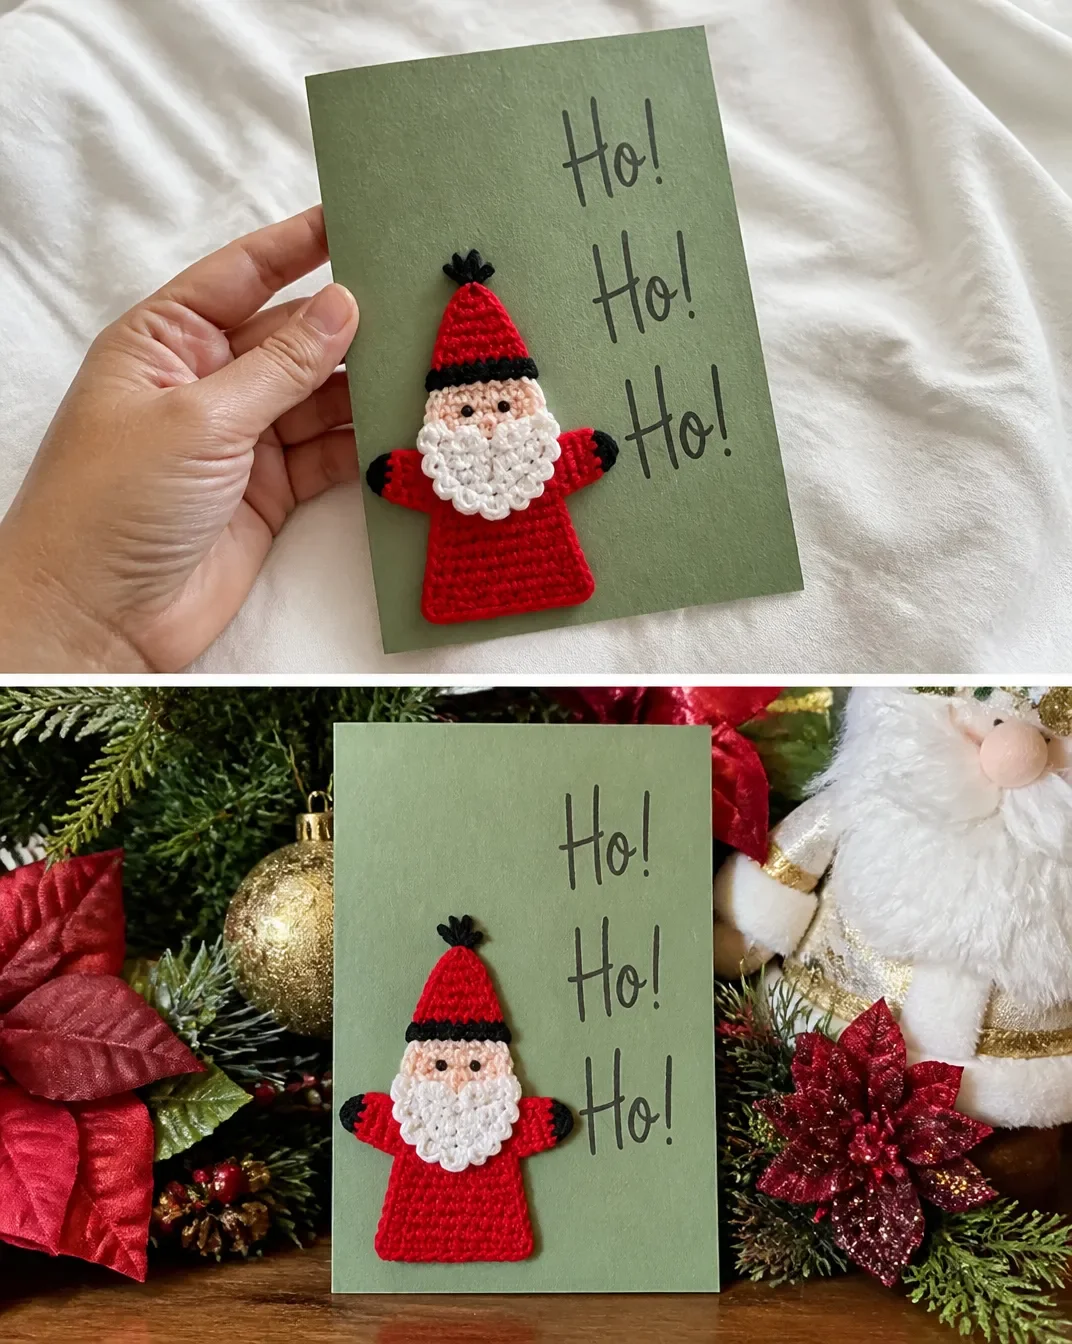
With right side facing on all pieces and following photo for placement, glue Arms to Body, glue Face to tip of Body, glue Beard and Hat on Face.
Glue assembled Santa to front of card.
Handmade Gift and Decoration Ideas
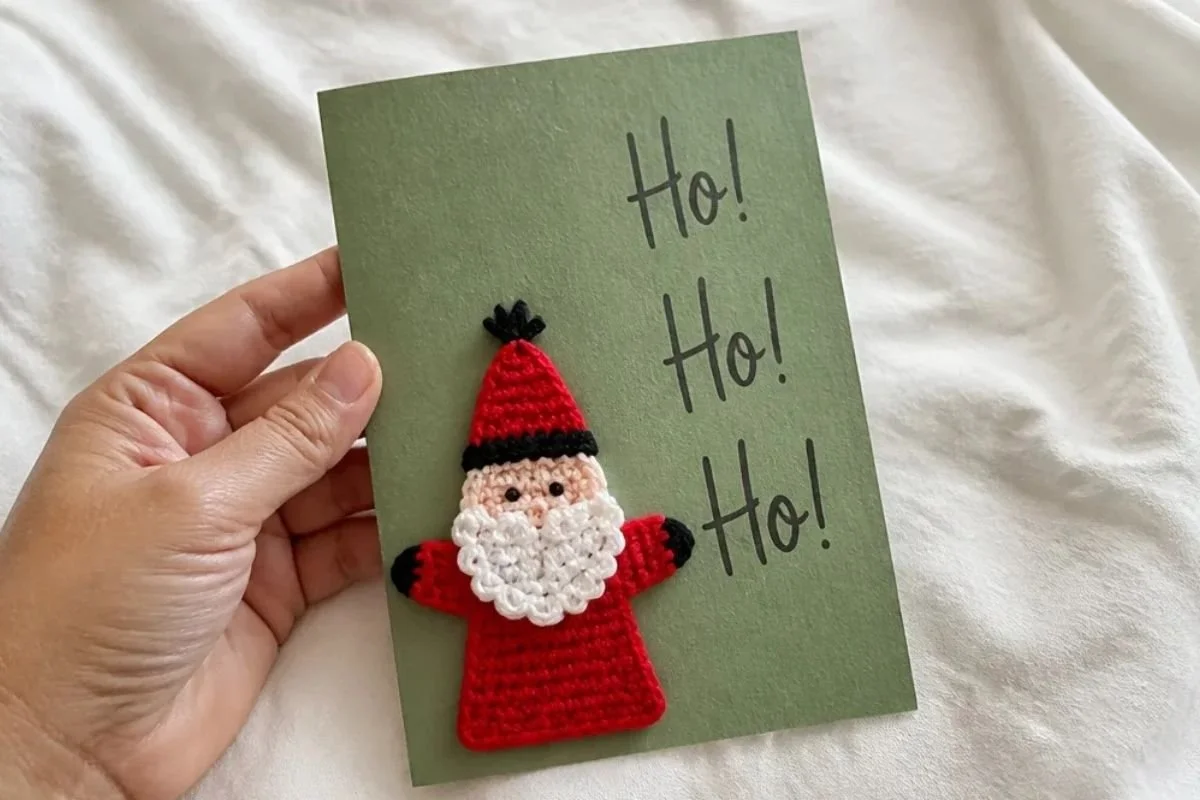
- Holiday greeting cards: Attach one Santa to the front of a blank card for a handmade Christmas message.
- Gift tags: Glue the motif to a sturdy tag and write the recipient’s name on the reverse side.
- Christmas gift packaging: Use the Santa as a decorative accent on wrapped presents, gift bags, or treat boxes.
- Seasonal table settings: Place a finished card at each table setting as a small holiday favor.
- Keepsake card collections: Make several cards with different paper colors or lettering styles for a coordinated set.
- Crochet holiday displays: Combine this project with other handmade seasonal pieces; a collection of crochet bouquet patterns can provide additional inspiration for handmade decorations and gifts.
Caring for Your Crochet Project
Because the finished Santa is glued to a card, keep it away from water, steam, and excessive humidity. Do not machine wash or soak the card or crocheted motif.
Dust the surface gently with a clean, dry, soft brush. If a small area needs attention, use minimal moisture on a cloth and test it carefully on an inconspicuous area first, keeping the card as dry as possible.
Store completed cards flat in a cool, dry place. Place tissue paper between cards if the metallic beard, hat, or glued components might rub against other decorations. Avoid leaving the card in direct sunlight or near a heat source, since heat can affect the paper and adhesive.
Tips for Better Results
- Count the body rows carefully. The body narrows through Rows 2–7, so keeping track of each repeat helps preserve the Santa silhouette.
- Watch the stitch counts after decreases. The body and hat both use shaping, and the stated counts make it easier to identify a missed decrease.
- Keep the face flat. Add 2 sc in the next sc whenever needed to keep the circle flat while working continuously.
- Change colors at the specified point. The arms change from A to B at the end of Row 4, while the hat changes to B during Row 7.
- Use the right side for assembly. Position every piece with the right side facing before gluing the arms, face, beard, and hat.
- Block only when necessary. If a piece curls or will not lie flat, block it before gluing. Allow it to dry completely so the final placement is easier.
- Apply glue sparingly. Small amounts help secure the pieces without soaking the thread or creating visible hardened areas.
- Let the assembled motif set before handling. Give the glue time to hold the components securely before attaching the Santa to the card or placing it in an envelope.
Creative Ways to Customize Your Project
The approved pattern uses classic Santa colors, but you can make optional styling changes while keeping the original instructions unchanged.
- Use a different red shade for the body and hat if you want a deeper cranberry or brighter holiday look.
- Try a cream or soft white card to create a warm, traditional presentation.
- Choose a contrasting card color, such as green, navy, or kraft brown, to make the red motif stand out.
- Add handwritten lettering around the Santa, leaving enough open space so the crocheted pieces remain the focal point.
- Make a coordinated card set with the same Santa colors but different card sizes or greeting styles.
- If you substitute another thread or hook, expect the size and proportions to change. A different yarn weight can also affect the texture, stitch definition, and amount of yarn required, so substitutions should be treated as optional experiments rather than part of the approved pattern.
Frequently Asked Questions
Is this Santa motif suitable for beginners?
It can suit beginners who are comfortable with basic crochet stitches and small shaped pieces. The pattern includes several techniques, including continuous single crochet, decreases, color changes, and treble crochet.
What yarn should I use?
The pattern specifies AUNT LYDIA’S® Classic Crochet Thread, Size 10 in Victory Red, Black, and Peach, plus AUNT LYDIA’S® Metallic Crochet Thread, Size 10 in White/Pearl. Using the specified thread helps maintain the intended scale and appearance.
What hook size is required?
Use a Susan Bates® Steel Crochet Hook measuring 1.5mm [US 7].
How many crocheted components does the Santa include?
The motif includes one body, two arms, one face, one hat, and one beard. The arms are made separately but use the same six-row instructions.
Can I change the colors?
Yes. Color changes are an optional design choice. However, changing colors does not alter the approved stitch instructions, and substituting a different thread may affect the finished proportions.
How is the face worked?
The face begins with a chain-4 ring and 8 sc worked into the ring. It is then worked continuously without joining until the circle measures 1” in diameter, with increases added as needed to keep it flat.
How are the pieces attached?
After weaving in the ends and blocking pieces that will not lie flat, glue the arms to the body, the face to the tip of the body, and the beard and hat to the face. Then glue the assembled Santa to the front of the card.
How should I store the finished card?
Store it flat in a cool, dry place away from direct sunlight, moisture, and heat. Protect the crocheted surface from rubbing against rough or heavy decorations.
Conclusion
This Crochet Santa Motif Pattern for Christmas Cards combines small crochet pieces, bright seasonal colors, and simple paper crafting into a thoughtful handmade project. Once assembled, the Santa can decorate a greeting card, gift tag, or holiday keepsake. For another source of seasonal inspiration, explore the free Aunt Lydia’s Santa Christmas Card Motif pattern.