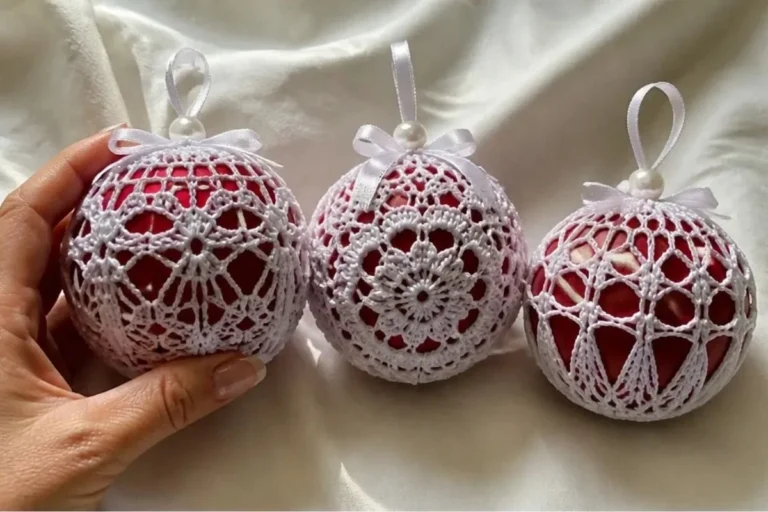

Lacy crochet Christmas ornaments bring delicate texture and handmade charm to a holiday tree, mantel, gift package, or seasonal centerpiece. This pattern includes two six-spoke designs: a dramatic cluster stitch ornament and a lighter daisy chain stitch ornament. Both are crocheted with fine white thread, shaped over a 3-inch ball, stiffened, and finished with a satin ball, ribbon, and hanger. If you enjoy coordinating handmade decorations, these designs can also complement crochet bouquet patterns in a broader holiday display.
Why You’ll Love This Crochet Project
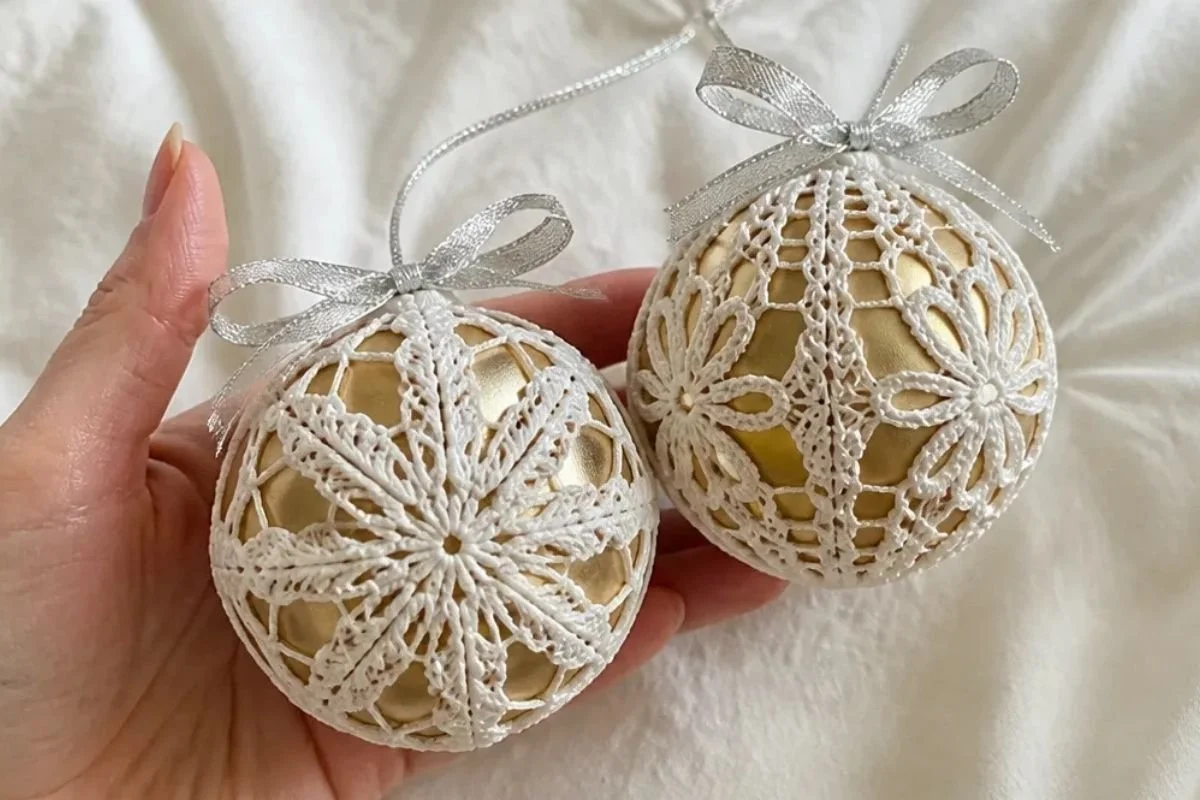
- Two distinct ornament designs: Make the sculptural Cluster Stitch Ornament, the airy Daisy Chain Stitch Ornament, or both for variety.
- Elegant lace-like texture: Size 10 crochet thread creates openwork details that catch the light beautifully.
- A useful shaping exercise: Forming the crocheted piece around a ball helps develop confidence with stiffening and three-dimensional finishing.
- Handmade gift potential: Finished ornaments make thoughtful additions to holiday packages, hostess gifts, and Christmas decorations.
- Customizable presentation: White thread and satin accents suit traditional, minimalist, silver, gold, or colorful holiday themes.
My Crochet Flower Tip: Shape the crochet over the plastic-wrapped Styrofoam ball carefully before the stiffener dries so the spokes and daisy chains remain evenly distributed around the ornament.
Before You Start Crocheting
This project provides two separate ornament options. Ornament A begins with a 36-chain ring and develops six elaborate cluster-stitch spokes. Ornament B begins with six single crochet stitches worked into a small ring and creates six daisy-chain spokes.
Each crocheted ornament is fastened off, woven in, saturated with fabric stiffener, and shaped around a 3-inch Styrofoam ball. Once rigid, the form is removed and replaced with a 3-inch satin Christmas ball. The top loops are tied or sewn together, then finished with a ribbon bow and ornament hanger.
The pattern uses US crochet terminology. Helpful abbreviations include:
- ch: chain
- sc: single crochet
- dc: double crochet
- sl st: slip stitch
- trtr: treble-treble crochet
- Cl: cluster
- picot: a small decorative loop formed by chaining and slip stitching
The supplied pattern identifies six spokes for each ornament design. Work carefully with the 1.5mm hook, since the fine thread and detailed cluster instructions require precise handling.
Materials You’ll Need
- AUNT LYDIA’S® Classic Crochet Thread, Size 10: 1 ball, White
- Crochet hook: 1.5mm [US 7]
- 3-inch diameter Styrofoam ball: for forming the crochet piece
- 3-inch satin Christmas ball: for the final ornament
- Plastic wrap
- Fabric stiffener
- 7/8-inch ribbon
- Ornament hanger
- Thread needle
The Styrofoam ball is used only as a shaping form and is removed after the crochet becomes rigid. Plastic wrap keeps the stiffened thread from adhering to the form.
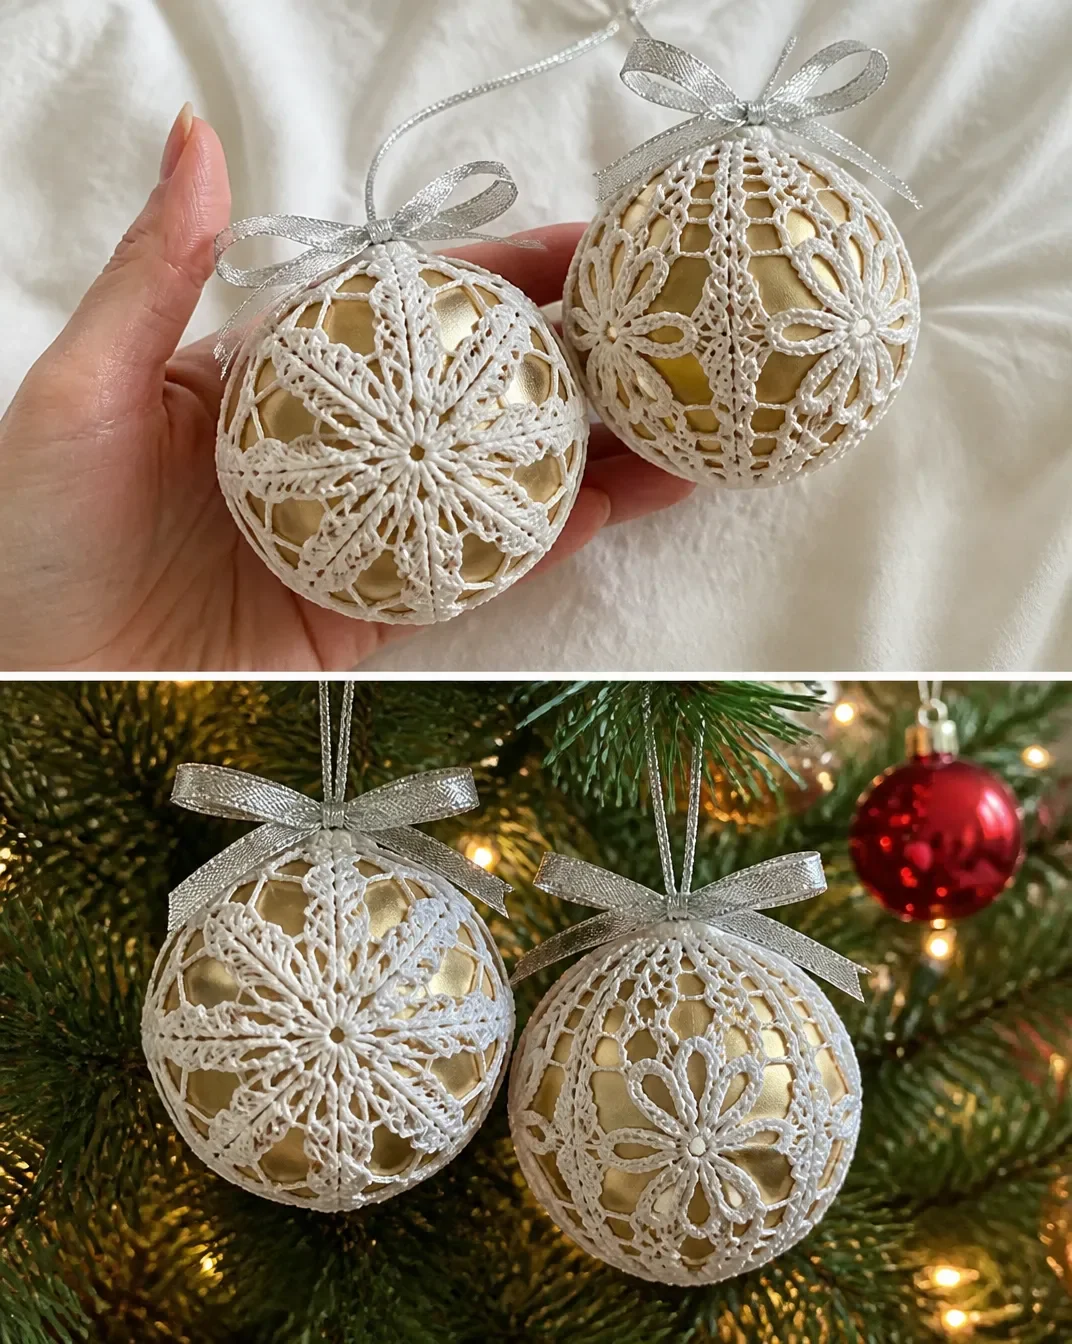
Complete Crochet Instructions
Ornament A: Cluster Stitch Ornament
Shown at lower left of photo.
Round 1
Ch 36; join with slip st in first ch to form a ring.
Round 1: Ch 1, sc in same ch as join and in each remaining ch around; join with slip st in first sc 36 sc.
Round 2: Spoke Round
Round 2 (Spoke Round):
*Ch 6, 3-trtr-Cl in same st as last slip st made, ch 10, [yarn over] 6 times (7 loops on hook), 4-trtr-Cl in same st, [yarn over and draw through 2 loops on hook] 6 times (1 loop remains on hook); ch 6, slip st in 6th ch from hook (picot made), ch 17, incomplete-3-trtr-Cl in 7th ch from hook (4 loops on hook), [yarn over] 10 times (14 loops on hook), insert hook in base of picot and draw up a loop (15 loops on hook), [yarn over and draw through 2 loops on hook] 10 times (long trtr made – 5 loops remain on hook), incomplete-3-trtr-Cl in 6th bar of long trtr (8 loops on hook), yarn over and draw through all 8 loops on hook, [ch 4, sc in 2nd ch from hook and in next 2 ch] twice, (slip st, ch 6, 3-trtr-Cl) in top of last cluster made, ch 10, slip st in base of picot, ch 6, slip st in 6th ch from hook (picot made), ch 10, (3-trtr-Cl, ch 6 slip st) in same sc as first 2 clusters (spoke completed), ch 10, slip st in base of picot, ch 6, slip st in 6th ch from hook (picot made), ch 10, (3-trtr-Cl, ch 6 slip st) in same sc as first 2 clusters (spoke completed), slip st in next 6 sc of ring; repeat from * around; join with slip st in same st as first cluster 6 spokes.
Fasten off and weave in ends.
The long trtr and incomplete clusters in this round create the ornament’s extended, dimensional points. Keep the loops on the hook organized during each cluster so they can be drawn through in the stated sequence.
Ornament B: Daisy Chain Stitch Ornament
Shown at upper right of photo.
Round 1
Round 1: Ch 2, 6 sc in 2nd ch from hook; join with slip st in first sc 6 sc.
Round 2: Spoke Round
Round 2 (Spoke Round):
Ch 3 (counts as dc), 2 dc in same sc as join, *ch 15, make daisy, ch 25, sc in 11th ch from hook and in next 14 ch, make daisy, sc in last 15 ch (spoke completed)**, 3 dc in next sc; repeat from * around ending last repeat at **; join with slip st in top of beginning ch-3 6 spokes.
Fasten off and weave in ends.
The daisy elements are created within the chain sequence. Work the long chains loosely enough to avoid tightening the ornament, but maintain consistent tension so the six spokes remain balanced.
Finishing for All Ornaments
- Cover 3” Styrofoam ball with plastic wrap.
- Saturate crochet in stiffener and shape around ball.
- Allow to dry.
- When piece is rigid, remove Styrofoam ball and insert satin ball.
- Tie or sew loops together at top.
- Using ribbon, tie a bow at the top of ornament and attach an ornament hanger.
Apply the stiffener thoroughly so the lace structure holds its shape, paying special attention to the outer spokes and chain details. Let the piece become rigid before attempting to remove the form.
Ways to Display Your Finished Crochet
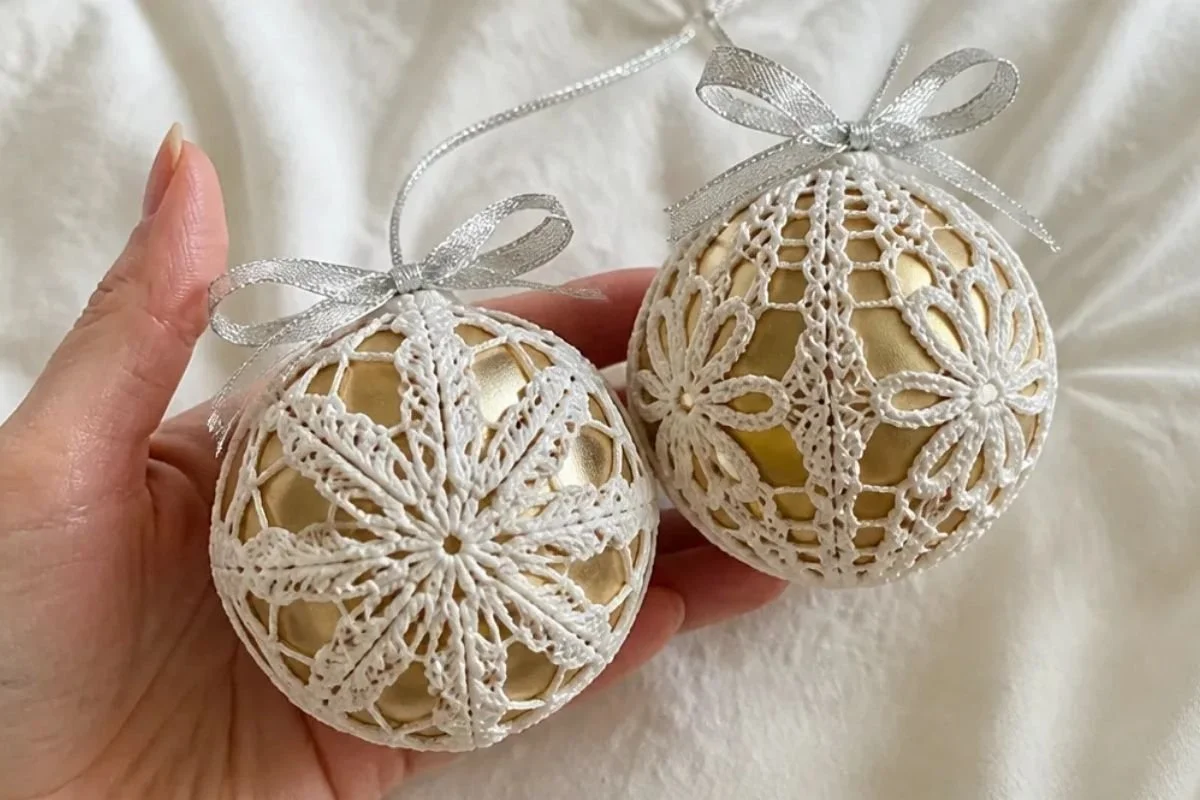
- Hang several ornaments together on a Christmas tree, alternating the Cluster Stitch and Daisy Chain designs.
- Use them as handmade accents on a mantel garland or decorative branch arrangement.
- Tie one to a wrapped present in place of a conventional gift tag or bow.
- Arrange multiple ornaments in a shallow bowl or tray as a delicate table centerpiece.
- Create a coordinated holiday display by pairing the white ornaments with satin ribbons in red, green, silver, gold, or icy blue.
- Include a finished ornament in a handmade holiday gift basket alongside other crocheted decorations, such as a crochet rose wine-glass decoration for a festive entertaining theme.
Caring for Your Crochet Project
Dust the finished ornament gently with a soft, dry brush or feather duster. The stiffened thread and decorative spokes can be delicate, so avoid pulling, squeezing, or pressing the lace structure.
Do not soak the ornament or place it in a washing machine. Moisture may soften the fabric stiffener and distort the shape. If a small area needs attention, use minimal moisture on a cloth and avoid rubbing the thread.
Store the ornament in a dry container with enough room that the spokes are not crushed. Wrapping it loosely in acid-free tissue paper can help protect the lace from snags. Keep it away from excessive heat, damp areas, and direct contact with sharp decorations.
Tips for Better Results
- Use the specified fine hook and thread. The 1.5mm hook supports the detailed lace structure and helps keep the ornament appropriately delicate.
- Mark the beginning of the ring if needed. A small removable marker can help identify the joining point while working the first round.
- Count the foundation carefully. Ornament A begins with 36 chains, while Ornament B begins with 6 sc worked into the second chain from the hook.
- Watch the cluster loops. In Ornament A, follow every yarn-over and draw-through exactly, especially when forming the long trtr and incomplete clusters.
- Keep spoke spacing consistent. The repeated slip stitches in Ornament A and the repeated dc placement in Ornament B help distribute six spokes around the ornament.
- Shape before the stiffener sets. Spread each spoke and chain feature evenly around the plastic-wrapped ball while the crochet is still flexible.
- Allow complete drying. Removing the Styrofoam ball too early can flatten or distort the ornament.
- Secure the top neatly. Tie or sew the loops together firmly enough to hold the satin ball, but avoid pulling so tightly that the lace puckers.
Creative Ways to Customize Your Project
The approved pattern uses white Size 10 thread, but the finished ornament can be styled in many optional ways.
- Change the thread color: Try traditional red, evergreen, icy blue, gold, or silver for a different holiday palette. A color change may alter the appearance of the lace and should be tested before making the complete ornament.
- Coordinate the ribbon: Match the 7/8-inch ribbon to the thread, satin ball, or other decorations on the tree.
- Combine both designs: Make several Cluster Stitch Ornaments for bold texture and Daisy Chain Stitch Ornaments for a lighter contrast.
- Create a monochromatic display: Use white thread, white satin balls, and pale ribbon for a snowy winter arrangement.
- Use contrasting satin balls: White crochet over red, green, or metallic satin creates a layered color effect beneath the openwork.
- Test yarn substitutions first: A different yarn weight or hook size can change the scale, drape, stiffness, and yarn requirements. Any substitution should be tested with the 3-inch shaping form before making multiple ornaments.
These are optional styling ideas only; the approved crochet instructions remain unchanged.
Frequently Asked Questions
Is this pattern suitable for a beginner?
The overall construction is straightforward, but Ornament A includes advanced cluster and long treble-treble techniques. A beginner may prefer to start with Ornament B or practice the specialized stitches separately before working the ornament.
What yarn is recommended?
The pattern calls for AUNT LYDIA’S® Classic Crochet Thread, Size 10, using 1 ball in White.
What hook size should I use?
Use a 1.5mm [US 7] crochet hook as specified.
How many spokes does each ornament have?
Both Ornament A and Ornament B finish with 6 spokes.
Can I make both ornament designs?
Yes. They are separate design options within the pattern. Each one is crocheted, fastened off, stiffened around the Styrofoam ball, and finished using the same assembly instructions.
How is the ornament shaped?
Cover the 3-inch Styrofoam ball with plastic wrap, saturate the crochet in fabric stiffener, and shape the piece around the ball. Once rigid, remove the Styrofoam ball and insert the 3-inch satin Christmas ball.
Can I change the thread color?
Yes, color changes are optional. Keep in mind that a different color may change the visual effect of the openwork. Changing yarn type or size can also affect the ornament’s structure and fit.
How is the top finished?
After the satin ball is inserted, tie or sew the loops together at the top. Then use the 7/8-inch ribbon to tie a bow and attach an ornament hanger.
How should I store the finished ornament?
Store it in a dry container where the spokes will not be crushed. Protect the lace from snags, moisture, excessive heat, and pressure.
Conclusion
This lacy crochet Christmas ornaments pattern offers two elegant ways to create a handmade holiday decoration with fine thread, openwork texture, and a polished satin-ball finish. Make one design or combine both across your seasonal display, then personalize the ribbon and colors to match your décor. For another delicate winter project, you may also enjoy this lace crochet snowflake ornament pattern.