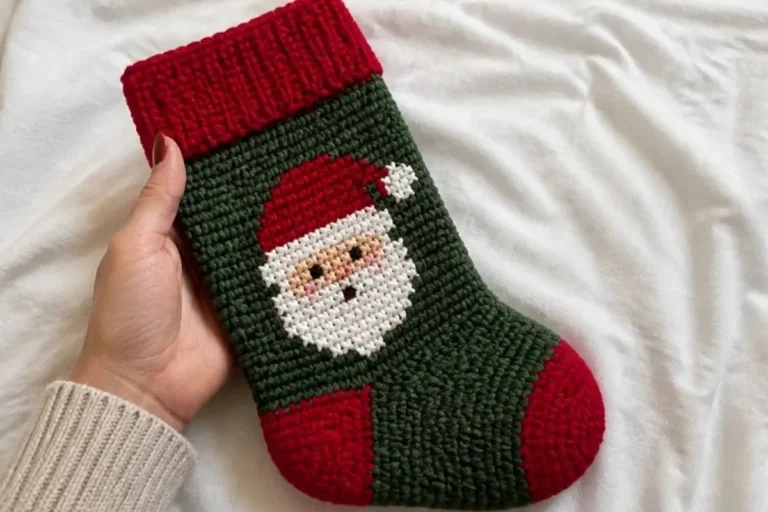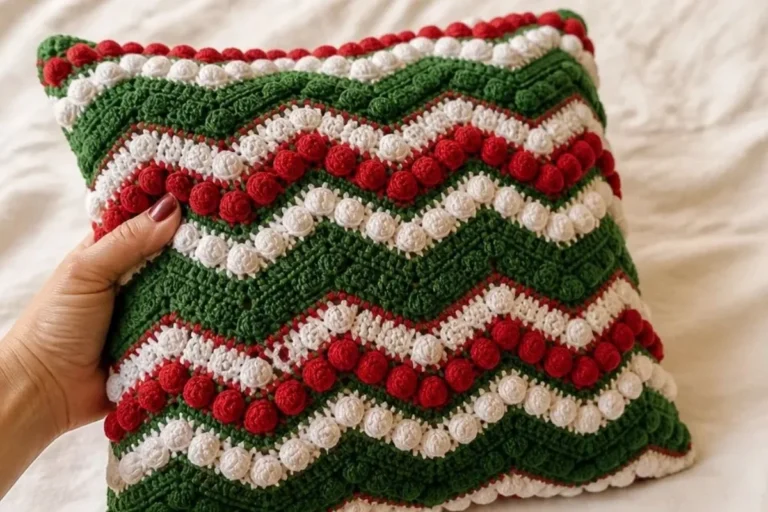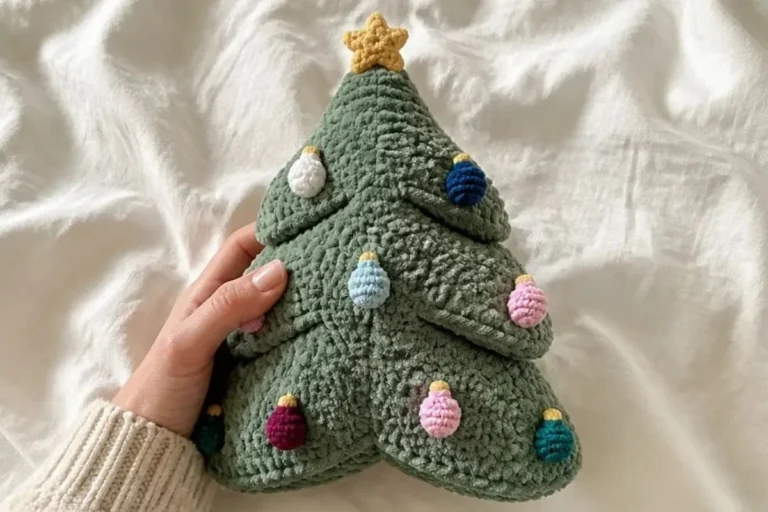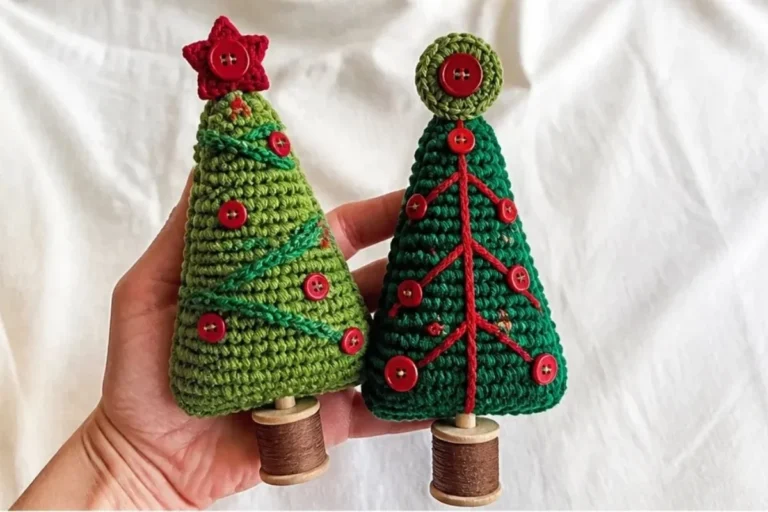
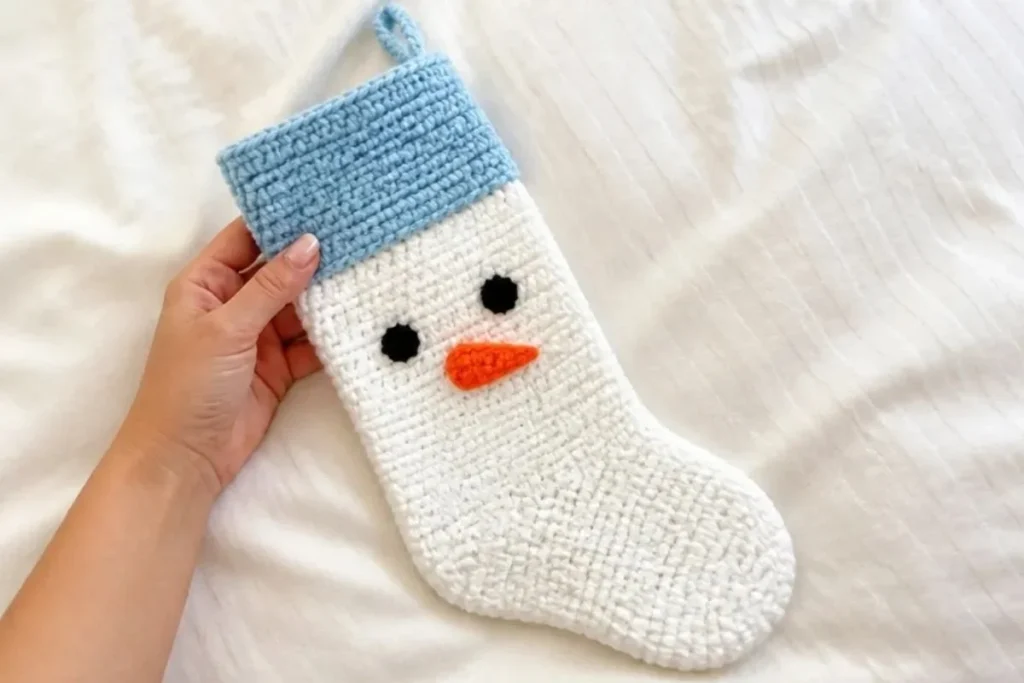
A Christmas crochet stocking is a cheerful way to add handmade character to a mantel, staircase, gift basket, or holiday wall display. This beginner-friendly pattern includes a stocking base plus instructions for decorating it as a snowman or reindeer. The simple single-crochet construction introduces cuff shaping, heel construction, toe decreases, and small appliqué pieces. For another festive handmade accent, you might also enjoy this crochet flower pattern for decorating wine glasses.
Why You’ll Love This Crochet Project
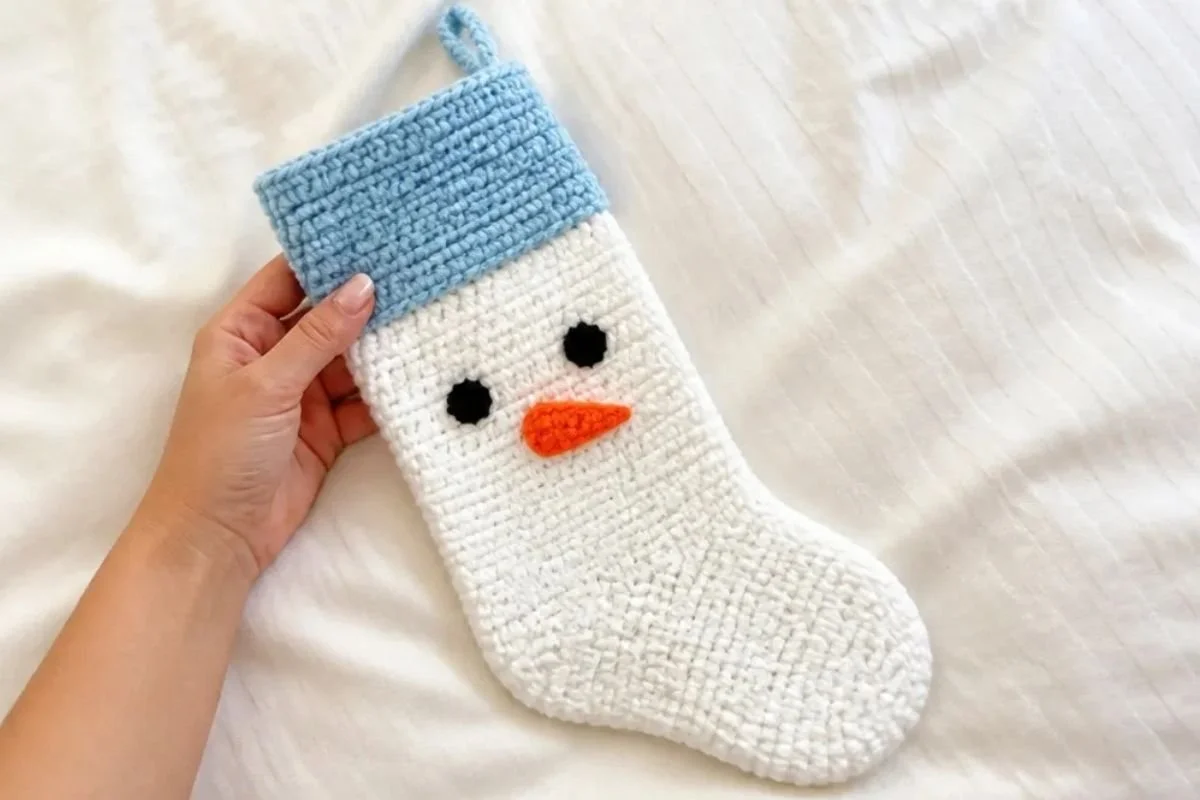
- It teaches useful shaping techniques. The stocking includes a ribbed slip-stitch cuff, a shaped heel, a joining round, and a tapered toe.
- It offers two character styles. Use the supplied color combinations to create either a snowman or a reindeer.
- It makes a thoughtful handmade gift. Fill the finished stocking with small treats, ornaments, notes, or other lightweight gifts.
- It works well as seasonal décor. The hanging loop makes it easy to display on a mantel, hook, tree, or wall.
- It encourages colorwork planning without complex charts. The character details are made separately and sewn onto the stocking.
My Crochet Flower Tip: Before sewing the face pieces in place, arrange them on the stocking and use removable markers or small pins to check their position and spacing.
Before You Start Crocheting
The stocking is constructed from the top down. First, you make the cuff in rows of slip stitches worked through back loops only. The cuff is joined into a ring, and the main color is worked evenly around its side edge to form the leg.
Next, the heel is made over part of the stocking stitches. The heel flap is worked in rows, shaped with decreases, and joined back to the instep with a 52-stitch joining round. The foot is then continued in rounds, followed by a four-stitch decrease on every toe-shaping round until 12 stitches remain.
The finishing pieces depend on the character you are making. The snowman includes two eyes and one nose. The reindeer includes two eyes, one nose, two ears, and two antlers. The supplied instructions include a separate round nose component under “Additional Character Components”; the reindeer sewing instruction refers to a nose, while the provided reindeer section itself does not give a separate nose heading.
Useful abbreviations:
- ch: chain
- sc: single crochet
- hdc: half double crochet
- dc: double crochet
- sl st: slip stitch
- sc2tog: single crochet two together
- RS: right side
- WS: wrong side
- MC: main color
Materials and Tools
Snowman version
- Bernat® Super Value™ (7 oz / 197 g; 426 yds / 389 m)
- Main Color (MC): Winter White (07407) 1 ball
- Contrast A: Cool Blue (53730) 1 ball
- Contrast B: Pumpkin (53630) 1 ball
- Contrast C: Black (07421) 1 ball
Reindeer version
- Bernat® Super Value™ (7 oz / 197 g; 426 yds / 389 m)
- Main Color (MC): Taupe (53012) 1 ball
- Contrast A: Winter White (07407) 1 ball
- Contrast B: Cherry Red (53436) 1 ball
- Contrast C: Black (07421) 1 ball
Tools
- Size U.S. H/8 (5 mm) crochet hook, or size needed to obtain gauge
- Stitch marker
Complete Crochet Instructions
Cuff
With A, ch 17.
1st row: (RS)
1 sl st in 2nd ch from hook.
1 sl st in each ch to end of chain.
Turn.
16 sl st.
2nd row:
Working in back loops only, 1 sl st in each sl st across.
Turn.
Rep 2nd row until work from beg measures 14″ [35.5 cm], ending on a WS row.
Join Cuff:
Working in back loops only, sl st last row and rem loops of foundation ch tog.
Fasten off.
Leg
Join MC with sl st to side edge of Cuff.
1st rnd:
Ch 1.
Work 46 sc evenly around side edge of Cuff.
Join with sl st to first sc.
2nd rnd:
Ch 1.
1 sc in each sc around.
Join with sl st to first sc.
Rep 2nd rnd until work from bottom of Cuff measures 9″ [23 cm].
Heel
Heel: With RS facing, join MC with sl st to first sc.
1st row:
Ch 1.
1 sc in same sp as last sl st.
1 sc in each of next 22 sc.
Turn.
Leave rem sts unworked.
2nd row:
Ch 1.
1 sc in each sc to end of row.
Turn.
Rep 2nd row for 2″ [5 cm], ending on a WS row.
Shape heel 1st row: (RS)
Ch 1.
1 sc in each of next 15 sc.
Sc2tog.
1 sc in next sc.
Turn.
Leave rem sts unworked.
2nd row:
Ch 1.
1 sc in each of first 9 sts.
Sc2tog.
1 sc in next sc.
Turn.
3rd row:
Ch 1.
1 sc in each of first 10 sts.
Sc2tog.
1 sc in next sc.
Turn.
4th row:
Ch 1.
1 sc in each of first 11 sts.
Sc2tog.
1 sc in next sc.
Turn.
5th row:
Ch 1.
1 sc in each of first 12 sts.
Sc2tog.
1 sc in next sc.
Turn.
6th row:
Ch 1.
1 sc in each of first 13 sts.
Sc2tog.
1 sc in next sc.
Turn.
7th and 8th rows:
Ch 1.
1 sc in each of first 14 sts.
Sc2tog.
Turn.
15 sts.
Fasten off at end of 8th row.
Joining Round
With RS facing, join MC with sl st at left side of Heel Base.
Ch 1.
1 sc in each of next 23 sc of instep.
Place marker.
Work 7 sc up right side of Heel.
1 sc in each of next 15 sc across end of Heel.
and 7 sc down left side of Heel.
Join with sl st to first sc.
52 sc.
Foot and Toe Shaping
Christmas Character Stockings
Next rnd (after 52 sc) Toe Shaping (character stocking base continuation):
The instruction text continues from “Christmas Character Stockings” base in the provided pages.
2nd rnd:
Ch 1.
1 sc in each sc to marker.
Sc2tog.
1 sc in each sc to last 2 sc.
Sc2tog.
Join with sl st to first sc.
Rep 2nd rnd until 44 sts rem.
Next rnd:
Ch 1.
1 sc in each sc around.
Join with sl st to first sc.
Rep last rnd until work from joining rnd measures 5½” [14 cm].
Shape toe 1st rnd:
Ch 1.
(1 sc in each of next 9 sc. Sc2tog) 4 times.
Join with sl st to first sc.
2nd rnd:
Ch 1.
(1 sc in each of next 8 sc. Sc2tog) 4 times.
Join with sl st to first sc.
Cont in same manner, dec 4 sts on every rnd until 12 sts rem.
Break yarn, leaving a long end.
Draw end tightly through rem sts and fasten securely.
Hanging Loop
With A, ch 25.
Sl st in 2nd ch from hook and each ch to end of chain.
Fasten off.
Fold in half and sew in position.
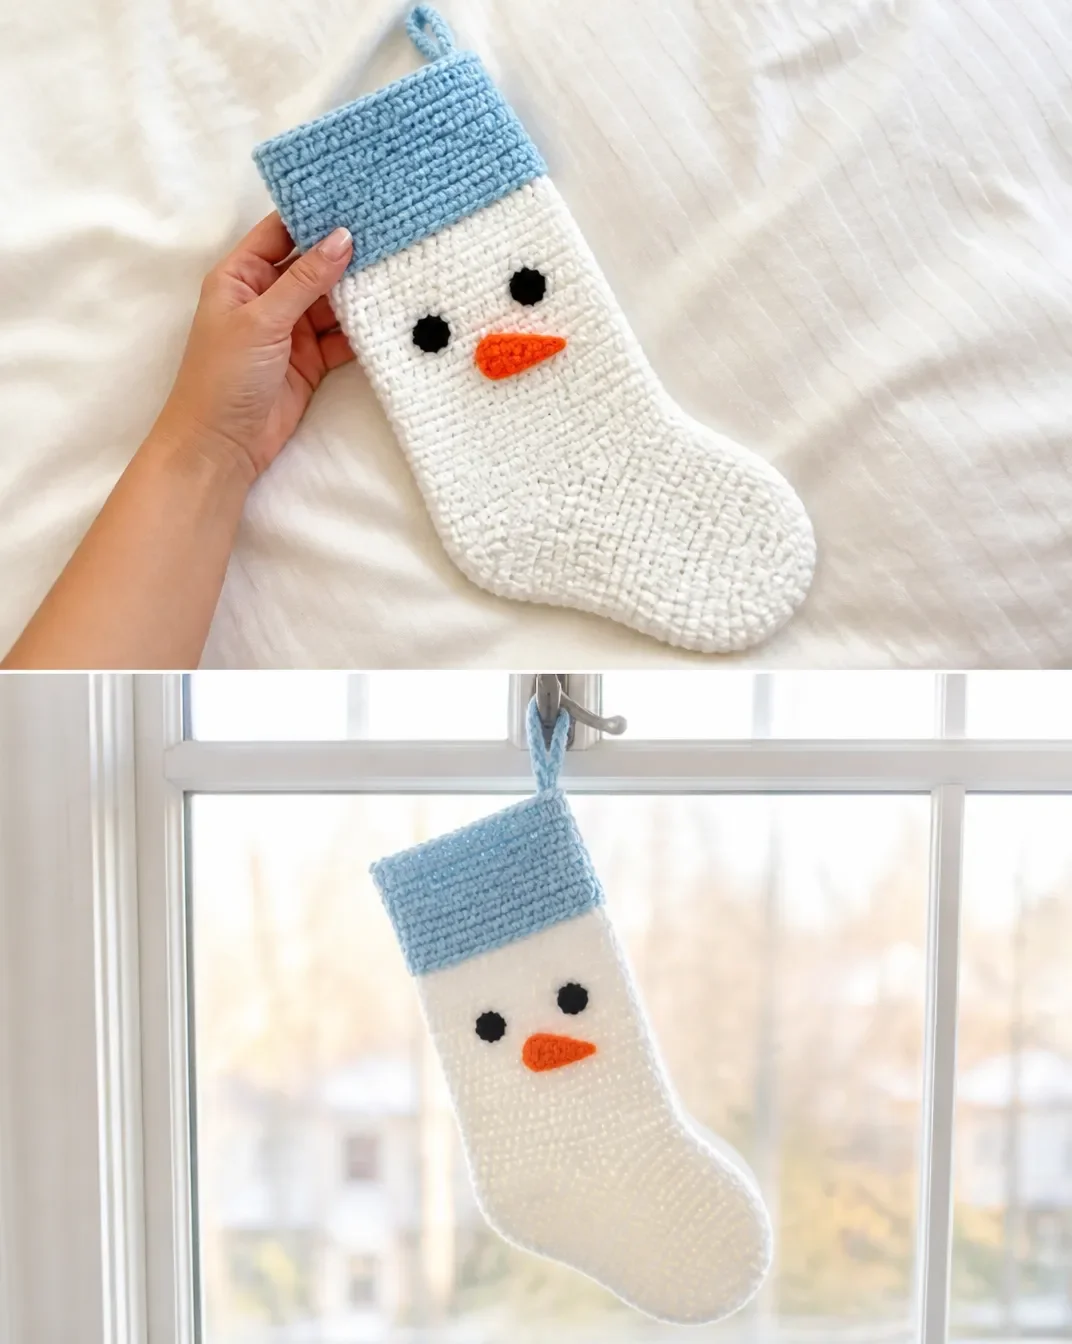
Snowman Details
Eyes make 2
With C, ch 2.
1st rnd:
5 sc in 2nd ch from hook.
Join with sl st to first sc.
2nd rnd:
Ch 2.
(1 dc, 1 hdc) in same sp as last sl st.
(1 hdc, 1 dc, 1 hdc) in each of next 4 sc.
Join with sl st to top of ch 2.
Fasten off.
Nose make 1
With B, ch 3.
1st row:
3 hdc in 3rd ch from hook (counts as 4 hdc).
Turn.
2nd row:
Ch 2.
1 hdc in each of next 3 hdc.
Turn.
4 hdc.
3rd row:
Ch 2.
1 hdc in first hdc.
1 hdc in each of next 3 hdc.
Turn.
5 hdc.
4th to 7th rows:
Ch 2.
1 hdc in each of next 4 hdc.
Turn.
Fasten off after 7th row.
Snowman sewing
Sew Eyes and Nose to Stocking as shown in picture.
Reindeer Details
Eyes make 2
With C, ch 2.
1st row:
2 sc in 2nd ch from hook.
Turn.
2 sc.
2nd row:
Ch 1.
2 sc in each of next 2 sc.
Turn.
4 sc.
3rd row:
Ch 1.
2 sc in first sc.
1 sc in each of next 2 sc.
2 sc in last sc.
Turn.
6 sc.
4th row:
Ch 1.
2 sc in first sc.
1 hdc in each of next 4 sc.
2 sc in last sc.
Join A.
Turn.
8 sts.
5th row:
With A, ch 1.
Sc2tog.
1 sc in each of next 4 hdc.
Sc2tog.
Turn.
6th row:
Ch 1.
Sc2tog.
1 sc in each of next 2 sc.
Sc2tog.
Turn.
7th row:
Ch 1.
(Sc2tog) twice.
Fasten off.
Reindeer sewing
Sew Eyes and Nose to Stocking as shown in picture.
The supplied text does not provide a separate “Nose” heading within the reindeer section. The following nose is included under Additional Character Components as written.
Additional Character Components
Nose make 1
With B, ch 2.
1st rnd:
6 sc in 2nd ch from hook.
Join with sl st to first sc.
2nd rnd:
Ch 1.
2 sc in each sc around.
Join with sl st to first sc.
12 sc.
Fasten off.
Ears make 2
With MC, ch 2.
1st row: (RS)
2 sc in 2nd ch from hook.
Turn.
2nd row:
Ch 1.
2 sc in each of next 2 sc.
Turn.
4 sc.
3rd row:
Ch 1.
2 sc in first sc.
1 sc in each of next 2 sc.
2 sc in last sc.
Turn.
6 sc.
4th row:
Ch 1.
2 sc in first sc.
1 sc in each of next 4 sc.
2 sc in last sc.
Turn.
8 sc.
5th to 10th rows:
Ch 1.
1 sc in each sc to end of row.
Turn.
11th row:
Ch 1.
Sc2tog.
1 sc in each of next 4 sc.
Sc2tog.
Turn.
12th row:
Ch 1.
Sc2tog.
1 sc in each of next 2 sc.
Sc2tog.
Fasten off.
Antlers make 2
With C, ch 2.
1st row: (RS)
3 sc in 2nd ch from hook.
Turn.
2nd to 7th rows:
Ch 1.
1 sc in each sc to end of row.
Turn.
Fasten off after last row.
Reindeer sewing
Sew Eyes, Nose, Ears and Antlers to Stocking as shown in picture.
Final Assembly and Finishing
Sew Eyes, Nose, Ears and Antlers to Stocking as shown in picture.
Sew Eyes and Nose to Stocking as shown in picture.
Sew Eyes, Nose, Ears and Antlers to Stocking as shown in picture.
Hanging loop: Fold in half and sew in position.
Finished Project Inspiration
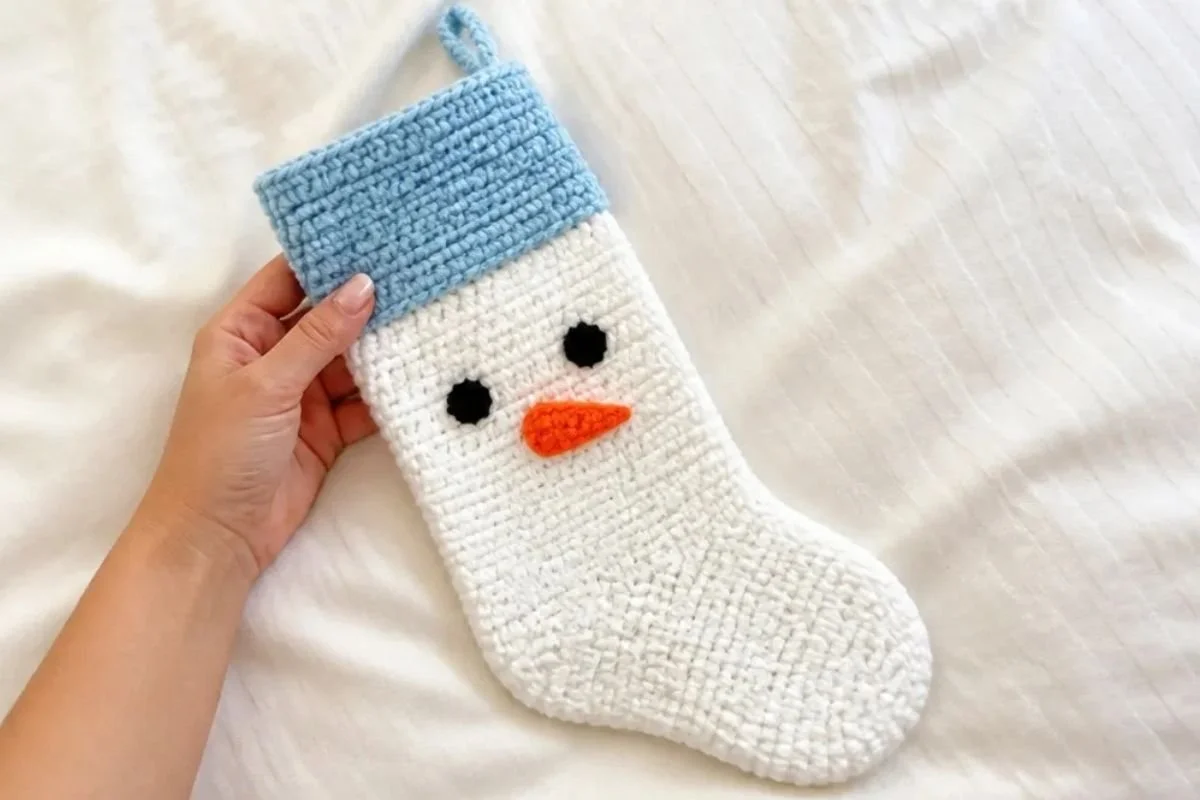
- Hang the stocking from a mantel alongside other handmade holiday decorations.
- Display several stockings together, using the snowman and reindeer designs as a coordinated set.
- Fill the stocking with lightweight treats, small toys, gift cards, or handwritten notes.
- Add it to a holiday gift basket as a reusable fabric wrapping piece.
- Use the stocking as a festive photo prop or seasonal wall decoration.
- Create a personalized family display by choosing a different character or color combination for each person.
Caring for Your Crochet Project
Keep the finished stocking away from excessive heat, open flames, and rough handling that could distort the crocheted fabric or loosen the sewn-on character pieces. Dust it gently with a soft brush or clean, dry cloth.
For small marks, use careful spot cleaning rather than soaking the complete stocking. Avoid scrubbing across the eyes, nose, ears, or antlers. Allow any cleaned area to dry completely before storing.
Store the stocking flat or lightly supported in a cool, dry place. Do not compress it under heavy decorations, since pressure may flatten the cuff or bend the appliqué details. Before displaying it again, check that the hanging loop and sewn components remain secure.
Helpful Crochet Tips
- Measure the cuff as you work. The cuff must measure 14″ [35.5 cm] before it is joined, so measure it relaxed rather than stretching it tightly.
- Work the cuff slip stitches through back loops only. This creates the ribbed texture specified by the pattern and helps the cuff flex around the stocking opening.
- Distribute the leg stitches evenly. The first round requires 46 sc around the side edge of the cuff. Space the stitches consistently to avoid a wavy or tight edge.
- Mark the joining round. Place the stitch marker after the 23 instep stitches. It identifies the location used for the shaping decreases.
- Count after each heel-shaping row. The heel changes gradually, and the final two rows must leave 15 sts before the joining round.
- Keep decreases neat in the toe. Each shaping round decreases 4 sts. Count the stitches after every round so the toe closes evenly at 12 sts.
- Arrange details before sewing. Position the eyes, nose, ears, and antlers on the stocking first. This makes it easier to create a balanced face.
- Secure all yarn ends carefully. Character pieces are handled individually, so weave in or fasten their ends firmly before trimming.
For another small seasonal crochet project that can complement handmade holiday décor, consider this beginner crochet bottle topper pattern.
Creative Ways to Customize Your Project
The approved pattern uses specific colors for the snowman and reindeer, but the character details can be personalized without changing the construction.
- Make a traditional snowman with Winter White MC, Cool Blue contrast A, Pumpkin contrast B, and Black contrast C.
- Use the Taupe, Winter White, Cherry Red, and Black combination for a classic reindeer palette.
- Choose alternative shades within the same yarn type for a coordinated family set, while keeping MC, A, B, and C assignments clear.
- Make one stocking as a snowman and another as a reindeer to create a playful mixed display.
- Use contrasting colors for the cuff and hanging loop so the top edge stands out.
- If you change yarn weight or hook size, the stitch tension, dimensions, texture, and yarn requirements may change. The pattern specifies a 5 mm hook, or the size needed to obtain gauge, so substitutions should be checked carefully before beginning.
Frequently Asked Questions
Is this stocking pattern suitable for beginners?
Yes. The stocking uses single crochet, slip stitches, half double crochet, double crochet, increases, decreases, and joined rounds. Beginners should work slowly through the heel and toe sections and keep careful track of stitch counts.
What yarn is recommended?
The supplied pattern uses Bernat® Super Value™ in the listed colorways and quantities. The snowman and reindeer use different Main Color and contrast-color selections, so check the version you plan to make before purchasing yarn.
What hook size should I use?
Use a size U.S. H/8 (5 mm) crochet hook, or the size needed to obtain gauge.
How many character pieces are included?
The snowman requires two eyes and one nose. The reindeer requires two eyes, one nose, two ears, and two antlers. The supplied additional-components section provides the round nose instructions used with the character finishing details.
Can I change the character colors?
Yes, color changes are an optional styling choice. Keep the color roles organized so you know which shade is MC, A, B, or C. Changing yarn type or weight may affect the final size and fabric.
How is the stocking assembled?
The cuff is made first, followed by the leg, heel, foot, and toe. The hanging loop is made separately and sewn in place. The character details are crocheted separately and sewn onto the completed stocking.
How should I attach the character pieces?
Arrange each piece as shown in the supplied instructions, then sew it securely to the stocking. Check the placement of both eyes before fastening them permanently.
How should I store the finished stocking?
Store it in a cool, dry place away from excessive heat and heavy pressure. Keeping it lightly supported or flat helps protect the cuff, hanging loop, and sewn-on character pieces.
Conclusion
This Christmas crochet stocking pattern for beginners combines a practical stocking shape with charming snowman and reindeer details. The project is useful for holiday displays, handmade gifts, and personalized family décor. Follow the stitch counts carefully, secure the appliqués neatly, and enjoy customizing the finished piece. For another simple seasonal stocking idea, explore this basic crochet stocking pattern.