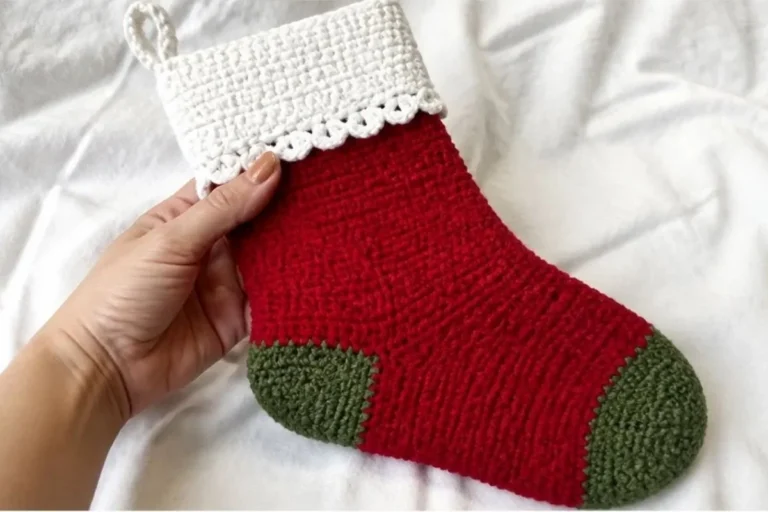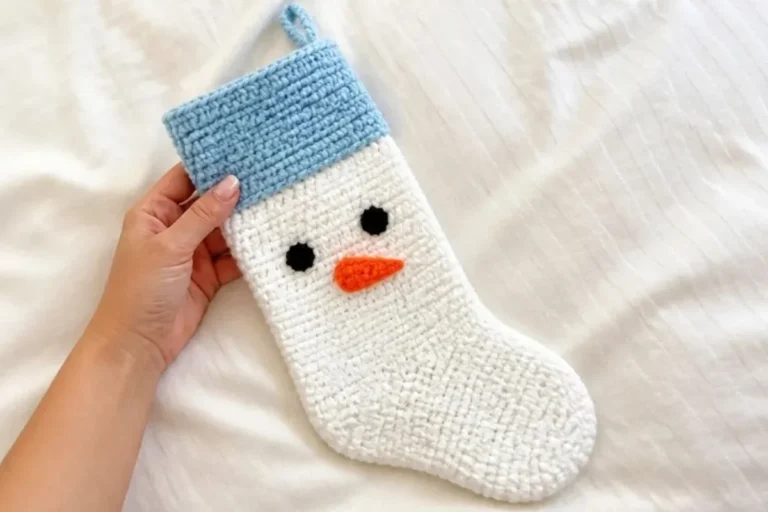
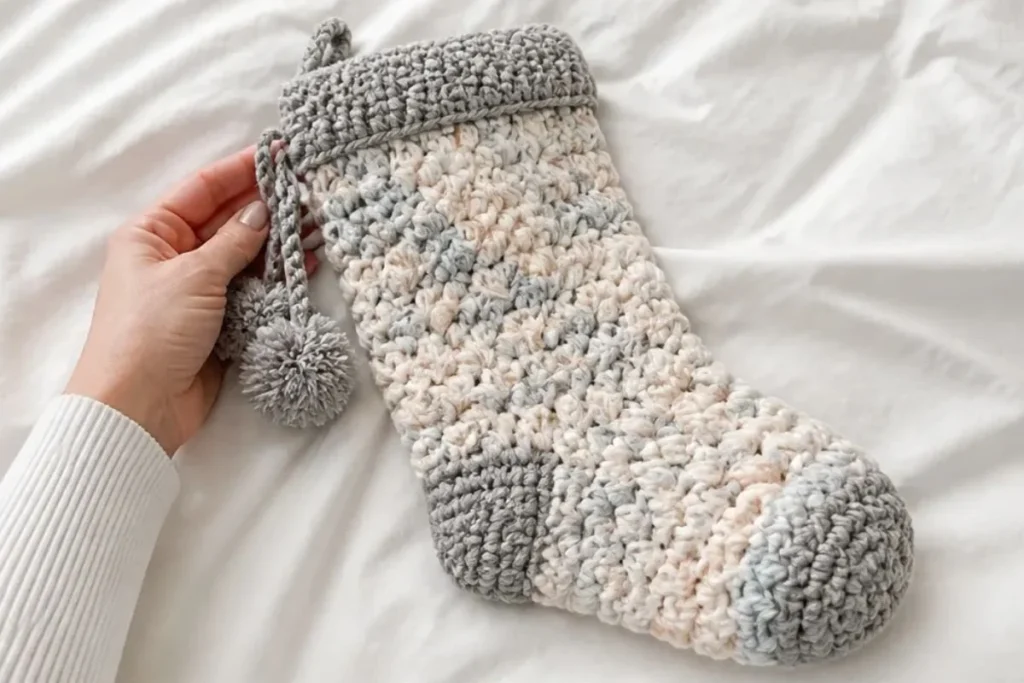
The Pop Crochet Christmas Stocking Pattern creates a cheerful, textured decoration with a rounded toe, openwork body, folded cuff, and playful pompom hanger. Made with Bernat® Pop!™ in Foggy Notion, it brings soft color variation to a mantel, tree, gift display, or holiday wall arrangement. Crocheters who enjoy working in rounds and practicing shaping will appreciate this project. For more handmade seasonal inspiration, browse these all-in-one crochet bouquet patterns for additional gift and decorating ideas.
Why You’ll Love This Crochet Project
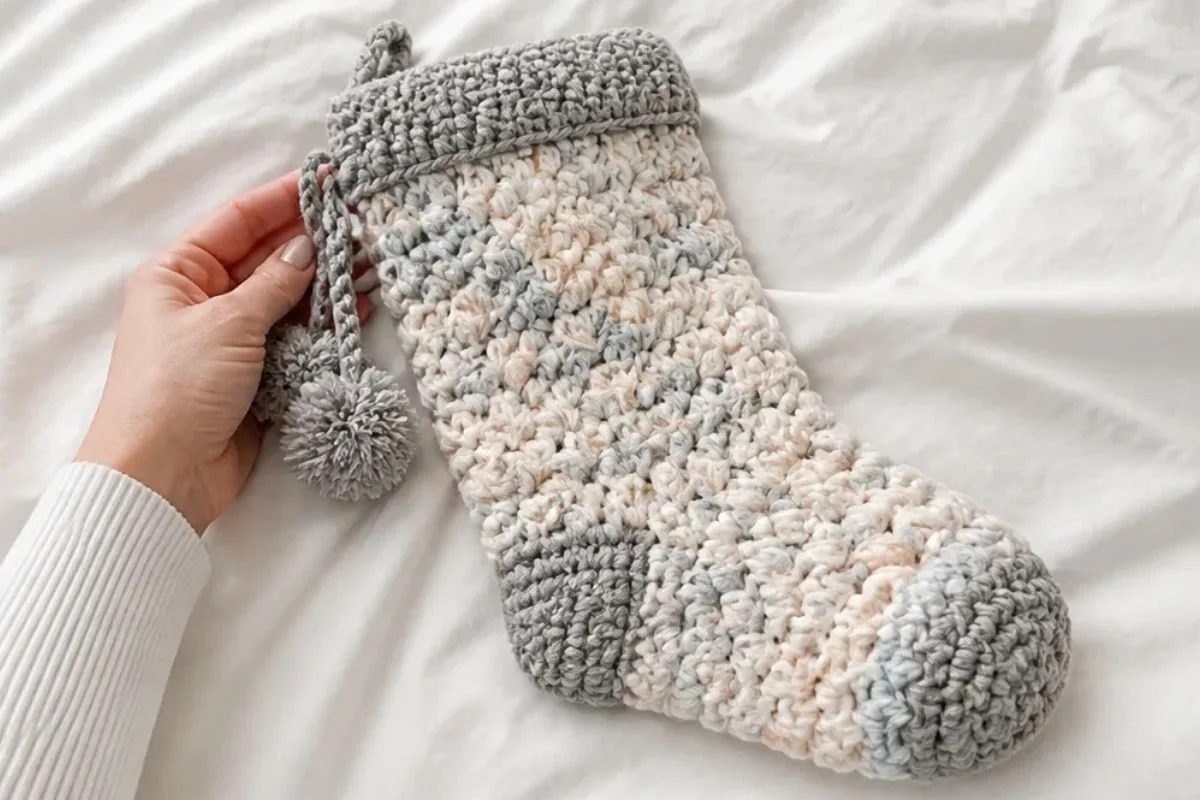
- It has attractive texture. The toe and cuff use half double crochet, while the center body uses grouped double crochet stitches worked between stitch groups.
- It is made in one main crocheted piece. The toe, body, and cuff are worked in rounds before the heel is shaped separately.
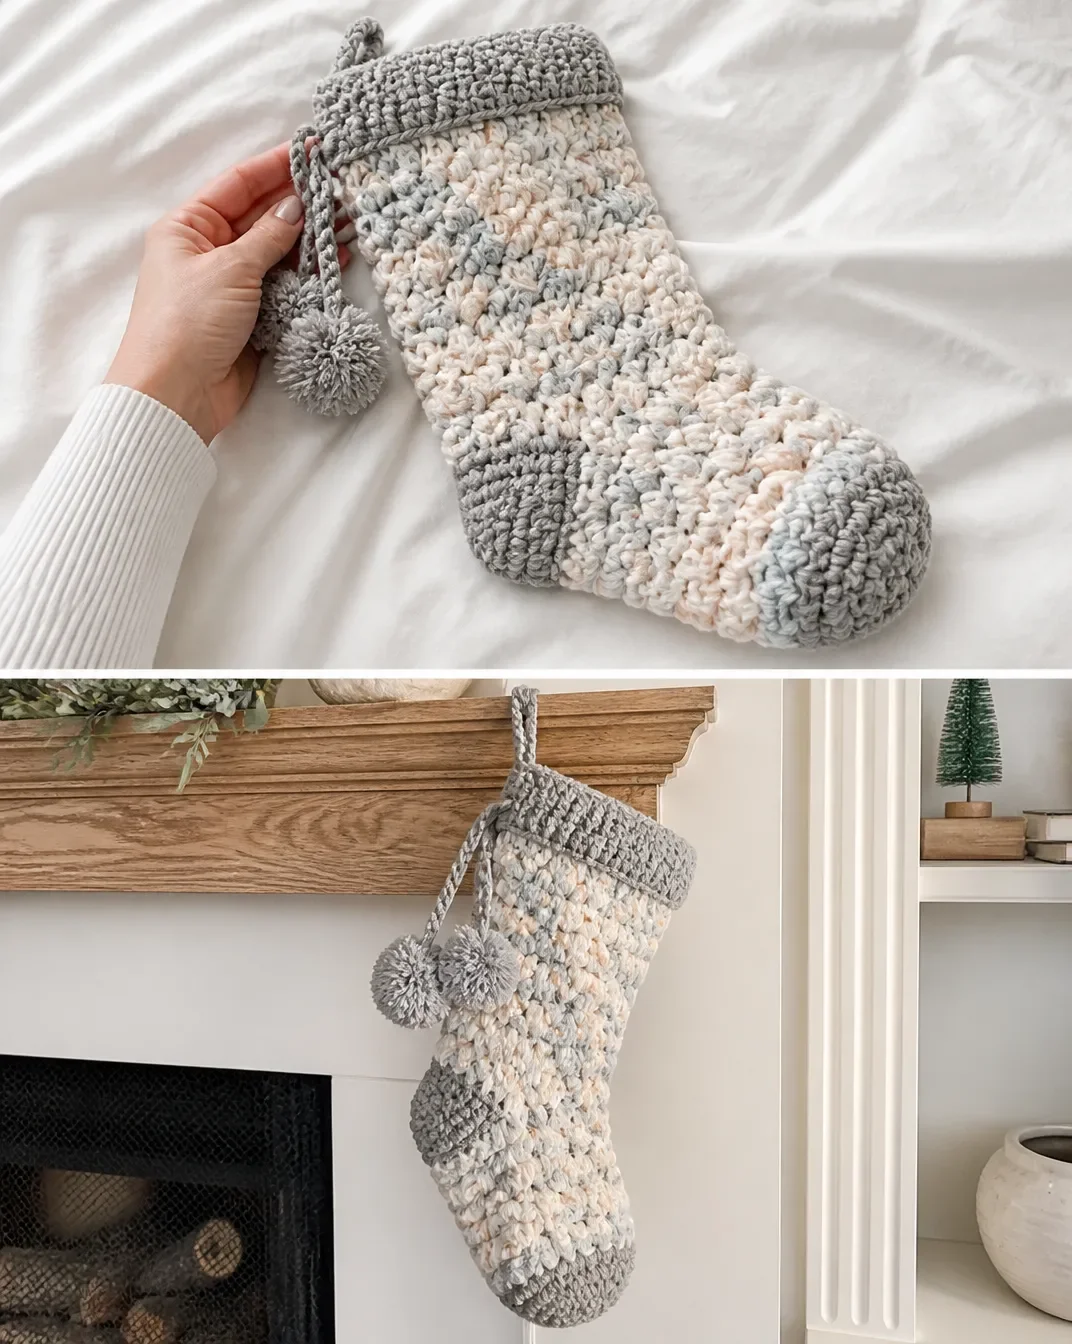
- It makes a useful seasonal decoration. Display the finished stocking on a mantel, wall hook, banister, or holiday gift table.
- It practices shaping skills. The heel uses marked stitches and decreases, giving you focused practice with hdc2tog.
- The finishing details are festive. A folded top and pompom-ended hanging chain complete the design.
My Crochet Flower Tip: Place a stitch marker at the beginning of a round if you find the joining spaces difficult to identify, even though the approved pattern specifically calls for markers during heel shaping.
Before You Start Crocheting
This stocking consists of one toe-and-body section, one heel worked after the body is complete, two pompoms, and a 15-chain hanger. The main section is worked in rounds, beginning with increases that shape the toe. The middle portion changes to grouped double crochet stitches, and the final rounds return to half double crochet for the top edge.
After the stocking body is finished, the heel is worked once with the toe facing upward. Two stitch markers identify key heel stitches during the decrease rounds. The stocking is then turned inside out so the heel can be seamed neatly with a whip stitch.
The supplied pattern uses these common US crochet abbreviations:
- ch: chain
- sc: single crochet
- hdc: half double crochet
- dc: double crochet
- sl st: slip stitch
- hdc2tog: half double crochet two together
- sk: skip
- st/sts: stitch/stitches
- rep: repeat
Materials You’ll Need
- Bernat® Pop!™ (5 oz / 140 g; 280 yds / 256 m) 1 ball
- Foggy Notion (84012) 1 ball
- Size U.S. K/10½ (6.5 mm) crochet hook, or size needed to obtain gauge
- 2 stitch markers
Use the stitch markers during the heel section, where they identify the marked stitches used for decreases.
Step-by-Step Crochet Instructions
Toe and Body
Worked in rounds.
Ch 3.
Round 1: Work 8 hdc in 3rd ch from hook. Join with sl st to 2nd chain. (8 sts)
Round 2: Ch 2. Make 2 hdc in every stitch. Join with sl st to 2nd chain. (16 sts)
Round 3: Ch 2. *2 hdc in next st. 1 hdc in next st. Repeat from * around. Join with sl st to 2nd chain. (24 sts)
Round 4: Ch 2. 1 hdc in each st. (24 sts)
Round 5: Ch 2. *2 hdc in next st. 1 hdc in each of next 2 sts. Repeat from * around. Join with sl st to 2nd chain. (32 sts)
Rounds 6–7: Ch 2. 1 hdc in each st. (32 sts)
Round 8: Ch 3. 1 dc in same st as ch. *Sk next st. 2 dc in next. Rep from * around. Join with sl st to space between ch 3 and first dc.
Rounds 9–14: Ch 3. 1 dc in same st as ch. *2 dc between next 2 dc group. Rep from * around. Join with sl st to space between ch 3 and first dc.
Round 15: Ch 1. 1 sc in same space as sl st. *2 dc between next 2 dc group. Rep from * 7 times more. 1 sc between next 2 dc group. Ch 18. Join with sl st to first sc.
Round 16: Ch 3. 1 dc in same st as ch. *2 dc between next 2 dc group. Rep from * 7 times. 2 dc in sc. Sk first ch. **2 dc in next ch. Sk 1 ch. Rep from ** to end of ch. Join with sl st to space between ch 3 and first dc.
Rounds 17–34: Ch 3. 1 dc in same st as ch. *2 dc between next 2 dc group. Rep from * around. Join with sl st in space between ch 3 and first dc.
Rounds 35–44: Ch 2. 1 hdc in each st. Join with sl st to 2nd ch.
Heel
Worked once the body of the stocking is complete.
Heel, Round 1: Join yarn with sl st in middle v-stitch of chain with toe facing upward. Ch 2. 1 hdc in each of next 11 ch. 1 hdc in next 15 sts. 1 hdc in each of rem 7 ch. Join with sl st to 2nd ch.
Round 2: Ch 2. 1 hdc in each of next 8 sts. Hdc2tog. 1 hdc in next st and place marker. Hdc2tog. Hdc in next 10 sts. Hdc2tog. 1 hdc in next st and place marker. Hdc2tog. 1 hdc in each of last 5 sts. Join with sl st to 2nd ch.
Round 3: Ch 2. *1 hdc in each st until 2 sts before marker. Hdc2tog. 1 hdc in marked st. Hdc2tog. Rep from * once more. 1 hdc in each st to end of round. Join with sl st to 2nd ch.
Rounds 4–5: Rep round 3. Fasten off.
Assembly and Finishing
Turn stocking inside out and seam heel using a whip stitch. Weave in ends.
Fold top down 3″ [7.5 cm].
Make 15 ch, fasten off and secure just inside top of Stocking to hang.
Attach pompoms to each end of chain, securing with a knot just below the fold.
Pompoms
Make 1 each.
Wind yarn around 3 (4) fingers approx 60 times.
Remove from fingers and tie tightly in center.
Cut through each side of loops.
Trim to smooth round shape.
Ways to Display Your Finished Crochet
- Hang it on a mantel: Secure the 15-chain hanger to a hook or mantel garland for a classic holiday display.
- Use it as a small gift holder: Place lightweight wrapped treats, notes, or small accessories inside.
- Create a stocking row: Make several in coordinated or contrasting colorways and hang them together.
- Decorate a holiday table: Lay the stocking beside a place setting or use it as part of a seasonal centerpiece.
- Style it with other handmade pieces: Pair it with crocheted ornaments, garlands, or floral decorations for a textured display.
- Give it as a handmade seasonal gift: The stocking can be presented empty or filled with small festive items.
Caring for Your Crochet Project
Keep the finished stocking dry and protected from excessive heat. Dust it gently with a soft cloth, lint roller, or low-suction vacuum attachment. Avoid pulling on the openwork body, hanger, or pompoms while cleaning.
For small marks, use careful spot cleaning rather than soaking the stocking. Test any cleaning method on an inconspicuous area first, and follow the yarn manufacturer’s care instructions when available.
Store the stocking flat or loosely folded in a dry container. Avoid compressing the pompoms for long periods, as they may lose their rounded shape. Before displaying it again, gently fluff and reshape the pompoms by hand.
Helpful Crochet Tips
- Track each round carefully. The toe increases create the initial shape, so compare your stitch totals with the supplied counts after Rounds 1–5.
- Pay attention to the joining location. From Round 8 onward, several rounds join to the space between the beginning chain and the first double crochet rather than directly to a stitch.
- Work between the double crochet groups. In Rounds 9–34, the instructions place the 2-dc groups between the previous 2-dc groups. This creates the open texture of the body.
- Count the chain carefully in Round 15. The 18-chain section becomes part of the heel opening and must be worked accurately in Round 16.
- Keep the toe facing upward for the heel. This positioning helps you identify the middle v-stitch of the chain when beginning Heel Round 1.
- Use both stitch markers in Heel Round 2. The marked stitches are referenced in later decrease rounds, so place them exactly where directed.
- Seam the heel from the inside. Turning the stocking inside out before the whip stitch keeps the seam less visible on the finished exterior.
- Tie the pompoms securely. The knot just below the fold helps keep each pompom attached to the hanging chain.
For a coordinating handmade accent, a decorative crochet rose for wine glasses can complement a holiday table display without altering this stocking pattern.
Creative Ways to Customize Your Project
- Use a different color arrangement: Keep the approved construction the same while choosing another colorway of the specified yarn for a different seasonal mood.
- Coordinate several stockings: Make a set in related shades so each family member or guest has a distinct stocking.
- Change the pompom contrast: Use a contrasting yarn color for the pompoms to emphasize the folded cuff and hanging loop.
- Create a winter-neutral display: Pair soft gray, cream, white, or muted tones with natural wood and greenery.
- Add a themed gift presentation: Match the stocking color to wrapping paper, ribbon, or a holiday table setting.
- Experiment with yarn only as an optional variation: A different yarn or hook may change gauge, dimensions, texture, and yarn requirements. If substituting, use the hook size needed to obtain the desired gauge and expect the finished stocking to vary.
These are optional styling ideas; the approved round-by-round instructions remain unchanged.
Frequently Asked Questions
Is this stocking pattern worked in rounds?
Yes. The toe and body are worked in rounds, and the heel is also worked in rounds after the body is complete.
What yarn and hook does the pattern use?
The pattern uses one ball of Bernat® Pop!™ (5 oz / 140 g; 280 yds / 256 m) in Foggy Notion (84012), along with a U.S. K/10½ (6.5 mm) crochet hook, or the size needed to obtain gauge.
When is the heel made?
The heel is worked once the stocking body is complete. The pattern begins the heel with the toe facing upward, then uses marked stitches and hdc2tog decreases.
How many pompoms are made?
The pattern says “Pompoms (make 1 each).” It then instructs you to attach pompoms to each end of the 15-chain hanger, so prepare the pompom pieces needed for both ends.
Can I change the colors?
Yes, color changes are an optional styling choice. Keep in mind that changing yarn may affect gauge, texture, dimensions, and the amount of yarn required.
How is the heel finished?
After Heel Rounds 4–5, fasten off. Turn the stocking inside out and seam the heel using a whip stitch, then weave in the ends.
How is the stocking hung?
Make 15 chains, fasten off, and secure the chain just inside the top of the stocking. Attach pompoms to both ends, securing each with a knot just below the fold.
How should I store the stocking?
Store it in a dry place, either flat or loosely folded. Protect the openwork, hanger, and pompoms from snagging and excessive compression.
Conclusion
This Pop Crochet Christmas Stocking Pattern combines practical shaping with decorative texture and playful pompoms. Once the toe, body, heel, and hanger are complete, the stocking is ready for a mantel, gift display, or handmade holiday arrangement. You can keep the original colorway or coordinate several stockings for a personalized seasonal set. For more seasonal crochet inspiration, explore these free crochet Christmas stocking patterns.