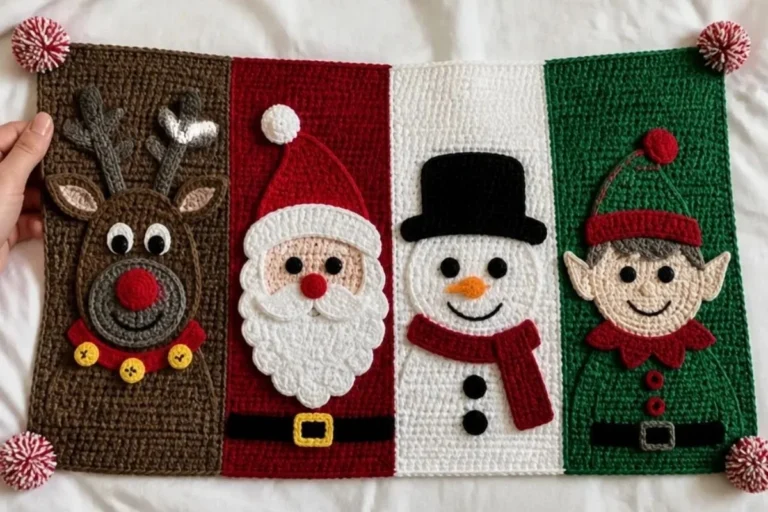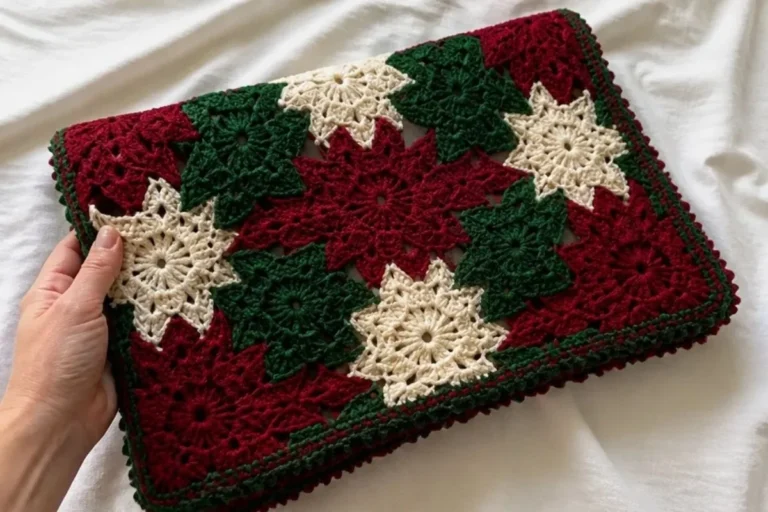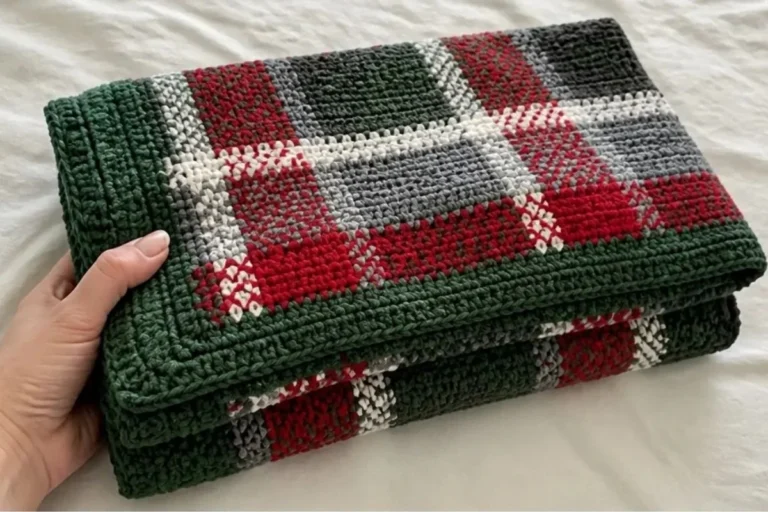
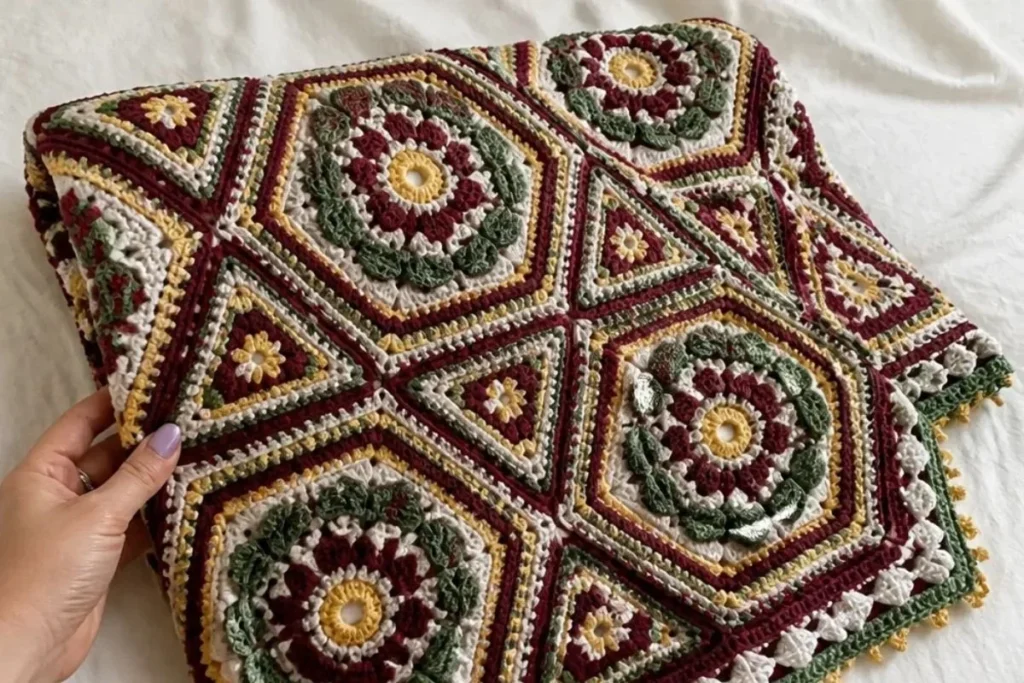
A Christmas crochet afghan brings together traditional holiday colors, textured stitches, and a thoughtful handmade finish. This Christmas Crochet Afghan Pattern for Home Decor is constructed from wreath, square, and triangle motifs in Sunshine, Burgundy, Off White, Sage, and Dark Sage. The assembled design works beautifully as a seasonal throw, display blanket, or handmade gift. For another festive crochet accent to make alongside it, explore these crochet rose decorations for holiday entertaining.
Why You’ll Love This Crochet Project
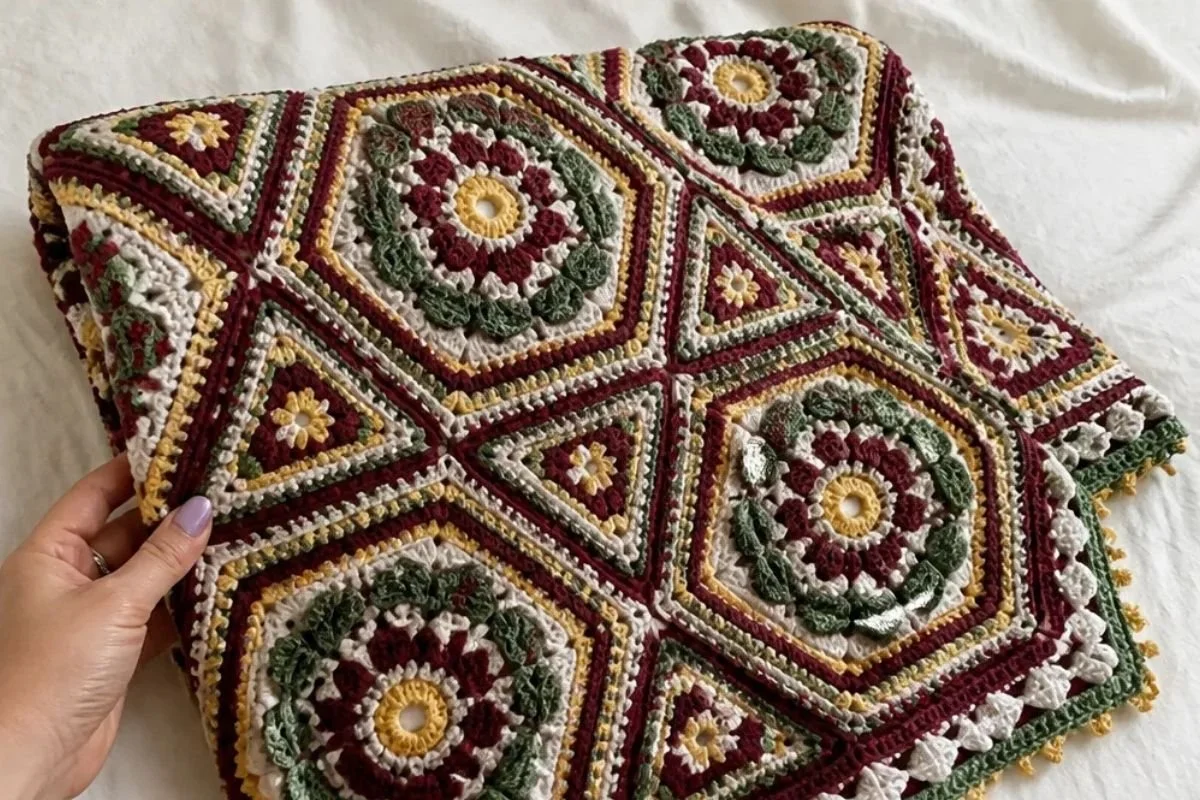
- Rich seasonal colorwork: The five-color palette gives the afghan a classic Christmas appearance while keeping the design botanical and decorative.
- Interesting motif construction: Wreath motifs feature popcorn stitches, V-stitches, and a raised Surface Scale stitch overlay.
- Excellent stitch practice: The pattern uses single crochet, half double crochet, double crochet, popcorn stitches, picots, V-stitches, and a decrease.
- Flexible home décor: Use the finished afghan as a couch throw, bed accent, holiday table covering, or seasonal wall display.
- Handmade gift potential: The coordinated motifs and detailed edging make the finished project suitable for gifting.
My Crochet Flower Tip: Make one complete motif of each type before producing the full set. This lets you confirm your color changes, stitch placement, and tension before repeating the process.
Before You Start Crocheting
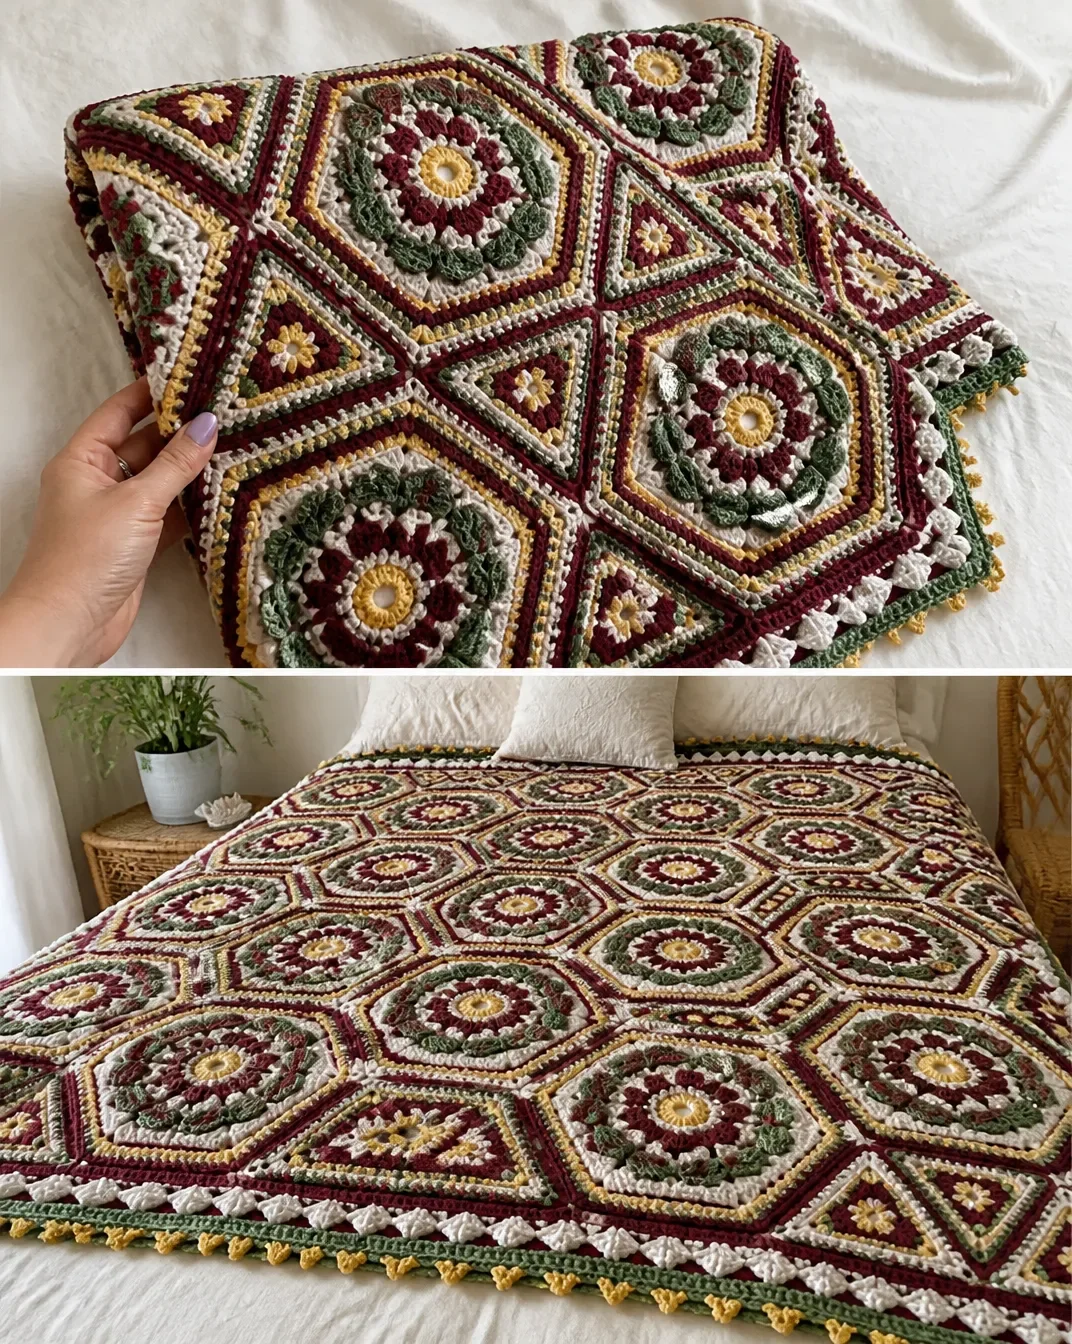
The afghan is assembled from three different motif types:
- Wreath Motif: make 16, including a 13-round base motif and a three-round Dark Sage overlay.
- Square Motif: make 9.
- Triangle Motif: make 12.
After all motifs are complete, sew them together through the back loops only, following the layout diagram. The edging is then worked around the assembled piece in five rounds.
The triangle motif is worked in rows with the right side facing throughout. Do not turn after each row. The wreath and square motifs are worked in joined rounds.
Abbreviations
- ch: chain
- sc: single crochet
- hdc: half double crochet
- dc: double crochet
- sl st: slip stitch
- sp/sps: space/spaces
- beg: beginning
- rep: repeat
- sc2tog: single crochet two together
- RS: right side
A V-stitch is made as indicated in the pattern: usually 1 dc, ch 1, 1 dc in the specified stitch or space. A Surface Scale stitch is formed by working double crochet stitches down and up the posts of a V-stitch.
Materials You’ll Need
- Caron® Simply Soft® (6 oz/170.1 g; 315 yds/288 m):
- Contrast A Sunshine (39755) 3 balls
- Contrast B Burgundy (39762) 4 balls
- Contrast C Off White (39702) 4 balls
- Contrast D Sage (39705) 2 balls
- Contrast E Dark Sage (39707) 5 balls
- Size U.S. H/8 (5 mm) crochet hook or size needed to obtain gauge
Complete Crochet Tutorial
Wreath Motif Make 16
Each wreath motif has two stages: complete the base motif through Round 13, then apply the three-round Wreath Leaves overlay.
Base Motif Stage 1
Colors: With A, ch 3 to start.
Rnd 1: Work 16 dc in 3rd ch from hook. Join with sl st to first dc. Fasten off A. 16 dc.
Rnd 2: Join B with sl st to first dc. Ch 4. Popcorn in next dc.
*Ch 1. 1 dc in next dc. Ch 1. Popcorn in next dc. Rep from * 6 times more. Ch 1. Join with sl st to 3rd ch of beg ch-4. 16 sts, 16 ch-1 sps.
Rnd 3: Ch 1. 1 sc in same sp as sl st. 2 sc in each of next 2 ch-1 sps.
*1 sc in next dc. 2 sc in each of next 2 ch-1 sps. Rep from * 6 times more. Join with sl st to first sc. Fasten off B. 40 sc.
Rnd 4: Join C with sl st to first sc. Ch 3. 1 dc in each sc around. Join with sl st to top of ch 3. Fasten off C.
Rnd 5: Join D with sl st to first dc. Ch 1. (1 sc. Ch 1. 1 sc) in same sp as last sl st. 1 sc in each of next 4 dc.
*(1 sc. Ch 1. 1 sc) in next dc. 1 sc in each of next 4 dc. Rep from * 6 times more. Join with sl st to first sc. 48 sc and 8 ch-1 sps.
Rnd 6: Sl st to next ch-1 sp. Ch 4. 1 dc in same sp as last sl st beg V-st made. Skip next sc. (1 dc. Ch 1. 1 dc) in next sc V-st made. Skip next 2 sc. V-st in next sc. Skip next sc.
*V-st in next ch-1 sp. Skip next sc. V-st in the next sc. Skip next 2 sc. V-st in next sc. Skip next sc. Rep from * 6 times more. Join with sl st to 3rd ch of ch-4. 24 V-sts.
Rnd 7: Sl st in next ch-1 sp. Beg V-st. (V-st between next 2 V-sts) 3 times.
*V-st in next corner ch-1 sp. (V-st between next 2 V-sts) 3 times. Rep from * 6 times more. Join with sl st to 3rd ch of ch-4. 24 V-sts.
Rnd 8: Sl st to next ch-1 sp. Beg V-st. (V-st between next 2 V-sts) 4 times.
*V-st in next corner ch-1 sp. (V-st between next 2 V-sts) 4 times. Rep from * 6 times more. Join with sl st to 3rd ch of ch-4. Fasten off D. 40 V-sts.
Rnd 9: Join B with sl st to any corner ch-1 sp. Beg V-st. (3 dc in next ch-1 sp) 4 times.
*V-st in next corner ch-1 sp. (3 dc in next ch-1 sp) 4 times. Rep from * 6 times more. Join with sl st to 3rd ch of ch 4. Fasten off B. 14 dc between corner ch-1 sps.
Note: Do not skip the first dc after the corner V-st in the 10th rnd.
Rnd 10: Join A with sl st to corner ch-1 sp. Ch 1. (1 sc. Ch 1. 1 sc) in same sp as sl st. 1 sc in each of next 6 dc. Sc2tog. 1 sc in each of next 6 dc.
*(1 sc. Ch 1. 1 sc) in next ch-1 sp. 1 sc in each of next 6 dc. Sc2tog. 1 sc in each of next 6 dc. Rep from * 6 times more. Join with sl st to first sc. Fasten off A. 15 sc between corner ch-1 sps.
Rnd 11: Join C with sl st to any corner ch-1 sp. Beg V-st.
(Ch 1. Skip next sc. Popcorn in next sc) 7 times. Ch 1. Skip next sc.
V-st in next corner ch-1 sp. (Ch 1. Skip next sc. Popcorn in next sc) 7 times. Ch 1. Rep from * 6 times more. Join with sl st to 3rd ch of ch 4. Fasten off C. 7 popcorn sts between corner ch-1 sps.
Rnd 12: Join A with sl st to corner ch-1 sp. Ch 1. (1 sc. Ch 1. 1 sc) in same sp as sl st. 1 sc in next dc.
(1 sc in next ch-1 sp. 1 sc in next popcorn) 7 times. 1 sc in next ch-1 sp. 1 sc in next dc.
(1 sc. Ch 1. 1 sc) in next corner ch-1 sp. 1 sc in next dc. (1 sc in next ch-1 sp. 1 sc in next popcorn) 7 times. 1 sc in next ch-1 sp. 1 sc in next dc.* Rep from * 6 times more. Join with sl st to first sc. Fasten off A. 19 sc between corner ch-1 sps.
Note: Do not skip the hidden stitch in the corners.
Rnd 13: Join B with sl st to corner ch-1 sp. Beg V-st.
*V-st in next corner ch-1 sp. 1 dc in each sc to next corner ch-1 sp. Rep from * 6 times more. Join with sl st to 3rd ch of ch 4. Fasten off B. 21 sc between corner ch-1 sps.
Wreath Leaves Stage 2 Overlay
Apply the overlay after completing the base motif.
Overlay 1st rnd Begin at 8th rnd: Join E with sl st to first post of corner V-st. Ch 3. 4 dc down the same post as sl st. Ch 1. 5 dc up second post of same V-st beg Surface Scale st made.
*Skip next V-st. Surface Scale st around next V-st. Rep from * around. Join with sl st to top of ch-3. 20 Surface Scale sts. Fasten off E.
Overlay 2nd rnd Begin at 7th rnd: Join E with sl st to first post of the 2nd V-st after corner V-st. Beg Surface Scale st around same V-st as sl st.
*Skip next V-st. Surface Scale st around next V-st. Rep from * around. Join with sl st to top of ch-3. 16 Surface Scale sts. Fasten off E.
Overlay 3rd rnd Begin at 6th rnd: Join E with sl st to first post of corner V-st. Beg Surface Scale st around same V-st as sl st.
*Skip next v-st. Surface Scale st around next V-st. Rep from * around. Join with sl st to top of ch-3. 12 Surface Scale sts. Fasten off E.
Square Motif Make 9
With B
1st rnd: 12 dc in 3rd ch from hook. Join with sl st to first dc. Fasten off A. 12 dc.
2nd rnd: Join A with sl st to first dc. Ch 4 (counts as 1 dc and ch 1). Popcorn in next dc.
*Ch 1. 1 dc in next dc. Ch 1. Popcorn in next dc. Rep from * 4 times more. Ch 1. Join with sl st to 3rd ch of ch-4. Break A. 6 popcorns and 6 dc.
3rd rnd: Join D with sl st to first dc. Ch 1. 1 sc in same sp as sl st. 2 sc in next ch-1 sp. 1 sc in next popcorn st. 2 sc in next ch-1 sp.
*1 sc in next dc. 2 sc in next ch-1 sp. 1 sc in next popcorn st. 2 sc in next ch-1 sp. Rep from * 4 times more. Join with sl st to first sc. 36 sc.
4th rnd: Ch 3. 1 dc in same sp as sl st. 1 dc in next sc. 1 hdc in next sc. 1 sc in each of next 4 sc. 1 hdc in next sc. 1 dc in next sc.
*(2 dc. Ch 2. 2 dc) in next sc. 1 dc in next sc. 1 hdc in next sc. 1 sc in each of next 4 sc. 1 hdc in next sc. 1 dc in next sc. Rep * twice more. 2 dc in same sp as first 2 dc. Ch 2. Join with sl st to top of ch 3. Break D. 12 sts between corner ch-2 sps.
5th rnd: Join C with sl st to corner ch-2 sp. Ch 1. (1 sc. Ch 1. 1 sc) in same sp as sl st. 1 sc in each st to next corner ch-2 sp.
*(1 sc. Ch 1. 1 sc) in next corner ch-2 sp. 1 sc in each st to next corner ch-2 sp. Rep from * twice more. Join with sl st to first sc. Break C. 14 sc between corner ch-1 sps.
6th rnd: Join A with sl st to corner ch-1 sp. Ch 3. 1 dc in same sp as sl st. 1 dc in each sc to next corner ch-1 sp.
*(2 dc. Ch 2. 2 dc) in next corner ch-1 sp. 1 dc in each sc to next corner ch-1 sp. Rep from * twice more. 2 dc in first corner ch-1 sp. Ch 2. Join with sl st to top of ch 3. Break A. 18 dc between corner ch-2 sps.
7th rnd: Join E with sl st to corner ch-2 sp. Ch 1. (1 sc. Ch 1. 1 sc) in same sp as sl st. 1 sc in each dc to next corner ch-2 sp.
*(1 sc. Ch 1. 1 sc) in next ch-2 sp. 1 sc in each dc to next corner ch-2 sp. Rep from * twice more. Join with sl st to first sc. Fasten off E. 20 sc between corner ch-1 sps.
Triangle Motif Make 12
The triangle is completed in rows. Do not turn; keep the RS facing each row.
With B, ch 3.
1st row (RS): 7 dc in 3rd ch from hook. Do not turn. Fasten off A. 7 dc.
2nd row (RS): Join A with sl st to first dc. Ch 4. Popcorn in next dc.
(Ch 1. 1 dc in next dc. Ch 1. Popcorn in next st) twice. Ch 1. 1 dc in last dc. Do not turn. Fasten off A. 4 dc and 3 popcorns.
3rd row (RS): Join D with sl st to 3rd ch of ch-4. Ch 1. 1 sc in same sp as sl st. 2 sc in next ch-1 sp.
*1 sc in next st. 2 sc in next ch-1 sp. Rep from * 4 times more. 1 sc in last dc. Do not turn. Break D. 19 sc.
4th row (RS): Join D with sl st to first sc. Ch 3. 1 dc in same sp as sl st. 1 dc in next sc. 1 hdc in next sc. 1 sc in each of next 4 sc. 1 hdc in next sc. 1 dc in next sc.
(2 dc. Ch 2. 2 dc) in next sc. 1 dc in next sc. 1 hdc in next sc. 1 sc in each of next 4 sc. 1 hdc in next sc. 1 dc in next sc. 2 dc in last sc. Do not turn. Break D. 12 sts before and after corner ch-2 sp.
5th row (RS): Join C with sl st to top of ch 3. Ch 1. 2 sc in same sp as sl st. 1 sc in each st to next ch-2 sp. (1 sc. Ch 1. 1 sc) in next ch-2 sp. 1 sc in each st to last dc. 2 sc in last dc. Do not turn. Break C. 14 sc before and after corner ch-1 sp.
Note: Do not skip the hidden stitch in the corners.
6th row (RS): Join A with sl st to first sc. Ch 3. 1 dc in same sp as sl st. 2 dc in next sc. 1 dc in each sc to next corner ch-1 sp.
*(2 dc. Ch 2. 2 dc) in next corner ch-1 sp. 1 dc in each sc to last 2 sc. 2 dc in each of last 2 sc. Do not turn. Break A. 18 dc before and after corner ch-2 sp.
7th row (RS): Join E with sl st to top of ch 3. Ch 1. 2 sc in same sp as sl st. 1 sc in each dc to next ch-2 sp. (1 sc. Ch 1. 1 sc) in next ch-2 sp. 1 sc in each dc to last dc. 2 sc in last dc. Fasten off E. 20 sc before and after corner ch-1 sp.
Assembly and Edging
Motif Joining
Following the diagram, sew motifs together through back loops only. See the diagram on page 5.
Edging Placement and Count Rule
Begin the edging where marked on the diagram. Stitches per side include ½ of a corner stitch. The diagram is marked to help equally space the long sides. Count the ½ of the corner stitches with this count.
Equally space 82 sts to the middle of the triangle, then put another 82 sts after the triangle. Do not count the corner stitches.
Edging Rounds
1st rnd: Following diagram, with RS facing, join B with sl st to corner ch-1 sp. Ch 1. (1 sc. Ch 2. 1 sc) in same sp as sl st.
*1 sc in each of next 21 sts. (1 sc. Ch 2. 1 sc) in next corner ch-1 sp. 163 sc evenly spaced to next corner ch-1 sp.
**(1 sc. Ch 2. 1 sc) in next ch-1 sp. Rep from * twice more, then from * to ** once. Join with sl st to first sc.
2nd rnd: Sl st to next ch-1 sp. Ch 1. (1 sc. Ch 1. 1 sc) in same sp as last sl st. 1 sc in each sc to next corner ch-1 sp.
*(1 sc. Ch 1. 1 sc) in next corner ch-1 sp. 1 sc in each sc to next corner ch-1 sp. Rep from * 6 times more. Join with sl st to first sc. Fasten off B.
3rd rnd: Join A with sl st to any corner ch-1 sp. Ch 1.
[(1 sc. Ch 1. 1 sc) in corner ch-1 sp. Ch 1. Skip next sc.
*1 sc in next sc. Ch 1. Skip next sc. Rep from * to next corner ch-1 sp].
Rep [ ] 7 times more. Join with sl st to first sc. Fasten off A.
4th rnd: Join C with sl st to any corner ch-1 sp. Ch 4. 1 dc in same sp as sl st. Ch 1.
[Popcorn in next ch-1 sp. Ch 1. Rep from * to * to next corner ch-1 sp. (1 dc. Ch 1. 1 dc) in next corner ch-1 sp]. Rep [ ] 6 times more. Rep from * to * once more. Join with sl st to 3rd ch ch-4. Fasten off C.
5th rnd: Join E with sl st to any corner ch-1 sp. Ch 1. (1 sc. Picot. 1 sc) in same sp as sl st.
*(1 sc. Picot. 1 sc) in next ch-1 sp. Rep from * around. Join with sl st to first sc. Fasten off.
Ways to Display Your Finished Crochet
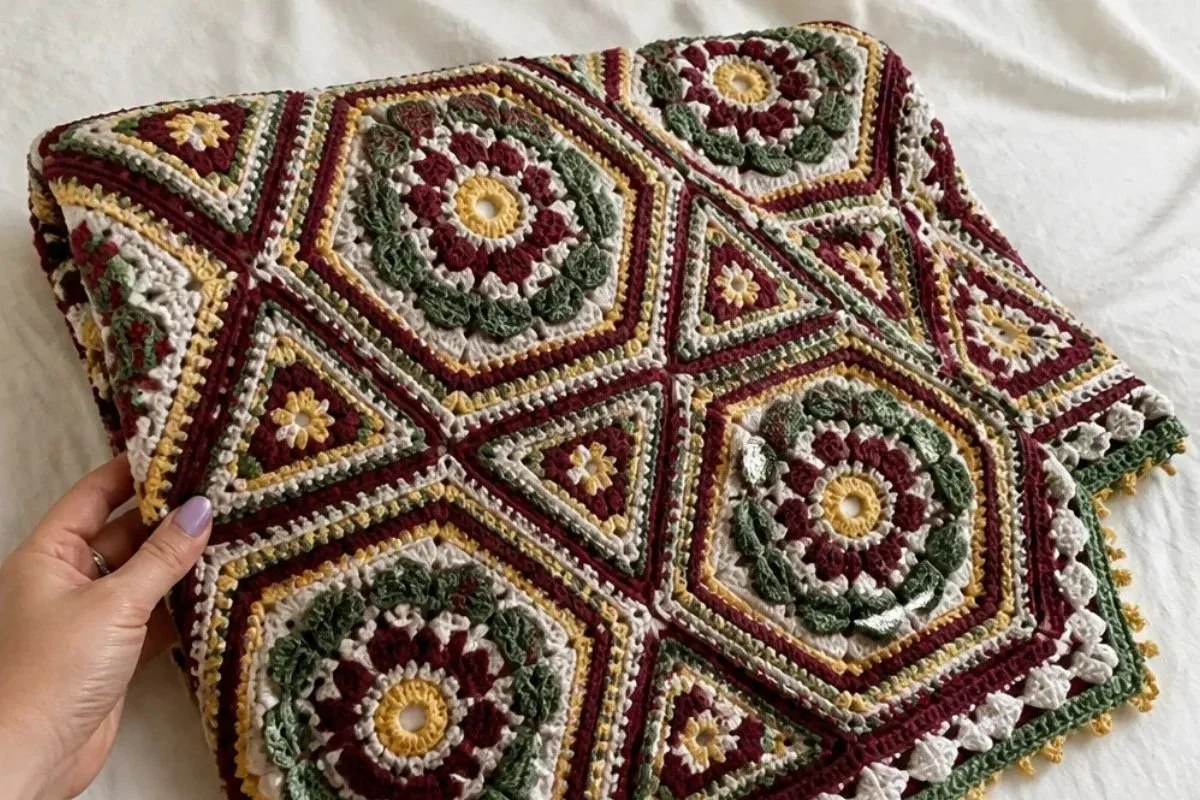
- Drape the afghan over a sofa or reading chair for a warm Christmas accent.
- Fold it across the foot of a bed to highlight the wreath and geometric motifs.
- Place it over a console or display table during holiday gatherings.
- Use it as a seasonal centerpiece layer beneath candles or decorative dishes, keeping open flames safely away from the yarn.
- Gift it as a handmade Christmas throw for someone who enjoys traditional holiday décor.
- Pair it with coordinating crochet ornaments, garlands, or floral decorations; these crochet bouquet patterns can inspire additional botanical pieces for the same color palette.
Caring for Your Crochet Project
Caron® Simply Soft® is used throughout this design, and the finished afghan includes raised popcorn stitches, Surface Scale stitches, and picots that can catch on rough surfaces.
- Dust the afghan gently with a soft brush or use a vacuum on a low setting with a protective screen.
- Spot-clean carefully rather than rubbing textured areas aggressively.
- Follow the yarn manufacturer’s care instructions for laundering.
- Avoid excessive heat, which can distort the motifs and raised stitches.
- Reshape the afghan gently after cleaning and allow it to dry flat if the care instructions permit.
- Store it folded loosely in a clean, dry place, away from moisture and direct sunlight.
- Avoid placing heavy objects on the raised wreath overlays for long periods.
Tips for Better Results
- Make a color key first. Keep A through E beside your work so each round uses the intended shade.
- Count every motif round. Wreath motifs expand through several stitch structures, so confirm the stated counts before fastening off.
- Mark the corner spaces. Removable stitch markers can help identify corner ch-1 or ch-2 spaces, especially in later rounds.
- Watch the hidden corner stitches. The pattern specifically notes not to skip hidden stitches in the wreath and triangle corners.
- Keep the triangle right side facing. Work every row without turning, as instructed.
- Work Surface Scale stitches around the correct posts. The overlay depends on placing stitches down and up the posts of the V-stitches.
- Block or gently shape motifs if needed. Consistent edges make sewing through the back loops easier.
- Sew with matching tension. Secure the motifs firmly without pulling the seams so tightly that the afghan puckers.
Color and Styling Variations
The approved pattern uses Sunshine, Burgundy, Off White, Sage, and Dark Sage. Optional color changes can personalize the finished afghan, but keep the color roles organized so the motif structure remains easy to follow.
- Replace Sunshine with a warm gold for a deeper traditional palette.
- Use a brighter red in place of Burgundy for a more vivid holiday appearance.
- Substitute a soft cream for Off White if you prefer a warmer neutral.
- Use several shades of green for a more foliage-focused design.
- Create a winter version with icy blue, silver-gray, white, and deep evergreen.
- Make a less seasonal throw by replacing Burgundy and Sunshine with a coordinated pair of non-holiday colors.
If you use a different yarn or hook, the fabric’s gauge, dimensions, drape, stitch definition, and yarn requirements may change. Treat substitutions as optional and check your tension before making all motifs.
Frequently Asked Questions
How many motifs are required?
Make 16 Wreath Motifs, 9 Square Motifs, and 12 Triangle Motifs. The wreath motifs also require the three-round Wreath Leaves overlay.
What hook size does the pattern use?
Use a U.S. H/8 (5 mm) crochet hook, or the size needed to obtain gauge.
Which yarn colors are used?
The pattern uses Caron® Simply Soft® in Sunshine, Burgundy, Off White, Sage, and Dark Sage. The supplied quantities are 3 balls of A, 4 balls of B, 4 balls of C, 2 balls of D, and 5 balls of E.
Do I turn the triangle motif?
No. The triangle is completed in rows with the right side facing each row. Do not turn after the rows.
How are the motifs joined?
Sew the motifs together through the back loops only, following the diagram and layout.
When is the wreath overlay added?
Complete each Wreath Motif base through Round 13 first. Then apply the three Wreath Leaves overlay rounds beginning at the specified rounds.
Can the colors be changed?
Yes, color changes are optional. Keep the letter assignments clear while working because the instructions refer to the colors as A, B, C, D, and E.
How should the edging be spaced?
Follow the diagram. The edging count includes ½ of a corner stitch per side. Equally space 82 stitches to the middle of the triangle and another 82 stitches after the triangle, without counting the corner stitches.
Conclusion
This Christmas crochet afghan combines decorative wreaths, structured squares, triangles, raised stitches, and a delicate picot border into a memorable seasonal home accent. Work the motifs carefully, follow the joining layout, and use the color changes to create a cohesive holiday design. For more seasonal blanket inspiration, browse these Christmas crochet blanket patterns and tutorials.