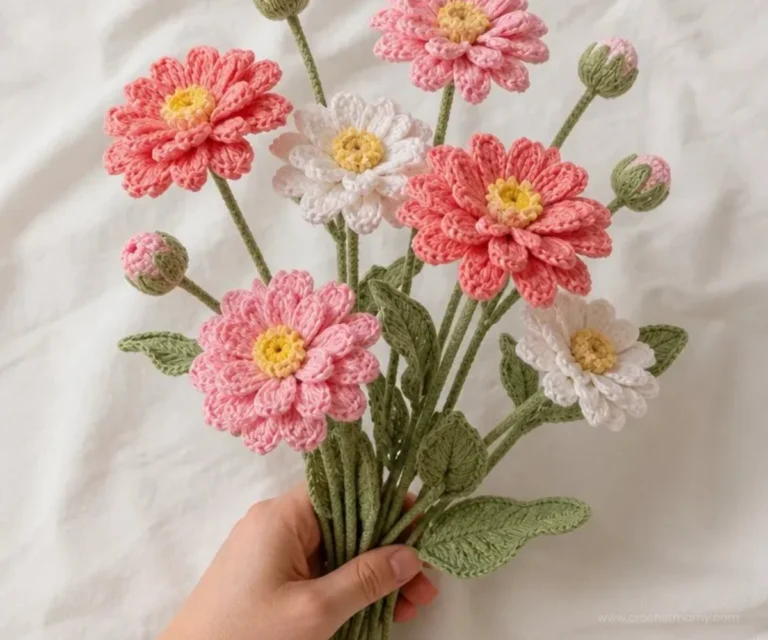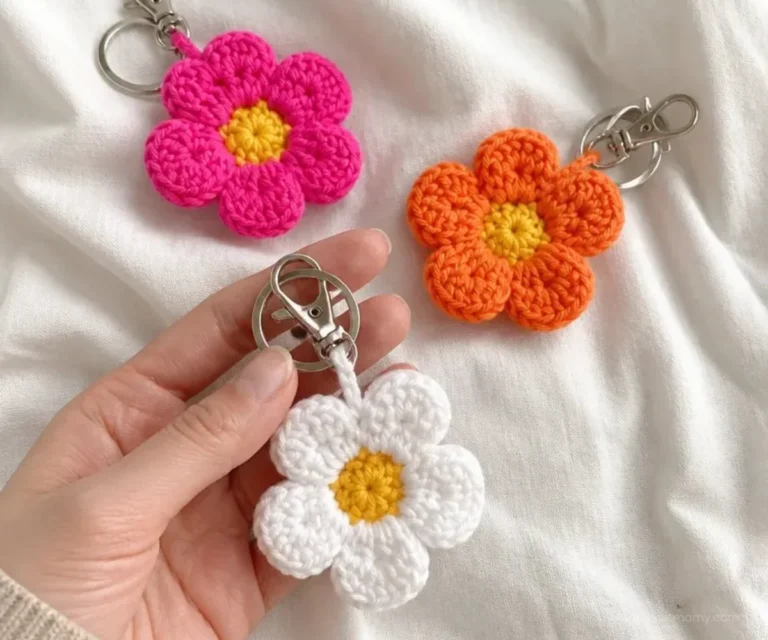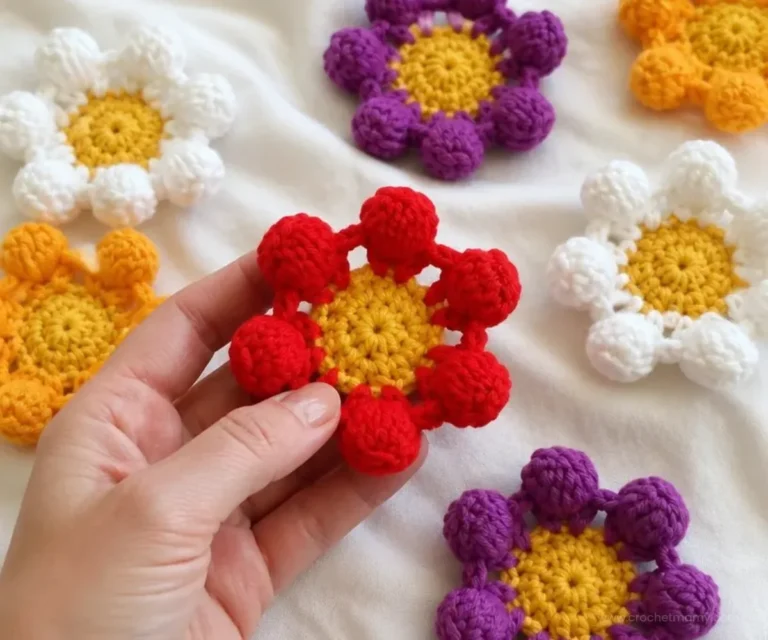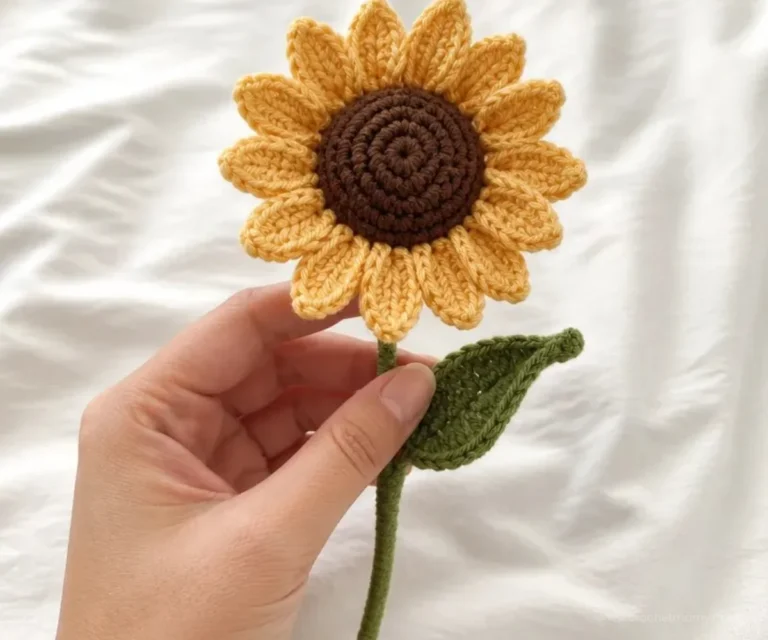

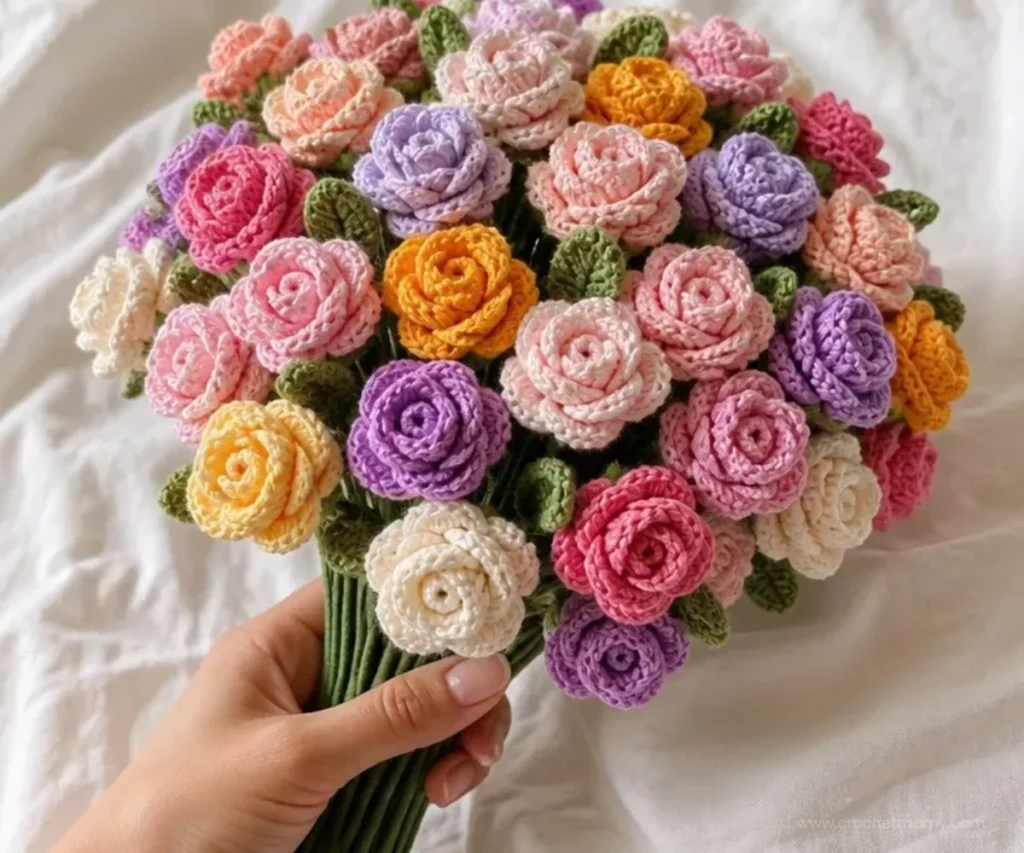
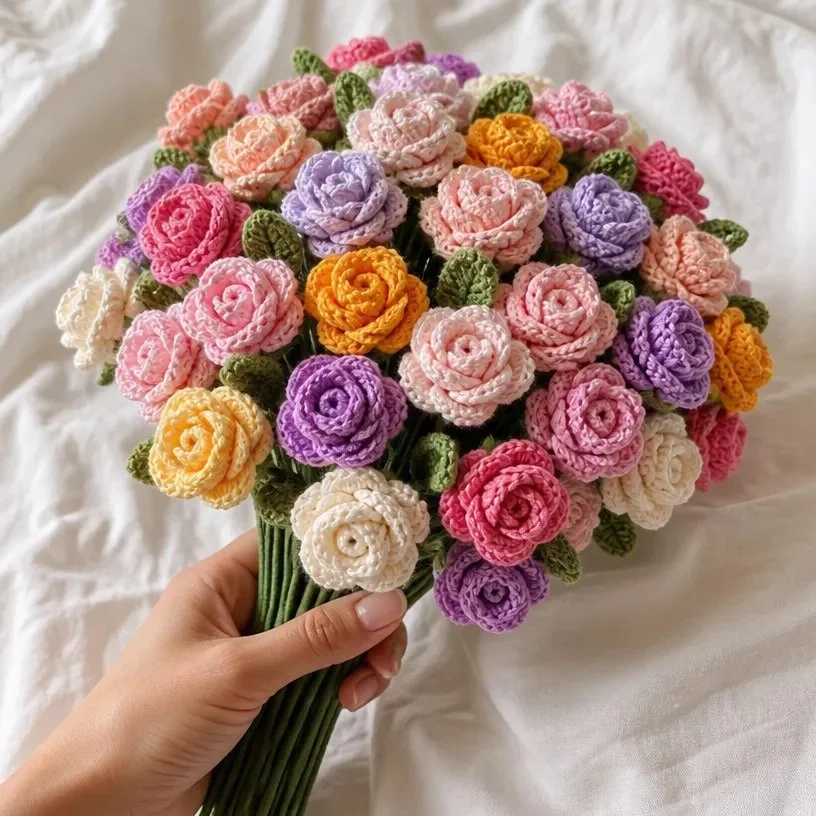
A small rose crochet pattern can turn simple stitches into a versatile floral embellishment for handmade accessories, gifts, and decorative projects. This design uses chained stitches, double crochet, and slip stitches to shape the petals, then adds a tighter center, leaves, and optional wired stems. Its flexible petal sizing makes each flower easy to adapt visually. For another small crochet accessory project, you may also enjoy these crochet bottle topper instructions.
Why Make This Crochet Project?
This small crochet rose is useful when you want a floral detail without making a large centerpiece. The pattern supports several practical creative options:
- Embellish handmade items: Stitch a rose onto bags, hats, garments, gift wrapping, or home décor.
- Create dimensional flowers: The petals are positioned around a separate center, giving the flower a layered appearance.
- Adjust the petal look: The instructions allow variation in petal size, so flowers can be made more compact or more open.
- Add leaves and stems: Wire and floral tape allow the rose to become part of a stemmed arrangement.
- Use optional stuffing: Stuffing may be included when a fuller center or more dimensional shape is desired.
A Crochet Mamy Tip: Arrange the petals and center before stitching them permanently. This makes it easier to check the overall shape and balance.
Before You Start
The project is constructed in five main stages. First, crochet the petals with chains, double crochet, and slip stitches. Next, make a tighter crocheted circle for the center. Leaves are crocheted separately, while long lengths of yarn and wire form the stems. The petals are then positioned around the center and stitched in place. Finally, the leaves and stems are attached, and the raw edges are covered with floral tape.
The supplied instructions do not provide a finished size, gauge, yarn weight, color, stitch count, row count, or round count. Work from the sequence below without adding unlisted measurements or repeats.
Useful stitch terms
- Chain: A foundational looped stitch made by drawing yarn through the active loop.
- Double crochet: A taller stitch worked with a yarn-over before inserting the hook.
- Slip stitch: A low-profile stitch commonly used to join or move across stitches.
- Petal: One of the curved floral sections arranged around the center.
Materials and Tools
Gather the following supplies:
- Yarn: Used for the petals, center, leaves, and stems.
- Crochet hook: A hook between 3.5mm and 5mm.
- Wire: Used to support the stems.
- Floral tape: Used to cover raw edges and wrap the stems.
- Yarn needle: Used to stitch the petals, center, leaves, and other components together.
- Scissors: Used to cut yarn.
- Stuffing, optional: May be used to give the flower center additional fullness.
The instructions do not specify yarn fiber, yarn color, quantities, or wire gauge. Choose those details according to the intended look and the materials available, while remembering that yarn and hook changes can affect the finished flower.
Step-by-Step Crochet Instructions
Follow the technical sequence as supplied. The pattern permits variation in petal size but does not provide fixed stitch counts or row numbers.
1. Crochet the petals
Create a series of chained stitches to begin the petals. Work a combination of double crochet and slip stitches into the chain sequence to form the petal shapes.
Allow for variation in petal size. Longer or differently shaped chain sections can produce a different visual proportion, but the supplied instructions do not define exact counts or a required repeat. Keep the petals consistent if you want a uniform rose, or vary them for a more natural arrangement.
2. Form the flower center
Crochet a tighter circle to create the center of the flower. The center should blend with the petals and provide the area around which they will be arranged.
The source instructions do not specify a stitch count, number of rounds, or exact shaping method for this circle. Follow the intended tighter construction without adding unlisted measurements.
Stuffing is optional. If used, place it inside the center carefully before the center is fully closed or assembled, depending on how your crocheted piece is formed.
3. Crochet the leaves and create the stems
Crochet the leaves using different stitches. The supplied instructions do not identify the specific stitch sequence or counts for the leaves, so retain the intended variation without adding unprovided details.
Create the stems with long lengths of yarn secured with wire. Keep the wire inside or alongside the yarn structure as appropriate for the assembly, and leave enough yarn available to attach the stem to the flower and cover the raw edges.
4. Assemble the rose
Position the petals around the center piece. Arrange them so they form the desired rose shape, then stitch the petals in place with the yarn needle.
Because the pattern allows variation in petal size, positioning is an important part of the final appearance. Place smaller or tighter petals near the center and use the remaining petals around them only if that arrangement suits the shapes you created; the supplied instructions do not prescribe a particular placement order.
5. Attach the leaves and stems
Attach the crocheted leaves and stems to the assembled rose. Secure the components with stitching so they remain connected during handling.
Cover raw edges with floral tape. Wrap the tape around the stem and attachment areas to create a finished appearance and conceal exposed yarn ends and wire.
Finished Project Ideas
The completed small rose can be used in several optional ways:
- Stitch it to a handmade bag, pouch, hat, or scarf.
- Add it to gift packaging for a reusable decorative detail.
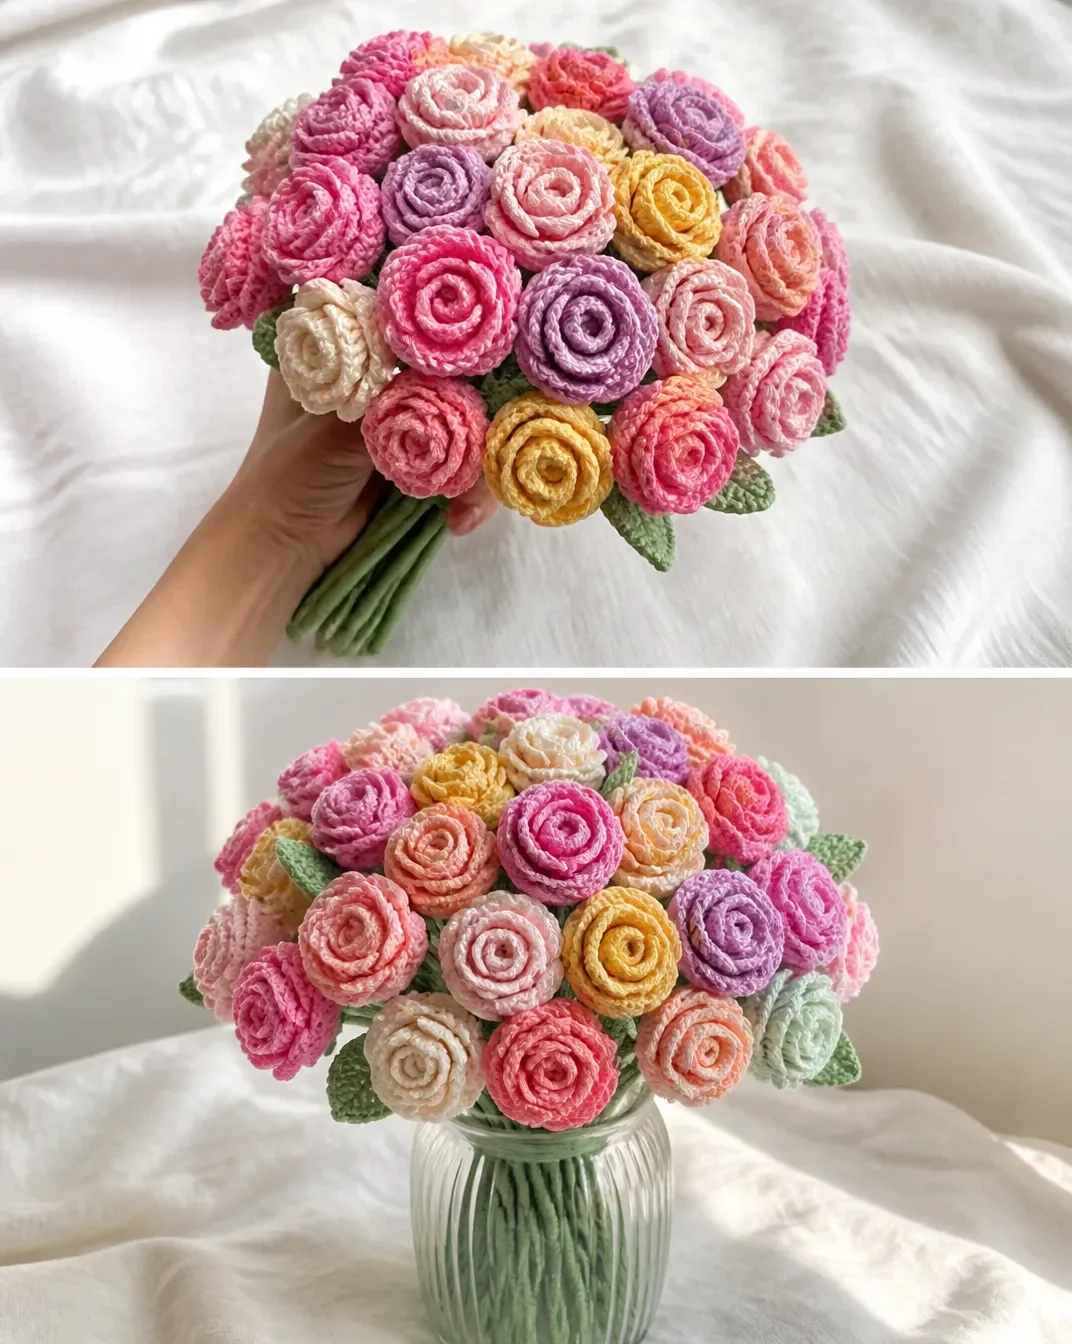
- Arrange several roses with leaves as a small crocheted floral display.
- Use a wired stem to position the flower in a decorative arrangement.
- Combine flowers with different petal sizes for a varied bouquet effect.
- Attach one rose to a larger crochet project as a dimensional embellishment.
When attaching the flower to clothing or accessories, choose a placement that does not interfere with the item’s intended use.
Care and Storage
The supplied pattern does not identify the yarn fiber or provide washing instructions. Follow the care information for the yarn you select rather than assuming the finished rose is machine washable.
Store the flower in a clean, dry place where the petals will not be crushed. If the project includes wire, handle and store it carefully so the stem does not become sharply bent or exposed through the yarn or floral tape.
Helpful Crochet Tips
- Keep the chain tension even while forming the petals so the edges do not become unintentionally tight or loose.
- Compare petals as you work if you want a consistent flower.
- Use the tighter center as a visual reference when arranging the petals.
- Before sewing, place all petals around the center and rotate them until the shape looks balanced.
- Secure the petals with enough stitches to hold their positions, while avoiding bulky visible stitching.
- Leave the wire properly covered when finishing the stem.
- Trim yarn ends neatly before applying floral tape so the wrapped area remains smooth.
- If the flower looks flat, check the petal arrangement before changing the crochet work; repositioning can alter the overall dimension.
For another project that combines crochet with a practical handmade accessory, these crochet mobile phone case ideas can provide additional inspiration for embellishment and styling.
Variations and Styling
The supplied pattern directly supports variation in petal size. You can use that option to create a tightly gathered rose, a more open flower, or a group of flowers with slightly different proportions.
Color is another optional styling idea. A single color can create a coordinated flower, while separate colors for petals, the center, and leaves can make each component easier to distinguish. These are aesthetic choices rather than additional pattern instructions.
You may also vary how the finished rose is presented. A flower without a stem can work as a flat embellishment, while the included wire and floral tape support a stemmed arrangement. Changing the yarn or hook can alter gauge, size, drape, stitch definition, and the amount of yarn needed, so those changes should be treated as experimentation rather than guaranteed equivalents.
Frequently Asked Questions
What stitches are used for the petals?
The petals are made with a series of chained stitches combined with double crochet and slip stitches.
Can the petal sizes vary?
Yes. The supplied instructions specifically allow variation in petal size.
Is the center crocheted separately?
Yes. The center is formed as a tighter circle intended to blend with the petals.
Are leaves included in the pattern?
Yes. The instructions include crocheted leaves made using different stitches.
How are the stems made?
The stems use long lengths of yarn secured with wire. Floral tape is then used to cover raw edges during finishing.
Is stuffing required?
No. Stuffing is listed as optional.
Does the pattern provide a finished size?
No finished dimensions are supplied, so the final size will depend on the yarn, hook, stitch tension, petal variation, and assembly.
Conclusion
This small rose crochet pattern provides a flexible way to make dimensional floral embellishments from petals, a crocheted center, leaves, yarn, and wire. Keep the technical sequence intact, arrange the petals thoughtfully, and use floral tape to finish the stems neatly. For another flower-making resource, explore this easy crochet rose pattern in multiple sizes.